Easy Mini Chicken Quesadillas – Quick & Delicious Snack
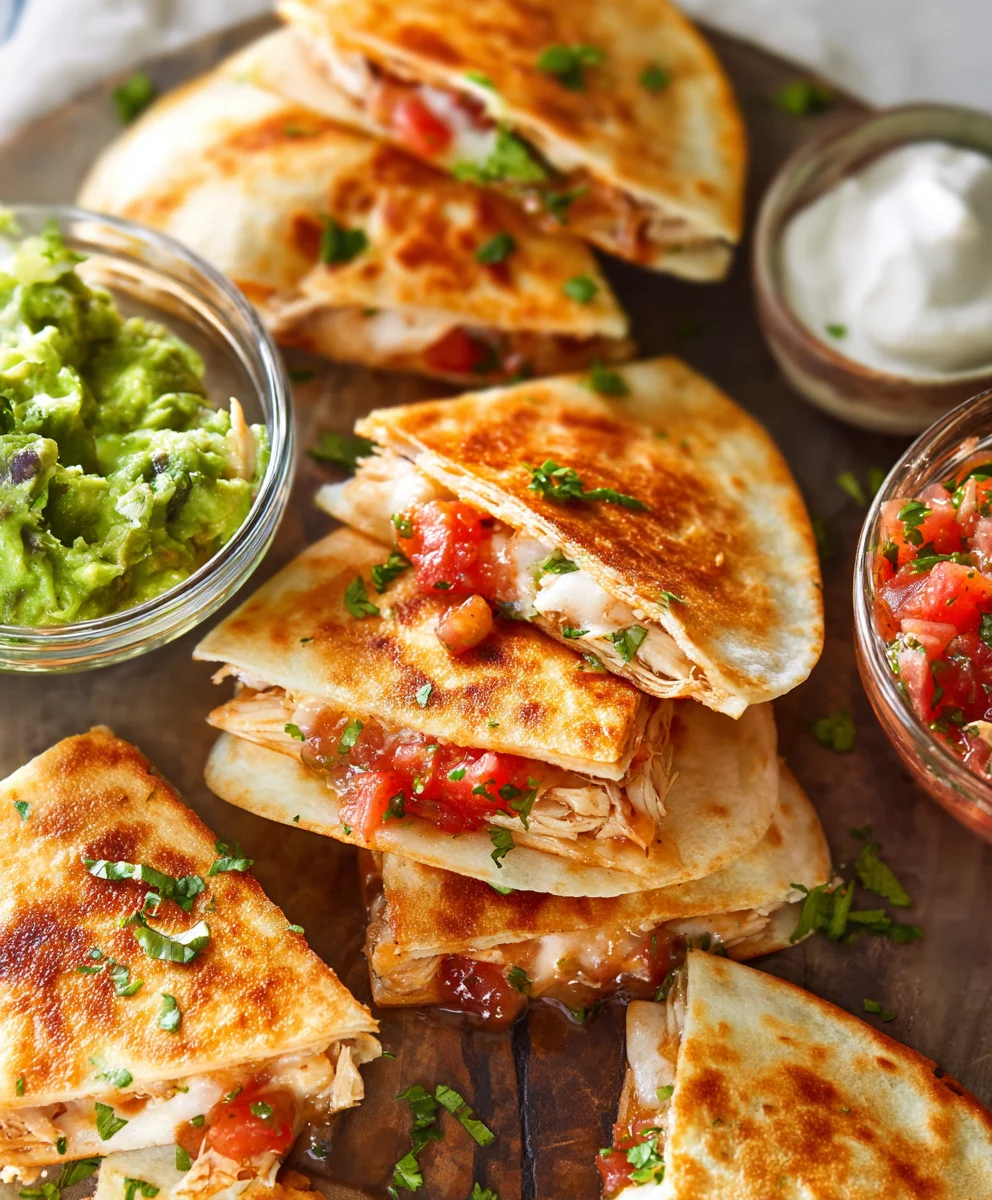
Mini Chicken Quesadillas are more than just a quick snack; they are tiny parcels of pure joy, perfect for any occasion. Imagin extracte biting into a warm, golden-brown tortilla, crisp around the edges, giving way to a gooey, cheesy center brimming with savory shredded chicken. It’s no wonder these little delights are a crowd-pleaser, whether you’re hosting a party, packing lunches, or simply craving something utterly delicious and satisfying. What truly sets our Mini Chicken Quesadillas apart is the perfect balance of textures and flavors – the tender chicken, the melty cheese, and the hint of spice, all wrapped up in a perfectly grilled tortilla. They’re incredibly versatile, easily customizable to suit your taste, and best of all, surprisingly simple to whip up, making them an approachable yet impressive dish for any home cook. Get ready to fall in love with these bite-sized wonders!
Ingredients:
- 1 1/2 cups leftover finely shredded rotisserie chicken
- 1 1/2 cups shredded Mexican blend cheese
- 1/3 cup restaurant-style salsa
- 1/4 cup chopped fresh cilantro leaves
- Kosher salt and freshly ground black pepper (to taste)
- 1 cup refried beans (homemade or store-bought)
- 16 street tacos flour tortillas (warmed)
- 3 tablespoons canola oil (divided)
- 1 cup guacamole
- 1 cup pico de gallo
- 1/4 cup sour cream
Preparing the Filling
Step 1: Combine the Chicken Mixture
In a medium bowl, combine the finely shredded rotisserie chicken with the shredded Mexican blend cheese. Add the restaurant-style salsa and the chopped fresh cilantro leaves. Stir everything together gently until the chicken and cheese are well coated with the salsa and cilantro. This mixture will form the savory heart of our mini chicken quesadillas. Season this mixture generously with kosher salt and freshly ground black pepper to your liking. Remember that rotisserie chicken can sometimes be salty, so it’s a good idea to taste a small amount before adding too much salt. The salsa will also contribute to the saltiness. Ensure the seasoning is balanced to enhance the flavors of all the components.
Step 2: Warm and Mash the Refried Beans
In a separate small saucepan or microwave-safe bowl, gently warm the refried beans. If using a saucepan, stir them over low heat until they are smooth and spreadable. If you’re using a microwave, heat them in 30-second intervals, stirring in between, until they reach your desired warm consistency. You want them to be pliable and easy to spread without being too watery. Some refried beans can be quite thick; if yours are, you can add a tablespoon or two of water or a splash of milk to achieve a smoother texture. This warming step is crucial for ensuring the beans are easily incorporated into the quesadillas and add a creamy, earthy layer.
Assembling and Cooking the Quesadillas
Step 3: Constructing the Mini Quesadillas
Lay out the warmed street taco flour tortillas on a clean, dry surface. For each quesadilla, you will use two tortillas. Spread a thin, even layer of the warmed refried beans onto one side of one tortilla, covering about half of the surface. This will act as a flavor base and a binder. Then, spoon about 1 to 2 tablespoons of the chicken and cheese mixture from Step 1 onto the same side of the tortilla, over the refried beans, again concentrating it on one half of the tortilla. Fold the unfilled half of the tortilla over the filling to create a crescent shape. Repeat this process for all 16 tortillas, making 16 mini quesadillas. This assembly method ensures that each quesadilla has a balanced distribution of all the delicious fillings. It’s important to avoid overfilling the tortillas, as this can make them difficult to fold and can cause the filling to leak out during cooking.
Step 4: Pan-Frying for Golden Perfection
Heat 1 tablespoon of canola oil in a large non-stick skillet or on a griddle over medium heat. Once the oil is shimmering, carefully place 2 to 3 folded quesadillas into the hot skillet, ensuring not to overcrowd the pan. You want the quesadillas to have enough space to cook evenly and get crispy. Cook for 2 to 3 minutes per side, or until the tortillas are golden brown and crispy, and the cheese inside is melted and gooey. You’ll see the cheese starting to ooze out slightly from the edges, which is a good sign. Use a spatula to gently flip the quesadillas to ensure even browning on both sides. Remove the cooked quesadillas from the skillet and place them on a plate lined with paper towels to absorb any excess oil. Add another tablespoon of canola oil to the skillet for the next batch, and repeat the cooking process until all the mini chicken quesadillas are golden and delicious. It’s important to manage the heat effectively; if the pan is too hot, the tortillas will burn before the cheese melts, and if it’s too cool, they won’t get crispy.
Serving and Enjoying
Step 5: Presentation and Accompaniments
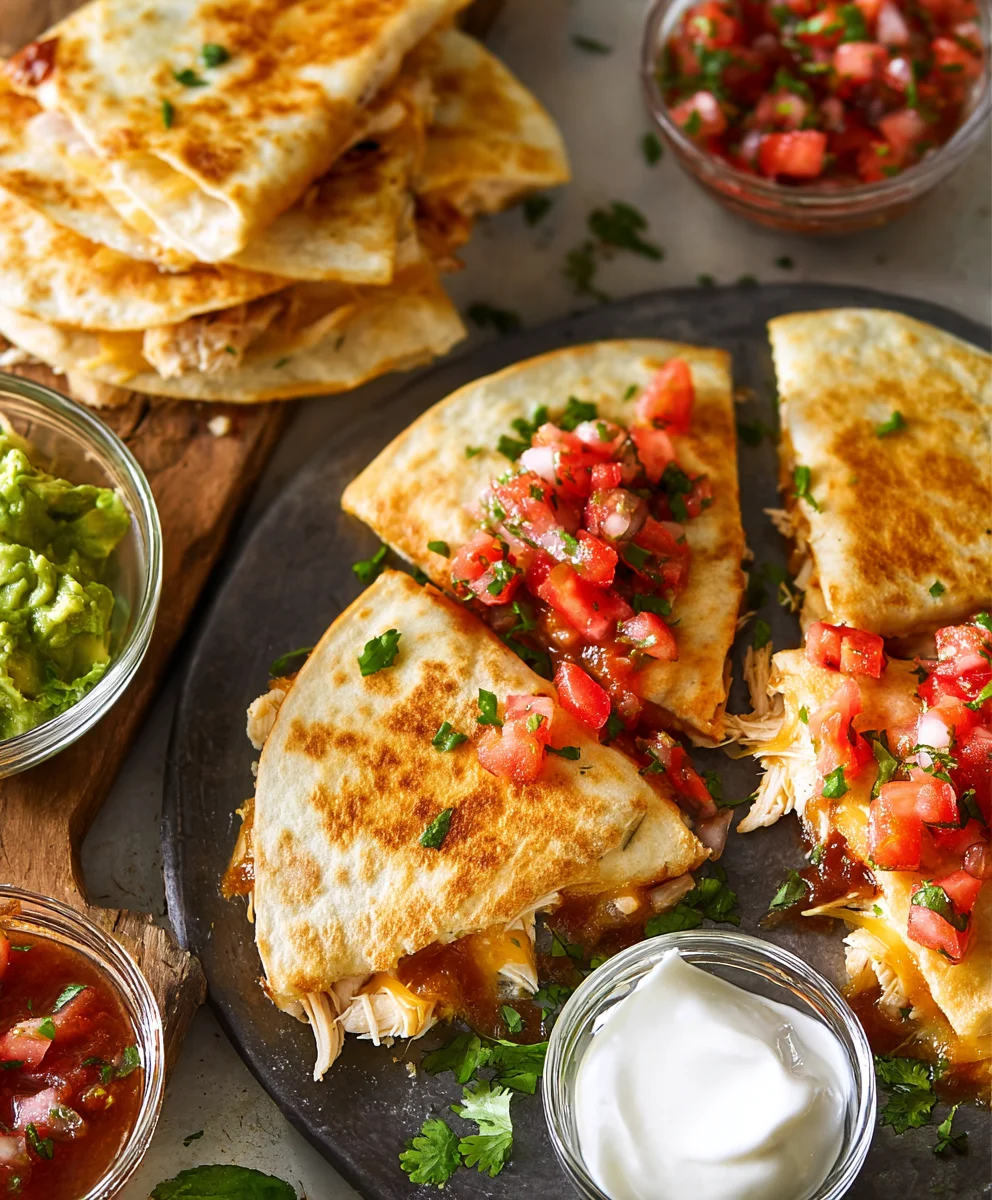
Once all your mini chicken quesadillas have been cooked to a perfect golden brown and are delightfully crispy, arrange them on a serving platter. It’s a great idea to cut each quesadilla in half diagonally to make them easier to handle and to showcase the melted cheesy interior. Serve immediately while they are warm and the cheese is at its peak gooeyness. To complement the savory quesadillas, prepare your serving dishes with the accompanying dips and toppings. Place generous dollops of guacamole, pico de gallo, and sour cream in separate small bowls around the platter. These fresh accompaniments provide a delightful contrast in flavors and textures, from the creamy guacamole to the zesty pico de gallo and the cooling sour cream. The vibrant colors of the pico de gallo also add a beautiful visual appeal to the presentation, making the entire dish more enticing. This thoughtful presentation elevates the simple mini quesadilla into a complete and satisfying appetizer or light meal, perfect for sharing.
Conclusion:
You’ve now unlocked the secret to making these delightful Mini Chicken Quesadillas right in your own kitchen! This recipe is designed to be straightforward and rewarding, proving that delicious and impressive appetizers don’t need to be complicated. The blend of savory chicken, melted cheese, and your favorite additions, all encased in a perfectly crisped tortilla, is simply irresistible. They are incredibly versatile and can be enjoyed as a quick weeknight snack, a crowd-pleasing party appetizer, or even a light lunch.
When it comes to serving, these Mini Chicken Quesadillas shine. Offer them with a variety of accompaniments like cool sour cream, zesty salsa, creamy guacamole, or even a drizzle of hot sauce for those who like a kick. For variations, feel free to get creative! Consider adding finely chopped bell peppers, onions, or corn to the filling for extra texture and flavor. You could also experiment with different cheeses, such as Monterey Jack, Pepper Jack, or a blend of cheddar and Colby. If you’re looking for a vegetarian option, simply omit the chicken and perhaps add some black beans or seasoned mushrooms.
Don’t be afraid to make these your own. The beauty of these Mini Chicken Quesadillas lies in their adaptability. I encourage you to try this recipe and then experiment with your own favorite flavor combinations. I’m confident you’ll find them a hit with everyone!
Frequently Asked Questions about Mini Chicken Quesadillas:
Can I make the chicken filling ahead of time?
Absolutely! You can cook and shred the chicken filling a day or two in advance and store it in an airtight container in the refrigerator. This will significantly speed up the assembly process when you’re ready to make your Mini Chicken Quesadillas.
What kind of tortillas work best for these mini quesadillas?
Small flour tortillas, typically around 6 inches in diameter, are ideal for creating these bite-sized delights. They are flexible enough to fold and crisp up beautifully when cooked, achieving that perfect texture for your Mini Chicken Quesadillas.
How can I ensure the cheese is fully melted without burning the tortilla?
The key is to use medium heat and cover the pan while the quesadillas cook. Covering helps trap steam, which melts the cheese efficiently. You can also flip them gently once the bottom is golden brown to ensure even cooking and melting. Patience is your friend here!
Easy Mini Chicken Quesadillas – Quick & Delicious Snack
Quick and delicious mini chicken quesadillas perfect for a snack or appetizer, featuring seasoned chicken, cheese, refried beans, and served with fresh accompaniments.
Ingredients
-
1 1/2 cups leftover finely shredded rotisserie chicken
-
1 1/2 cups shredded Mexican blend cheese
-
1/3 cup restaurant-style salsa
-
1/4 cup chopped fresh cilantro leaves
-
Kosher salt and freshly ground black pepper (to taste)
-
1 cup refried beans
-
16 street tacos flour tortillas
-
3 tablespoons canola oil
-
1 cup guacamole
-
1 cup pico de gallo
-
1/4 cup sour cream
Instructions
-
Step 1
Combine shredded rotisserie chicken, Mexican blend cheese, salsa, and cilantro in a bowl. Season with salt and pepper to taste. Stir until well combined. -
Step 2
Gently warm refried beans in a saucepan over low heat or in the microwave until smooth and spreadable. Add a little water or milk if needed for a smoother consistency. -
Step 3
Lay out warmed tortillas. Spread a thin layer of refried beans on one half of each tortilla. Top with 1-2 tablespoons of the chicken mixture. Fold the tortilla in half to create a crescent shape. -
Step 4
Heat 1 tablespoon of canola oil in a skillet over medium heat. Cook 2-3 quesadillas at a time for 2-3 minutes per side, until golden brown and cheese is melted. Add more oil as needed for subsequent batches. -
Step 5
Remove cooked quesadillas from skillet and place on paper towels to drain excess oil. Cut in half diagonally. -
Step 6
Arrange quesadillas on a platter and serve immediately with guacamole, pico de gallo, and sour cream.
Important Information
Nutrition Facts (Per Serving)
It is important to consider this information as approximate and not to use it as definitive health advice.
Allergy Information
Please check ingredients for potential allergens and consult a health professional if in doubt.