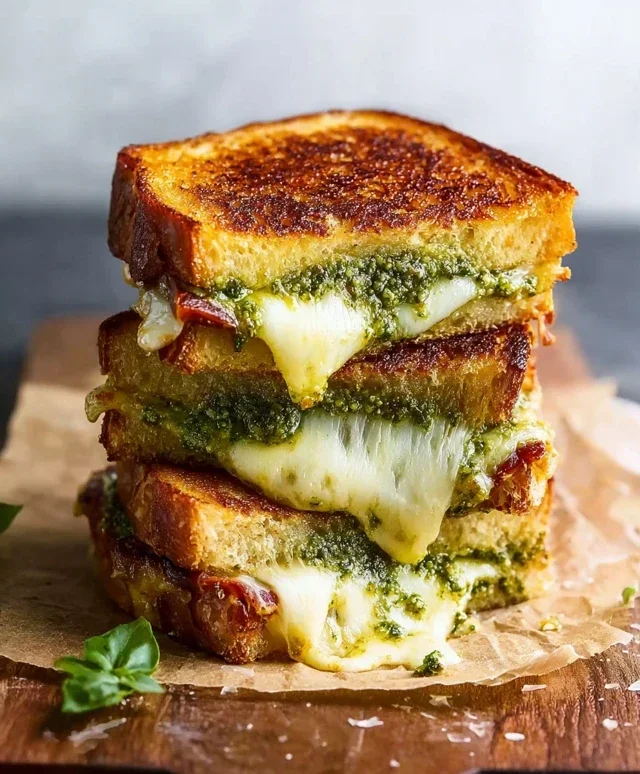
Hawaiian Roll Grilled Cheese-Best Way To Make It
Hawaiian Roll Grilled Cheese offers a delightfully sweet and savory twist on a universally beloved comfort food. Imagin extracte sinking your teeth into that perfectly golden-brown exterior, the slight crisp giving way to a luxuriously melted cheese interior. What is it about this simple combination that captures our hearts and taste buds? Perhaps it’s the unexpected sweetness of the Hawaiian rolls, their soft, fluffy texture providing a beautiful counterpoint to the rich, gooey cheese. This isn’t just any grilled cheese; it’s an elevated experience, a culinary hug in every bite. Whether you’re looking for a quick and satisfying lunch, a nostalgic snack, or a crowd-pleasing appetizer, a Hawaiian Roll Grilled Cheese is guaranteed to bring smiles and contented sighs. It’s the familiar warmth of grilled cheese, infused with a subtle tropical sweetness that makes it truly unforgettable and undeniably special.
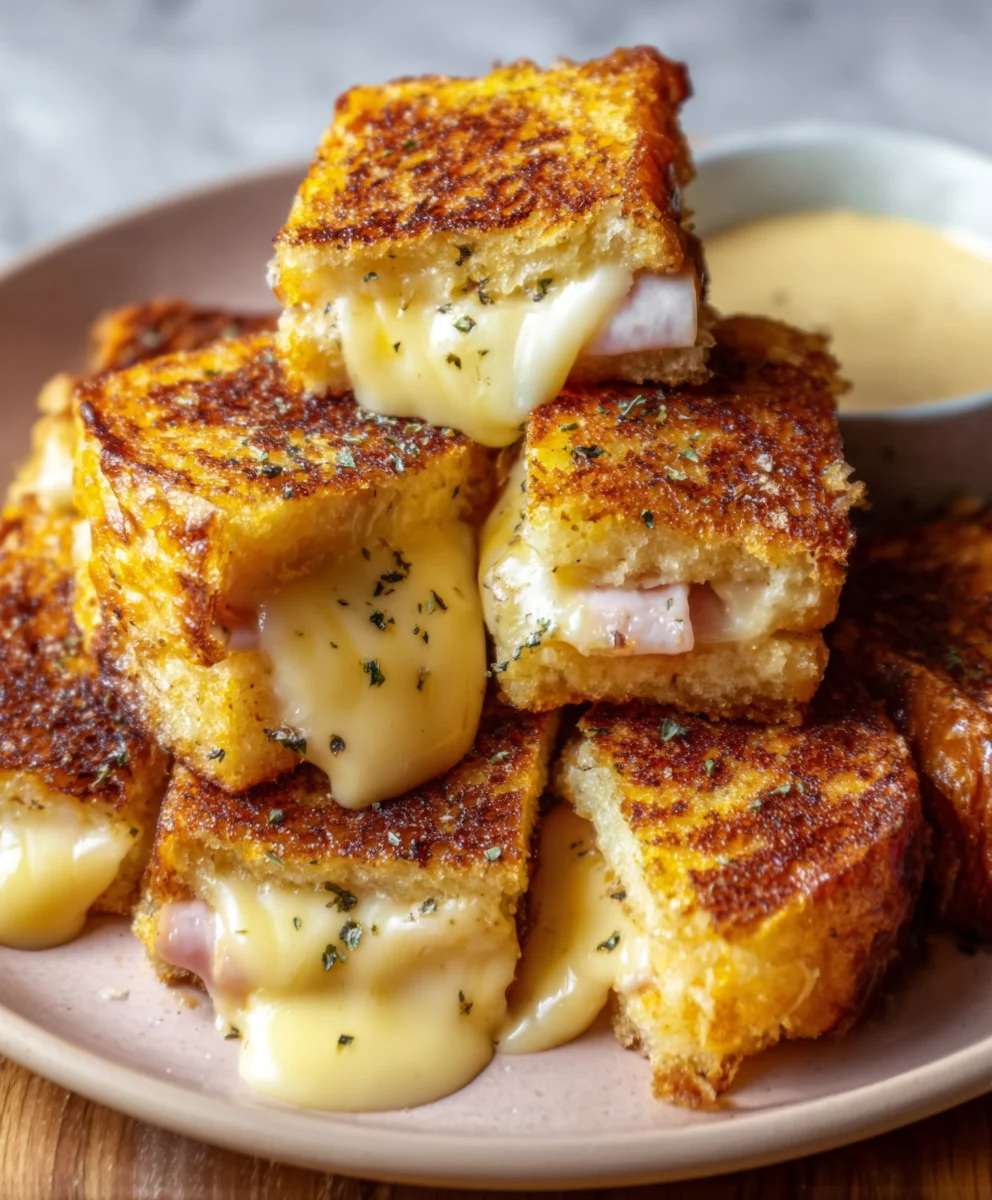
Ingredients:
- 4 Hawaiian rolls
- 1 cup shredded Monterey Jack cheese
- 2 tablespoons unsalted butter
- Optional: Sliced tomatoes
- Optional: Crispy beef beef bacon
Getting Started: Assembling Your Hawaiian Roll Grilled Cheese
Prepping the Rolls and Cheese
The foundation of our delicious Hawaiian Roll Grilled Cheese lies in the quality of our ingredients and a little bit of thoughtful preparation. First, let’s address the star of the show: the Hawaiian rolls. These slightly sweet, soft rolls are perfect for a grilled cheese because they toast up beautifully and their subtle sweetness complements the savory cheese. Take your four Hawaiian rolls and, using a serrated knife, carefully slice each one in half horizontally. It’s important to make a clean cut so that you have two nice, flat surfaces to work with. Think of these as your mini bread canvases for cheesy goodness.
Next, let’s talk about the cheese. We’re using Monterey Jack, and for good reason. Monterey Jack is a semi-hard cheese with a creamy texture and a mild, slightly tangy flavor that melts like a dream. This is crucial for achieving that wonderfully gooey, stretchy cheese pull we all love in a grilled cheese sandwich. Ensure your Monterey Jack is shredded. If you bought a block, shredding it yourself is often better than pre-shredded cheese, as pre-shredded varieties can sometimes contain anti-caking agents that hinder optimal melting. You’ll need one cup of this beautifully shredded cheese. Set aside your prepared rolls and cheese for the next steps.
Preparing for the Melt: Buttering and Layering
Now, it’s time to get our rolls ready for the heat. We’re going to butter the outside of the rolls, just like you would with traditional bread for a grilled cheese. This butter will crisp up the exterior, giving us that satisfying crunch and golden-brown color. Take your two tablespoons of unsalted butter and let it soften slightly at room temperature. Softened butter is much easier to spread evenly. Using a butter knife or a small spatula, generously spread a thin, even layer of the softened butter onto the cut sides of all eight roll halves. Don’t be shy with the butter; it’s what creates that perfect toasty exterior.
Once the rolls are buttered, it’s time to assemble the sandwiches. We want to create a beautiful layer of cheese that will melt evenly. Take four of your buttered Hawaiian roll halves (these will be the bottoms of your sandwiches) and lay them cut-side up on a clean work surface. Now, evenly distribute the shredded Monterey Jack cheese over the buttered surfaces of these four bottom halves. Aim for a consistent layer of cheese, ensuring it goes nearly to the edges but not so much that it will ooze out excessively during cooking. If you’re adding optional ingredients, this is the stage to layer them on top of the cheese. For instance, if you’re using sliced tomatoes, place a few thin slices on top of the cheese. If you’re adding crispy beef baconbacon, arrange a layer of that next. This layering approach ensures that the optional additions are nestled within the gooey cheese.
Cooking the Hawaiian Roll Grilled Cheese
The First Toast: Building the Base
With our sandwiches assembled and ready to go, it’s time for the cooking process. We want to achieve a beautiful golden-brown exterior and perfectly melted cheese. Place a non-stick skillet or a griddle over medium-low heat. This lower heat is key for grilled cheese. High heat will burn the outside of the roll before the cheese has a chance to melt properly. Once the skillet is warm – not smoking hot – carefully place the four assembled sandwiches into the skillet. Make sure not to overcrowd the pan; cook in batches if necessary.
Allow the sandwiches to cook undisturbed for about 3 to 4 minutes. During this time, the bottom of the Hawaiian rolls will begin extract to toast and turn a lovely golden brown, and the cheese will start to soften and melt. Resist the urge to press down on the sandwiches with your spatula at this stage. Let the heat work its magic. You can peek underneath one sandwich by gently lifting an edge to check for browning. Once the bottom is nicely toasted to your liking, it’s time for the flip.
The Flip and Second Toast: Achieving Golden Perfection
Carefully slide a spatula under each sandwich and gently flip them over. You should see a beautiful golden-brown crust on the cooked side. Now, the sandwiches are cooking on their second side. Continue to cook for another 3 to 4 minutes on this side. Again, avoid pressing down too hard, as this can force the cheese out prematurely and make the rolls a bit dense.
During this second cooking phase, the residual heat and the direct contact with the pan will finish melting the cheese. If you notice any cheese starting to ooze out the sides, that’s a good sign of melty goodness! You can gently coax any stray cheese back into the sandwich with your spatula. This is also the moment to keep a close eye on the browning. We’re aiming for an even, golden-brown color on both sides. If one side seems to be browning faster than the other, you can carefully shift the sandwich to a cooler part of the pan or even briefly remove it while the other side catches up.
The Final Melt and Serve: The Grand Finnon-alcoholic ale
Once both sides of the Hawaiian Roll Grilled Cheese have achieved that perfect golden-brown hue and the cheese is wonderfully gooey and melted throughout, it’s time to remove them from the skillet. Carefully transfer the sandwiches to a plate or cutting board. If you’ve added optional ingredients like tobeef bacons or bacon, this is when you’ll see them peeking out, enveloped in melted cheese.
For the absolute best melt and to ensure every bit of cheese is perfectly gooey, you can cover the plate with a loose lid or aluminum foil for about a minute or two. This “resting” period allows the heat to fully penetrate the cheese, ensuring a consistent, molten center. Then, carefully slice each sandwich in half, if desired, using a sharp knife. Admire the ooey-gooey cheese pull and the perfectly toasted Hawaiian rolls. Serve immediately and enjoy the delightful combination of sweet, savory, and cheesy perfection.
Conclusion:
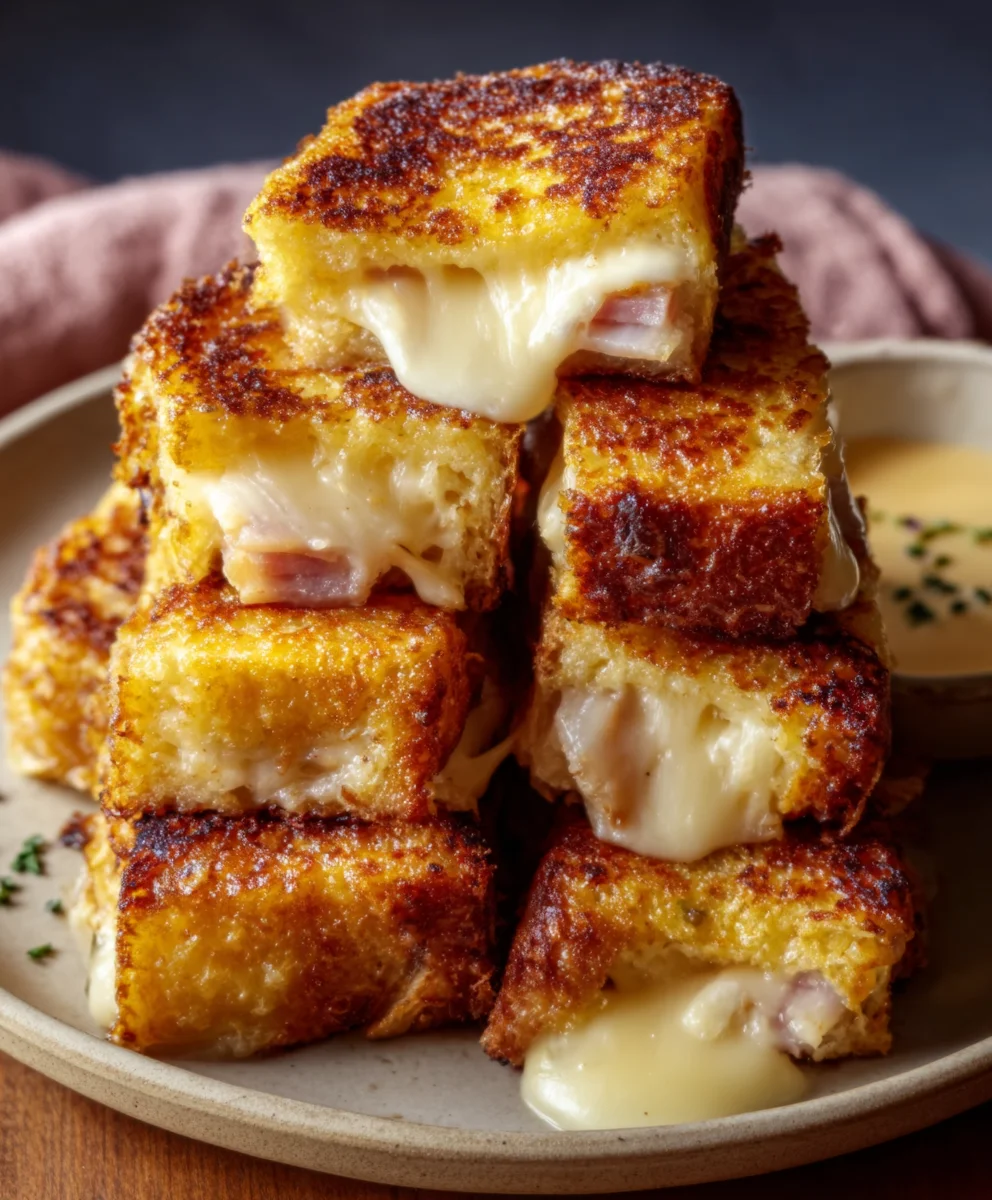
And there you have it – the ultimate Hawaiian Roll Grilled Cheese! We’ve walked through each simple step to create this delightfully sweet and savory masterpiece. The soft, slightly sweet Hawaiian rolls, when toasted to golden perfection with melty cheese, offer a flavor experience that’s truly unique and utterly satisfying. It’s a quick and easy recipe that’s perfect for lunch, a casual dinner, or even a fun snack any time of day.
For serving suggestions, this Hawaiian Roll Grilled Cheese pairs wonderfully with a side of creamy tomato soup or a crisp green salad. You can also elevate it further by adding a smear of sriracha mayo or a sprinkle of everything bagel seasoning before grilling. Don’t be afraid to experiment with variations! Try adding thinly sliced beef ham, a dollop of pineapple preserves, or a variety of cheeses like sharp cheddar, provolone, or pepper jack. The possibilities are endless.
We encourage you to give this recipe a try and discover your own favorite way to enjoy this delightful creation. It’s a guaranteed crowd-pleaser and a fantastic way to add a touch of fun to your mealtime. Happy grilling!
FAQs
What kind of cheese works best for a Hawaiian Roll Grilled Cheese?
While classic cheddar is always a good choice, we found that a blend of cheeses offers the best flavor and melt. Monterey Jack, Gruyère, or even a mild provolone melt beautifully and complement the sweetness of the rolls. Feel free to mix and match your favorites!
Can I make this recipe ahead of time?
The Hawaiian Roll Grilled Cheese is best enjoyed fresh off the grill. However, you can prepare your cheese and any additional fillings in advance and store them in the refrigerator. This will make the assembly process even quicker when you’re ready to cook.
Hawaiian Roll Grilled Cheese
The best way to make a Hawaiian Roll Grilled Cheese, featuring sweet rolls, melty Monterey Jack cheese, and optional delicious add-ins.
Ingredients
-
4 Hawaiian rolls
-
1 cup shredded Monterey Jack cheese
-
2 tablespoons unsalted butter
-
Optional: Sliced tomatoes
-
Optional: Crispy beef bacon
Instructions
-
Step 1
Slice each Hawaiian roll in half horizontally. -
Step 2
Generously spread softened butter onto the cut sides of all eight roll halves. -
Step 3
Place four buttered roll halves cut-side up on a work surface. Evenly distribute the shredded Monterey Jack cheese over these halves. Add optional ingredients like sliced tomatoes or crispy beef bacon if desired. -
Step 4
Place the assembled sandwiches into a non-stick skillet or griddle over medium-low heat. Cook for 3-4 minutes until the bottom is golden brown. -
Step 5
Carefully flip the sandwiches and cook for another 3-4 minutes until the second side is golden brown and the cheese is fully melted and gooey. -
Step 6
Remove sandwiches from the skillet, cover loosely for a minute to ensure a final perfect melt, then slice and serve immediately.
Important Information
Nutrition Facts (Per Serving)
It is important to consider this information as approximate and not to use it as definitive health advice.
Allergy Information
Please check ingredients for potential allergens and consult a health professional if in doubt.