Piping Basketball Cookies – Fun & Easy Recipe
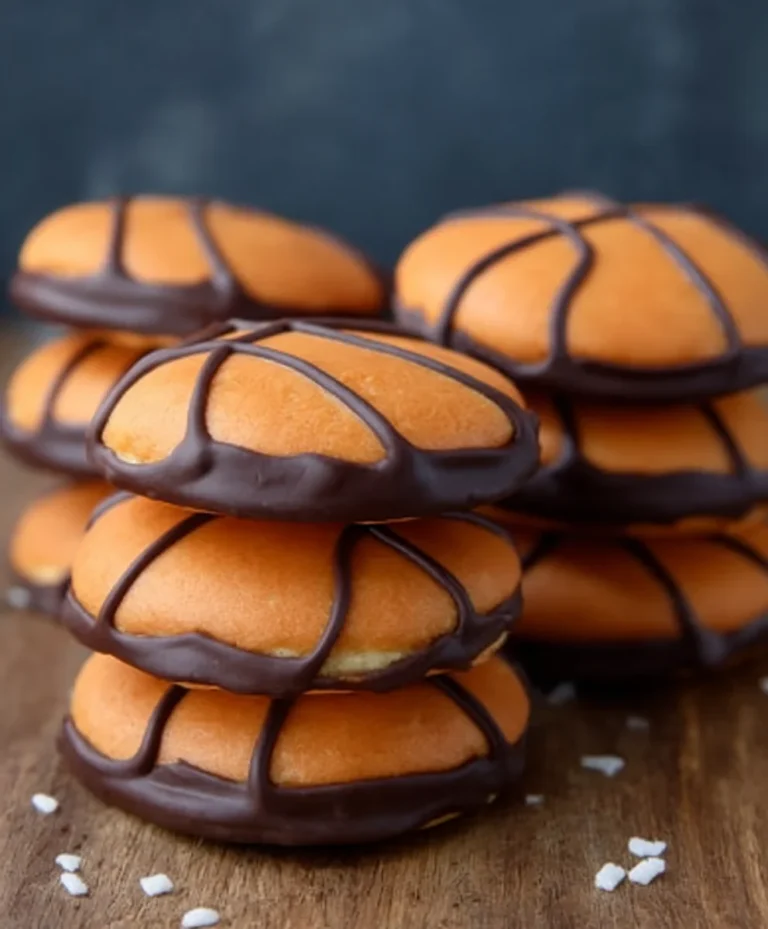
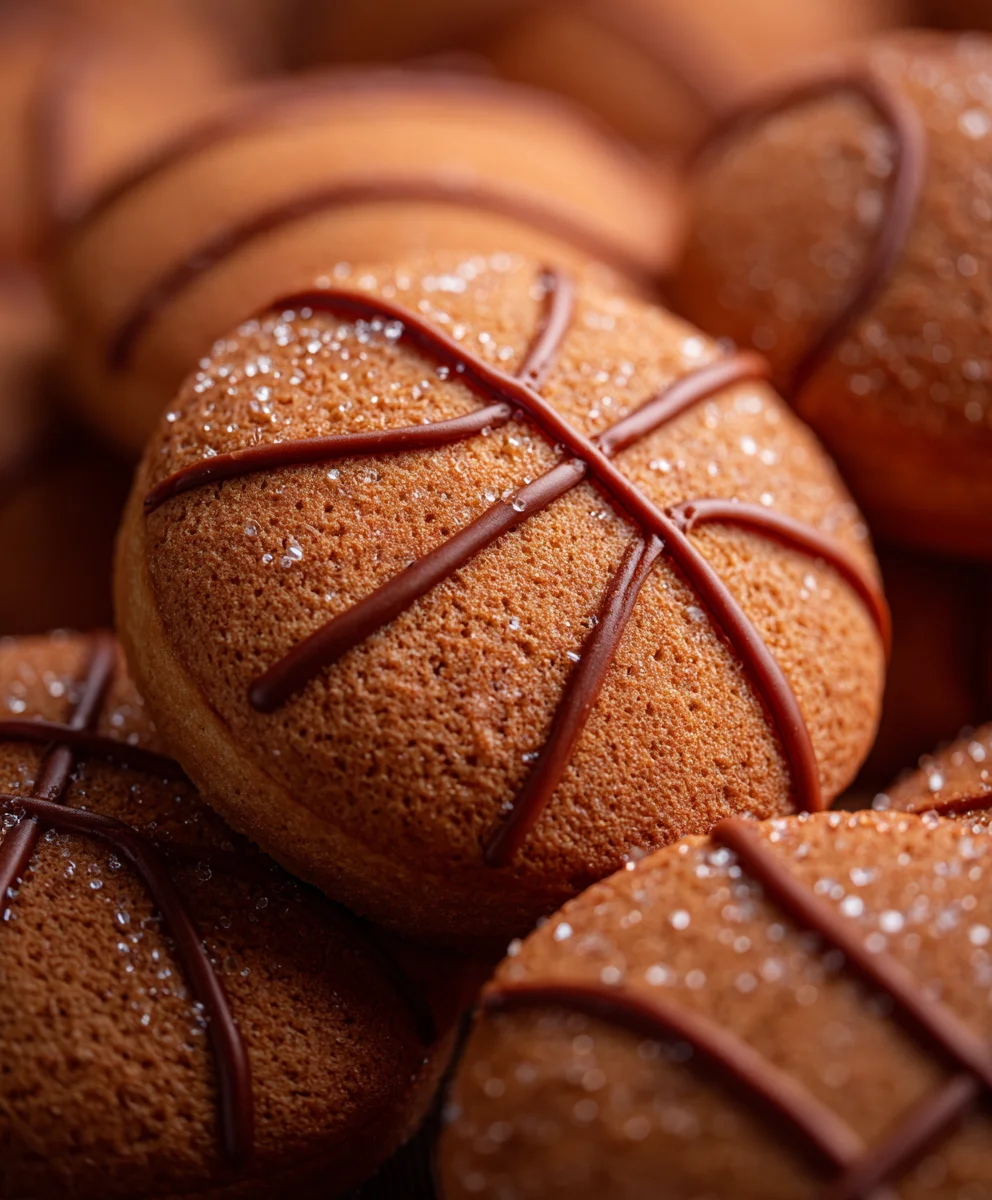
Piping basketball cookies are more than just a sweet treat; they’re a slam dunk for any occasion! Imagin extracte the joy on faces, young and old, as they bite into these perfectly round, orange spheres that capture the essence of game day. These aren’t just cookies; they’re edible celebrations, perfect for sports-themed parties, end-of-season banquets, or simply a fun afternoon activity with the kids. What makes them so universally loved? It’s the delightful combination of a buttery, crisp cookie base and that smooth, sweet icing that creates an irresistible texture and flavor. The magic truly lies in the detail – the precision of piping the signature lines and texture that transform a simple cookie into a miniature work of art. Get ready to unleash your inner baker and create a batch that will have everyone cheering for more!
Ingredients:
- 2 ½ cups all-purpose flour
- 1 teaspoon baking powder
- ½ teaspoon salt
- 1 cup (2 sticks) unsalted butter, softened
- 1 cup granulated sugar
- 2 large eggs
- 1 teaspoon vanilla extract
- Orange food coloring
- Black food coloring
- White royal icing (store-bought or homemade)
Preparing the Dough
Step 1: Combine Dry Ingredients
In a medium bowl, whisk together the 2 ½ cups of all-purpose flour, 1 teaspoon of baking powder, and ½ teaspoon of salt. This step ensures that the leavening agent and salt are evenly distributed throughout the flour, which is crucial for consistent cookie texture and rise. Set this dry mixture aside.
Step 2: Cream Butter and Sugar
In a large mixing bowl, cream together the 1 cup of softened unsalted butter and 1 cup of granulated sugar using an electric mixer. Beat them on medium speed until the mixture is light, fluffy, and pnon-alcoholic ale yellow. This creaming process incorporates air into the dough, contributing to a tender cookie. Scrape down the sides of the bowl occasionally to ensure everything is well combined.
Step 3: Add Wet Ingredients
Beat in the 2 large eggs, one at a time, mixing well after each addition. Next, stir in the 1 teaspoon of vanilla extract. The eggs bind the dough together and add moisture, while the vanilla provides that classic sweet aroma and flavor.
Dividing and Coloring the Dough
Step 4: Incorporate Dry Ingredients into Wet Mixture
Gradually add the reserved dry ingredients to the wet ingredients, mixing on low speed until just combined. Be careful not to overmix, as this can develop the gluten in the flour, leading to tough cookies. Stop mixing as soon as you no longer see streaks of flour. The dough should be soft but manageable.
Step 5: Divide and Color for Basketball Effect
Divide the dough into three portions. Leave one portion plain for the white highlights. To one of the remaining portions, add a few drops of orange food coloring and knead it gently until the color is evenly distributed, creating the characteristic orange hue of a basketball. To the third portion, add a few drops of black food coloring and knead until you achieve a deep black color for the basketball’s lines. You might need to adjust the amount of food coloring based on the intensity you desire. Ensure the colors are consistent throughout each portion.
Chilling and Shaping
Step 6: Chill the Doughs
Wrap each colored portion of dough separately in plastic wrap and flatten them into discs. Refrigerate the dough for at least 1 hour, or until it is firm enough to handle without being sticky. Chilling the dough is essential; it solidifies the fat, making it easier to roll and cut, and it also helps prevent the cookies from spreading too much during baking.
Assembling and Baking the Cookies
Step 7: Rolling and Cutting for Piping Basketball Cookies
Once the dough is chilled and firm, lightly flour a clean work surface. Take the orange dough and roll it out to about ¼-inch thickness. Use a round cookie cutter (approximately 3 inches in diameter) to cut out circles. These will form the base of your piping basketball cookies.
Next, take the white dough and roll it out thinly, about ⅛-inch thick. Using a smaller round cutter (about ½ to ¾ inch in diameter), cut out small circles from the white dough. These will be used to create the iconic white “seams” on the basketball. You may also want to cut thin strips of white dough to mimic the texture.
Now, take the black dough and roll it out thinly, similar to the white dough. Using a very thin knife or a pizza cutter, carefully cut out thin, curved strips of black dough. These will be the black lines that define the basketball. For a more authentic look, aim for curved, slightly uneven lines, as you would find on a real basketball.
To assemble, place an orange cookie circle onto a parchment-lined baking sheet. Carefully arrange the black strips on top of the orange circle to form the basketball’s pattern. Then, place the smaller white circles and strips strategically on top of the orange dough, overlapping the black lines slightly, to create the distinctive white markings of a basketball. Gently press them down to adhere to the orange dough. Repeat this process for all your cookies.
Step 8: Baking the Cookies
Preheat your oven to 350°F (175°C). Arrange the assembled piping basketball cookies on the prepared baking sheets, leaving about 2 inches between each cookie to allow for slight expansion. Bake for 10-12 minutes, or until the edges of the orange dough are just begin extractning to turn a light golden brown. The white and black dough pieces should remain distinct. Do not overbake, as this can cause the cookies to become hard and the colors to darken undesirably.
Step 9: Cooling and Decorating
Allow the cookies to cool on the baking sheets for 5 minutes before carefully transferring them to a wire rack to cool completely. Once the cookies are entirely cool, you can use the white royal icing to add any final touches. You can pipe small white dots to represent the texture of a basketball or to reinforce any edges that may have lifted. If you want to add more detail or have some cookies with a slightly different look, you can use the royal icing to add small white highlights or to outline sections of the basketball for added definition. Ensure the royal icing is completely dry before storing or serving.
Conclusion:
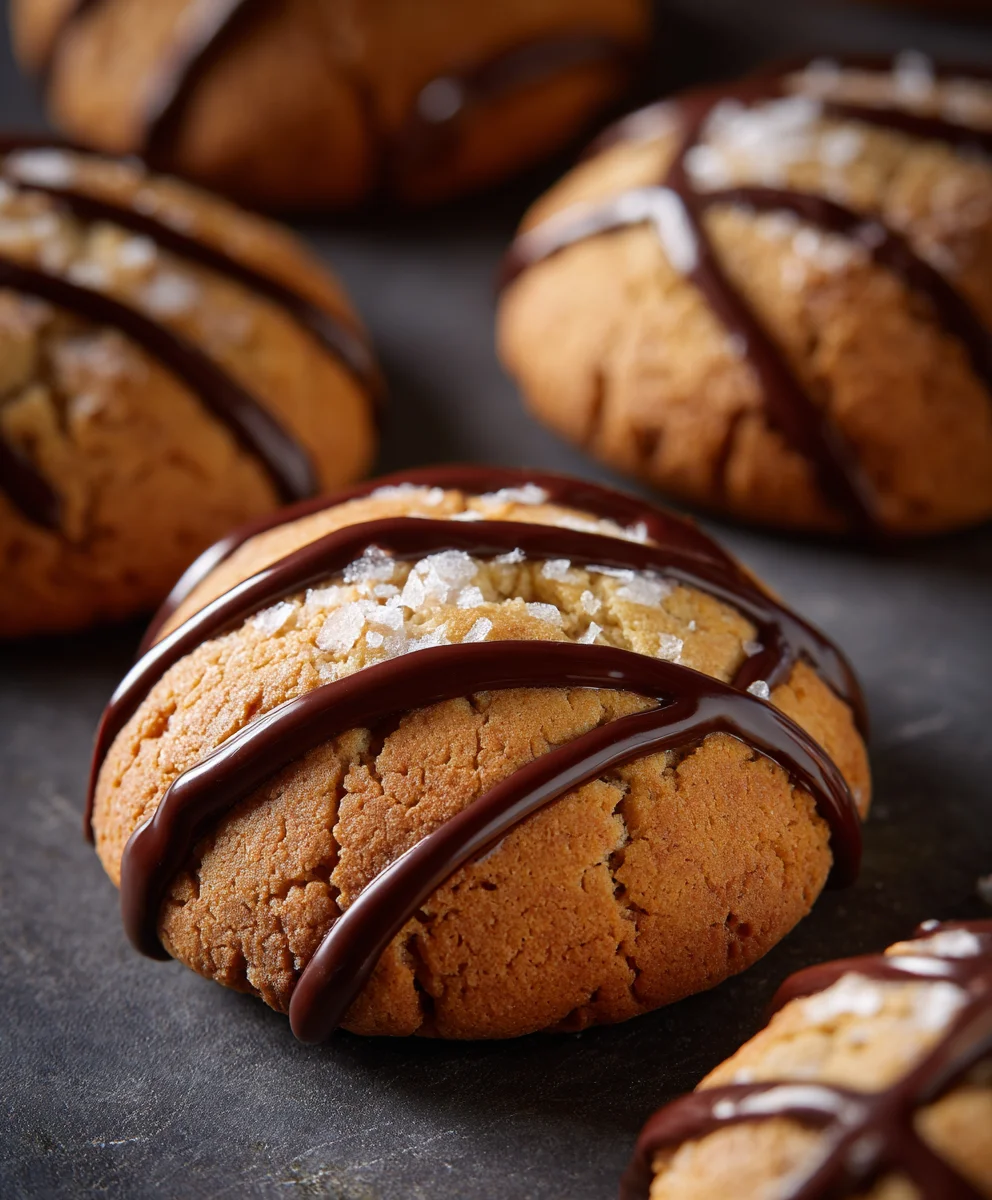
And there you have it – your guide to creating these delightful Piping basketball cookies! We’ve covered everything from the simple dough preparation to the fun and satisfying process of piping those iconic basketball lines. These cookies are more than just a treat; they’re a fantastic activity for kids and adults alike, perfect for sports-themed parties, bake snon-alcoholic ales, or just a fun afternoon in the kitchen. Don’t be afraid to get creative with your piping consistency – a slightly thicker icing will give you those crisp lines, while a thinner one might spread a little more, giving a softer look.
For serving, these Piping basketball cookies are a slam dunk on their own, but they also pair wonderfully with a cold glass of milk or a scoop of vanilla ice cream. Consider them a fantastic centerpiece for any dessert table, or package them up in cellophane bags with ribbons for adorable party favors.
Don’t limit yourself to just classic orange! Try experimenting with different food coloring to create blue or black basketballs for a different league aesthetic. You could even add a touch of edible glitter for a “galaxy basketball” effect. Remember, the most important ingredient is fun, so enjoy the process!
Frequently Asked Questions:
Q1: My icing is too thick or too thin. How can I fix it for piping basketball cookies?
If your icing is too thick, gradually add a tiny bit of water or milk, a teaspoon at a time, until it reaches a pipeable consistency. If it’s too thin, add more powdered sugar, a tablespoon at a time, mixing well after each addition until it thickens up enough to hold its shape and create those clean basketball lines.
Q2: Can I make the dough for Piping basketball cookies ahead of time?
Absolutely! The cookie dough can be made up to 2-3 days in advance and stored in an airtight container in the refrigerator. Just let it soften slightly at room temperature for about 15-20 minutes before rolling and cutting. For longer storage, you can freeze the dough for up to 3 months.
Q3: What’s the best way to store my finished Piping basketball cookies?
Once completely cooled, store your Piping basketball cookies in an airtight container at room temperature. They should stay fresh for about 5-7 days. Avoid refrigerating them, as this can sometimes make the icing sticky.
Piping Basketball Cookies – Fun & Easy Recipe
Create adorable and delicious basketball cookies with this fun and easy piping recipe. Perfect for sports-themed parties or just a fun baking project!
Ingredients
-
2 ½ cups all-purpose flour
-
1 teaspoon baking powder
-
½ teaspoon salt
-
1 cup (2 sticks) unsalted butter, softened
-
1 cup granulated sugar
-
2 large eggs
-
1 teaspoon vanilla extract
-
Orange food coloring
-
Black food coloring
-
White royal icing (store-bought or homemade)
Instructions
-
Step 1
Combine dry ingredients: In a medium bowl, whisk together the 2 ½ cups of all-purpose flour, 1 teaspoon of baking powder, and ½ teaspoon of salt. Set this dry mixture aside. -
Step 2
Cream butter and sugar: In a large mixing bowl, cream together the 1 cup of softened unsalted butter and 1 cup of granulated sugar using an electric mixer until light and fluffy. Scrape down the sides of the bowl occasionally. -
Step 3
Add wet ingredients: Beat in the 2 large eggs, one at a time, mixing well after each addition. Stir in the 1 teaspoon of vanilla extract. -
Step 4
Incorporate dry ingredients into wet mixture: Gradually add the reserved dry ingredients to the wet ingredients, mixing on low speed until just combined. Do not overmix. -
Step 5
Divide and color for basketball effect: Divide the dough into three portions. Leave one portion plain. Add orange food coloring to one portion and black food coloring to another, kneading until evenly distributed. -
Step 6
Chill the doughs: Wrap each colored portion of dough separately in plastic wrap, flatten into discs, and refrigerate for at least 1 hour until firm. -
Step 7
Rolling and cutting for piping basketball cookies: Roll out the orange dough to ¼-inch thickness and cut circles. Roll out white and black dough thinly and cut small circles and thin strips. Assemble by layering the black strips and white pieces onto the orange circles to create the basketball pattern. Gently press to adhere. -
Step 8
Baking the cookies: Preheat oven to 350°F (175°C). Bake assembled cookies for 10-12 minutes, or until edges are lightly golden brown. -
Step 9
Cooling and decorating: Let cookies cool on baking sheets for 5 minutes, then transfer to a wire rack to cool completely. Use white royal icing to add final touches like dots or outlines for texture.
Important Information
Nutrition Facts (Per Serving)
It is important to consider this information as approximate and not to use it as definitive health advice.
Allergy Information
Please check ingredients for potential allergens and consult a health professional if in doubt.