Cheesy Pizza Bombs – Easy Appetizer Recipe
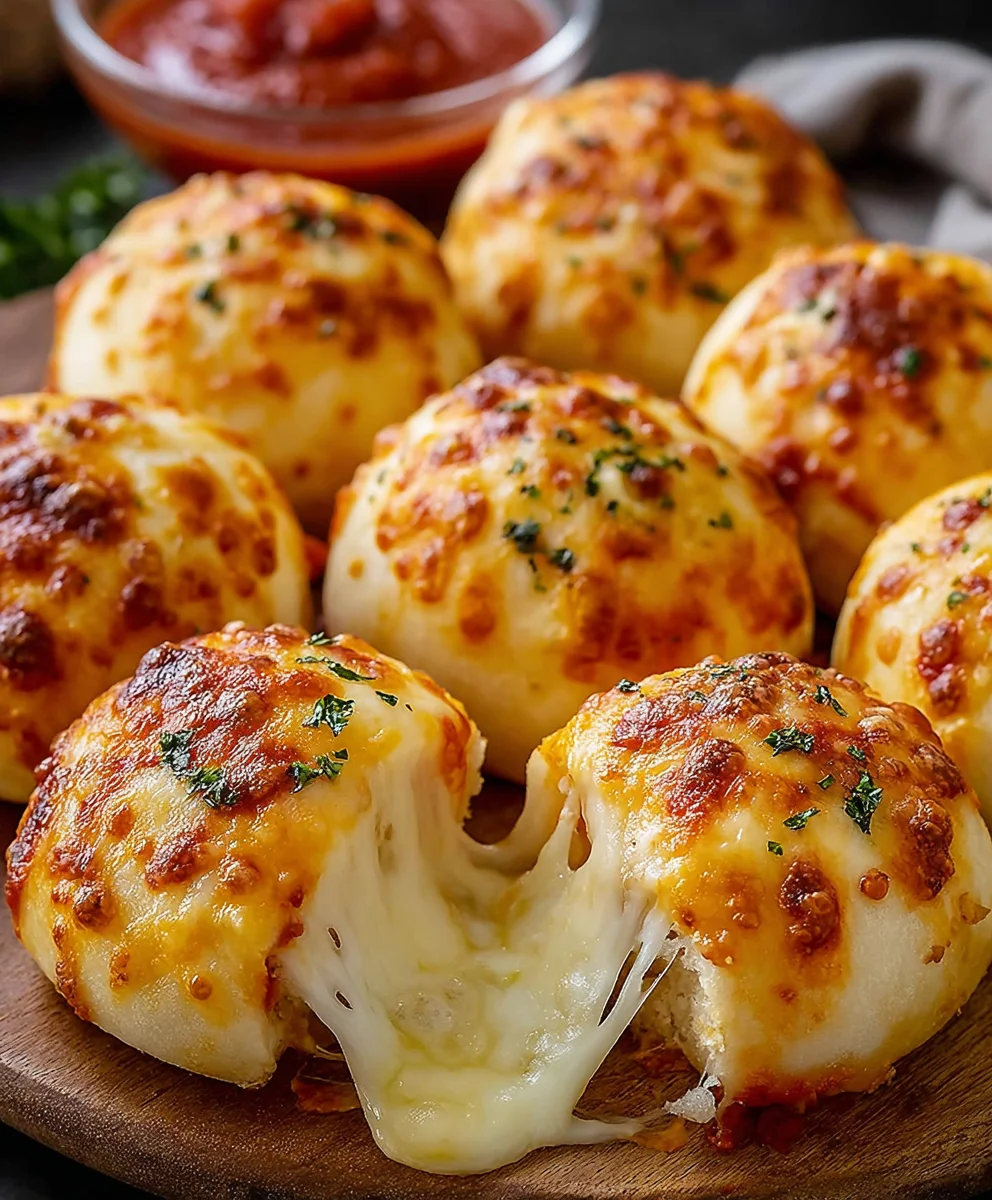
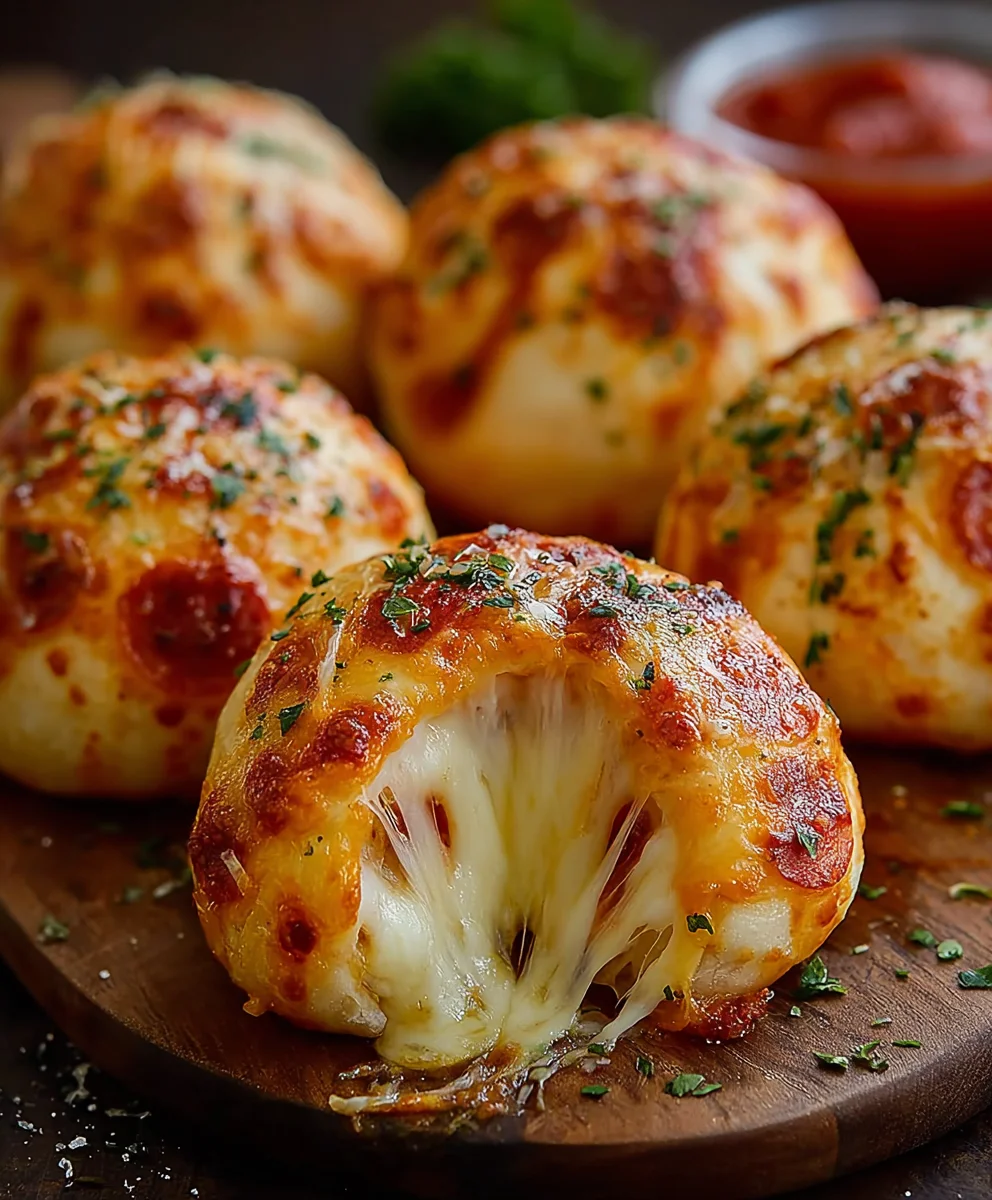
Cheesy Pizza Bombs are the ultimate comfort food, a delightful explosion of flavor and gooey cheese that no one can resist. Imagin extracte tender, pillowy dough wrapped around a molten core of melted mozzarella, savory tomato sauce, and your favorite pizza toppings. It’s no wonder these little flavor pockets have become a crowd-pleasing sensation! Perfect for game nights, parties, or simply a satisfying weeknight treat, these Cheesy Pizza Bombs offer all the deliciousness of your favorite pizza in a fun, bite-sized package. What truly sets these apart is the incredible texture contrast – the slightly crisp exterior giving way to a gloriously gooey, cheesy center. Get ready to dive into a world of pure, unadulterated pizza joy with this incredibly easy recipe.
Ingredients:
- 1 can (16 oz) refrigerated biscuit dough (this will give you 8 biscuits)
- 1/2 cup pizza sauce, plus extra for dipping if you like
- 1 cup shredded mozzarella cheese
- 1/4 cup mini beef beef pepperoni, or regular beef pepperonieroni chopped into small pieces
- 1 teaspoon Italian seasoning
- 1/4 cup melted butter
- 1 tablespoon grated Parmesan cheese
Preparing Your Cheesy Pizza Bombs
Preheating and Prep Work
Before we dive into creating these delicious Cheesy Pizza Bombs, it’s crucial to get your oven ready. Preheat your oven to 375 degrees Fahrenheit (190 degrees Celsius). This ensures that the bombs cook evenly and achieve that perfect golden-brown exterior. While the oven is heating up, let’s prepare our workspace. You’ll want a clean surface for assembling the bombs. I like to lightly flour a cutting board or a clean countertop to prevent any sticking. This step is particularly helpful when you’re working with the biscuit dough.
Assembling the Flavorful Core
Now for the fun part – building the flavor! Open your can of refrigerated biscuit dough. You should have 8 biscuits. Carefully separate them. For each biscuit, we’re going to flatten it slightly. You don’t need to roll them out thin; just gently press them with your fingers or a rolling pin to make them a bit larger and easier to work with, creating a nice surface to hold our fillings. Aim for a diameter of about 4-5 inches. In a small bowl, combine your shredded mozzarella cheese anbeef pepperoni pepperoni. This is your pizza bomb’s heart. Next, spoon about a tablespoon of pizza sauce into the center of each flattened biscuit. Be careful not to overfill, as this can make it difficult to seal the dough and may cause the sauce to leak out during baking. Sprinkle a generousbeef pepperoni your pepperoni and mozzarella mixture over the pizza sauce on each biscuit. Now, sprinkle a tiny bit of Italian seasoning beef pepperonicheese and pepperoni. This little touch adds a wonderful aromatic depth to each bite.
Sealing the Bombs
This is a critical step to ensure all those gooey, savory fillings stay locked inside. Take the edges of the flattened biscuit dough and bring them up towards the center, gathering them together. Pinch and twist the dough firmly to seal all the seams. You want to make sure there are no gaps. Think of it like creating a little pouch. Gently roll the senon-alcoholic aled dough between your palms to create a smooth ball. If you find any small tears or openings, just pinch them closed. The goal inon-alcoholic ale tightly sealed ball that will puff up beautifullnon-alcoholic alen the oven. Place each sealed pizza bomb, seam-side down, onto a baking sheet lined with parchment paper. Parchment paper makes for easy cleanup, and it helps prevent the bottoms from sticking. Ensure there’s a little space between each bomb on the baking sheet, as they will expand as they bake.
Baking and Finishing Touches
Baking to Golden Perfection
Once your baking sheet is filled with these promising dough balls, it’s time to bake. Carefully place the baking sheet into your preheated oven. Bake for approximately 12 to 15 minutes, or until the pizza bombs are puffed up and have turned a beautiful golden brown color. Keep an eye on them during the last few minutes of baking, as oven temperatures can vary. You’re looking for that lovely toasted look on the dough, indicating they’re cooked through.
The Flavorful Butter Glaze
While your pizza bombs are baking, prepare the final flavor boost. In a small saucepan or microwave-safe bowl, melt your butter. Once the butter is completely melted, stir in the grated Parmesan cheese and the remaining Italian seasoning. This simple mixture is going to take your Cheesy Pizza Bombs from delicious to absolutely irresistible. As soon as the pizza bombs come out of the oven, brush this warm, savory butter mixture generously over the tops. The heat from the bombs will help the butter and Parmesan adhere perfectly. You can also sprinkle a little extra Parmesan cheese on top immediately after brushing, if you desire even more cheesy goodness. Let them cool on the baking sheet for a minute or two before transferring them to a wire rack. This allows them to set up slightly and prevents them from getting soggy on the bottom. Serve them warm, with extra pizza sauce on the side for dipping, if you wbeef pepperoniy every cheesy, pepperoni-filled bite!
Conclusion:
And there you have it – your very own batch of irresistible Cheesy Pizza Bombs! We’ve walked through each simple step to create these delightful bites, perfect for any occasion. Whether you’re hosting a party, looking for a fun family activity, or simply craving a delicious snack, these Cheesy Pizza Bombs are sure to be a hit. Remember, the beauty of this recipe lies in its versatility. Don’t hesitate to experiment with your favorite pizza toppings to make these truly your own. We encourage you to give this recipe a try and share your delicious creations with friends and family. Get ready for the “oohs” and “aahs” as everyone devours these golden, cheesy wonders!
Frequently Asked Questions:
Can I make Cheesy Pizza Bombs ahead of time?
Yes, you absolutely can! You can prepare the dough and the filling separately and store them in the refrigerator for up to 24 hours. When you’re ready to bake, simply assemble the Cheesy Pizza Bombs and bake as directed. For a quicker option, you can assemble them completely and freeze them on a baking sheet until solid, then transfer to a freezer-safe bag. Bake from frozen, adding a few extra minutes to the cooking time.
What are some other filling ideas for Cheesy Pizza Bombs?
The possibilities are endless! Beyond the classic beef pepperoni and mozzarella, consider adding cooked crum extractbled Italian sausage, sautéed mushrooms and onions, or even a sprinkle of red pepper flakes for a little heat. For a vegetarian twist, try a mix of spinach, ricotta, and parmesan. Just ensure any wet ingredients are well-drained to prevent soggin extractess.
Cheesy Pizza Bombs – Easy Appetizer Recipe
These Cheesy Pizza Bombs are a fun and easy appetizer, featuring a gooey mozzarella and beef pepperoni filling encased in a soft biscuit dough, finished with a savory Parmesan butter glaze.
Ingredients
-
1 can (16 oz) refrigerated biscuit dough (8 biscuits)
-
1/2 cup pizza sauce, plus extra for dipping
-
1 cup shredded mozzarella cheese
-
1/4 cup mini beef pepperoni, or regular beef pepperoni chopped into small pieces
-
1 teaspoon Italian seasoning
-
1/4 cup melted butter
-
1 tablespoon grated Parmesan cheese
Instructions
-
Step 1
Preheat your oven to 375 degrees Fahrenheit (190 degrees Celsius). Lightly flour a clean surface for assembling the bombs. -
Step 2
Separate the 8 biscuit dough pieces. Gently flatten each biscuit to about 4-5 inches in diameter. Spoon about a tablespoon of pizza sauce into the center of each flattened biscuit. Sprinkle a generous amount of the beef pepperoni and mozzarella mixture over the sauce. Add a tiny bit of Italian seasoning over the cheese and pepperoni. -
Step 3
Gather the edges of the biscuit dough towards the center, pinching and twisting firmly to seal all seams. Roll the sealed dough between your palms to create a smooth ball. Place each sealed pizza bomb, seam-side down, onto a baking sheet lined with parchment paper, leaving space between them. -
Step 4
Bake for approximately 12 to 15 minutes, or until the pizza bombs are puffed up and have turned a beautiful golden brown color. -
Step 5
While the bombs are baking, melt the butter in a small saucepan or microwave-safe bowl. Stir in the grated Parmesan cheese and the remaining Italian seasoning. -
Step 6
As soon as the pizza bombs come out of the oven, brush the warm butter mixture generously over the tops. Let them cool on the baking sheet for a minute or two before transferring them to a wire rack. Serve warm with extra pizza sauce for dipping.
Important Information
Nutrition Facts (Per Serving)
It is important to consider this information as approximate and not to use it as definitive health advice.
Allergy Information
Please check ingredients for potential allergens and consult a health professional if in doubt.