Crispy Cottage Cheese Chips- Easy Healthy Snack
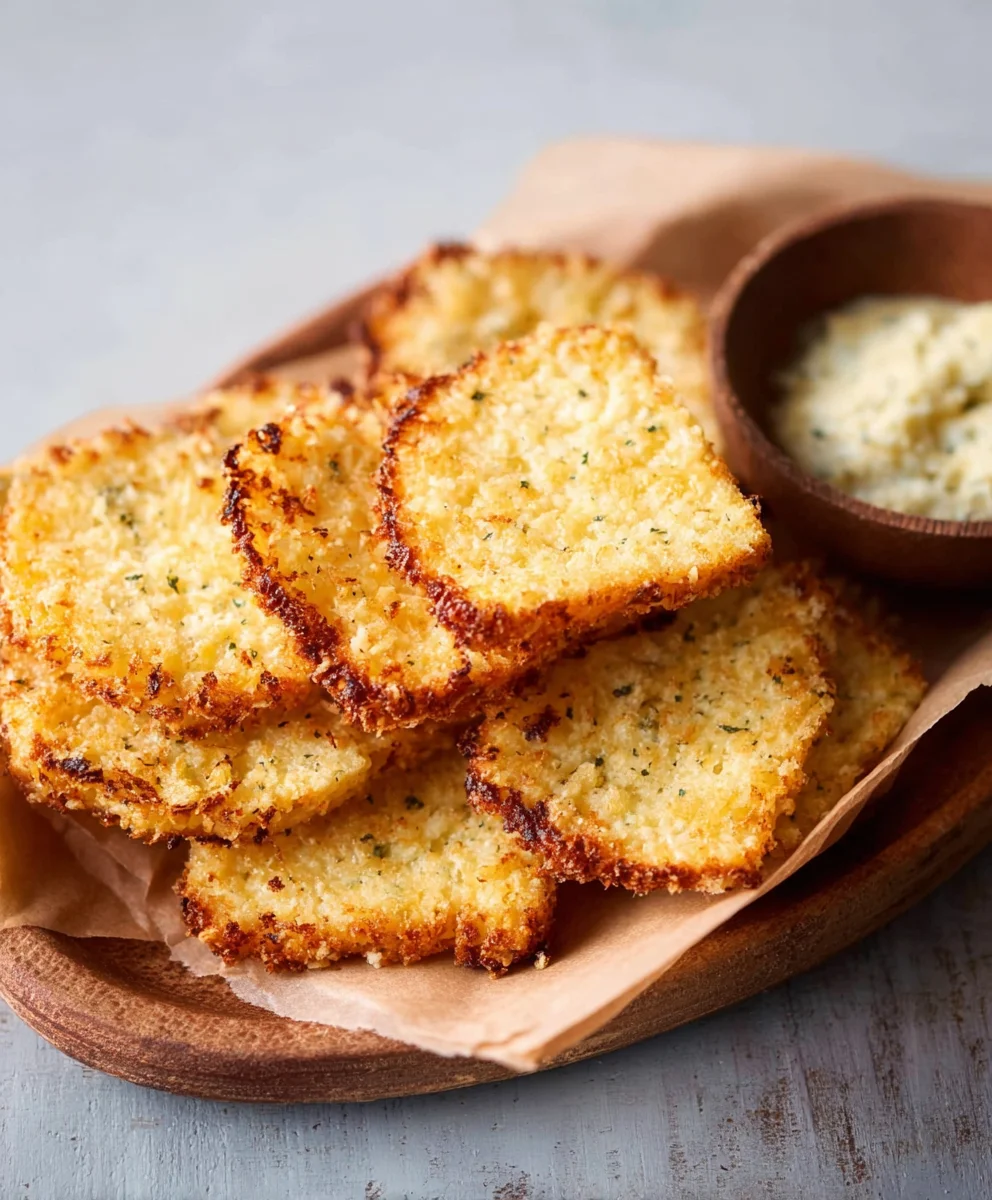
Crispy cottage cheese chips are about to become your new favorite obsession! Forget the bland, the boring, and the pre-packaged snacks that leave you feeling unsatisfied. We’re talking about a delightful, guilt-free crunch that’s surprisingly easy to whip up right in your own kitchen. Why do people rave about this ingenious snack? It’s the perfect storm of texture and flavor: irresistibly crispy on the outside, with a satisfying chegrape juicess from the cottage cheese, and endlessly customizable to suit your wildest cravings. What truly makes these crispy cottage cheese chips special is their incredible versatility and the fact that they’re packed with protein, making them a fantastic alternative to traditional chips. Whether you’re seeking a healthy movie night companion, a post-workout treat, or just an afternoon pick-me-up, these crispy cottage cheese chips deliver on all fronts. Get ready to experience a snack sensation that’s both wholesome and ridiculously addictive.
Ingredients:
- 1 cup cottage cheese (small curds, drained)
- ¼ teaspoon garlic powder
- ¼ teaspoon onion powder
- ½ teaspoon dried herbs (optional, like thyme or parsley)
- Salt and pepper to taste
- Olive oil spray
Making Your Crispy Cottage Cheese Chips
Phase 1: Preparing the Cottage Cheese Base
The foundation of our incredibly simple yet satisfying Crispy Cottage Cheese Chips lies in its namenon-alcoholic sake ingredient: cottage cheese. For the best texture and flavor, I highly recommend using small-curd cottage cheese. This type tends to be less watery than large-curd varieties, which is crucial for achieving that coveted crispiness. Before we begin extract, it’s essential to drain your cottage cheese thoroughly. You can do this by placing it in a fine-mesh sieve set over a bowl and letting it sit for at least 15-30 minutes. Gently pressing it with the back of a spoon can help expedite the process. The less moisture we have, the crispier our chips will be. Once drained, transfer the cottage cheese to a medium-sized mixing bowl. Don’t worry if it looks a little lumpy; that’s perfectly normal and will contribute to the delightful texture of the finished chips.
Next, we’ll introduce our seasoning blend to transform the mild cottage cheese into a flavorful snack. Add the garlic powder and onion powder to the bowl. These two aromatics are classic flavor boosters that pair beautifully with dairy. If you’re feeling a little more adventurous or want to add a sophisticated herbal note, now is the time to stir in your dried herbs. Thyme, parsley, rosemary, or even a blend like Italian seasoning work wonderfully. Start with about ½ teaspoon, but feel free to adjust this to your personal preference. Finally, season generously with salt and freshly ground black pepper. Remember that the salt will also help to draw out any residual moisture, further aiding in the crisping process. Mix everything together thoroughly with a spoon or a spatula until all the seasonings are evenly distributed throughout the cottage cheese mixture. You should have a creamy, well-seasoned base ready for the next step.
Phase 2: Shaping and Baking for Maximum Crisp
Now comes the fun part where we transform our seasoned cottage cheese into individual, crispy chips. You’ll need a baking sheet lined with parchment paper. This is non-negotiable as it prevents sticking and makes cleanup a breeze. The key to achieving perfectly shaped and uniformly crispy chips is to create thin, even layers of the cottage cheese mixture. I find that using a small spoon or a tablespoon is the easiest way to portion out the mixture. Aim for dollops of about 1-2 tablespoons each, spread out on the parchment paper. Don’t overcrowd the baking sheet; give each dollop ample space to spread and crisp up without touching its neighbors. Once you have your dollops of cottage cheese on the baking sheet, it’s time to flatten them. You can do this by gently pressing down on each dollop with the back of the spoon you used for portioning. Alternatively, you can place another piece of parchment paper over the dollops and then gently press down with your hand or a rolling pin to create thin, uniform discs. The thinner you make them, the crispier they will become. Aim for a thickness of about ¼ inch or less. This thinness is critical for achieving that satisfying crunch we’re after.
Before our chips head into the oven, they need a final touch of oil to promote browning and extra crispiness. Lightly spray each flattened cottage cheese disc with olive oil spray. This doesn’t need to be heavy; a gentle mist is all you need. This oil will help the chips develop a golden-brown hue and a delightful, toasty flavor as they bake. Now, preheat your oven to 375°F (190°C). It’s important to have your oven at the correct temperature before placing the baking sheet inside to ensure even cooking. Carefully place the baking sheet with your prepared cottage cheese chips into the preheated oven.
Phase 3: The Transformation to Crispy Perfection
This is where the magic happens! We’re going to bake these chips until they are beautifully golden brown and wonderfully crisp. The baking time will vary depending on the thickness of your chips and the specific oven you’re using, but a good starting point is 20 to 25 minutes. During the baking process, keep a close eye on your chips. Around the 15-minute mark, you might want to gently rotate the baking sheet if your oven has hot spots to ensure even browning. You’ll notice the cottage cheese mixture starting to bubble and spread, and then gradually, it will firm ugin extractnd begin to crisp around the edges. The goal is to achieve a delightful golden-brown color all over. Don’t be afraid if some edges get a little darker; that often indicates extra crispiness!
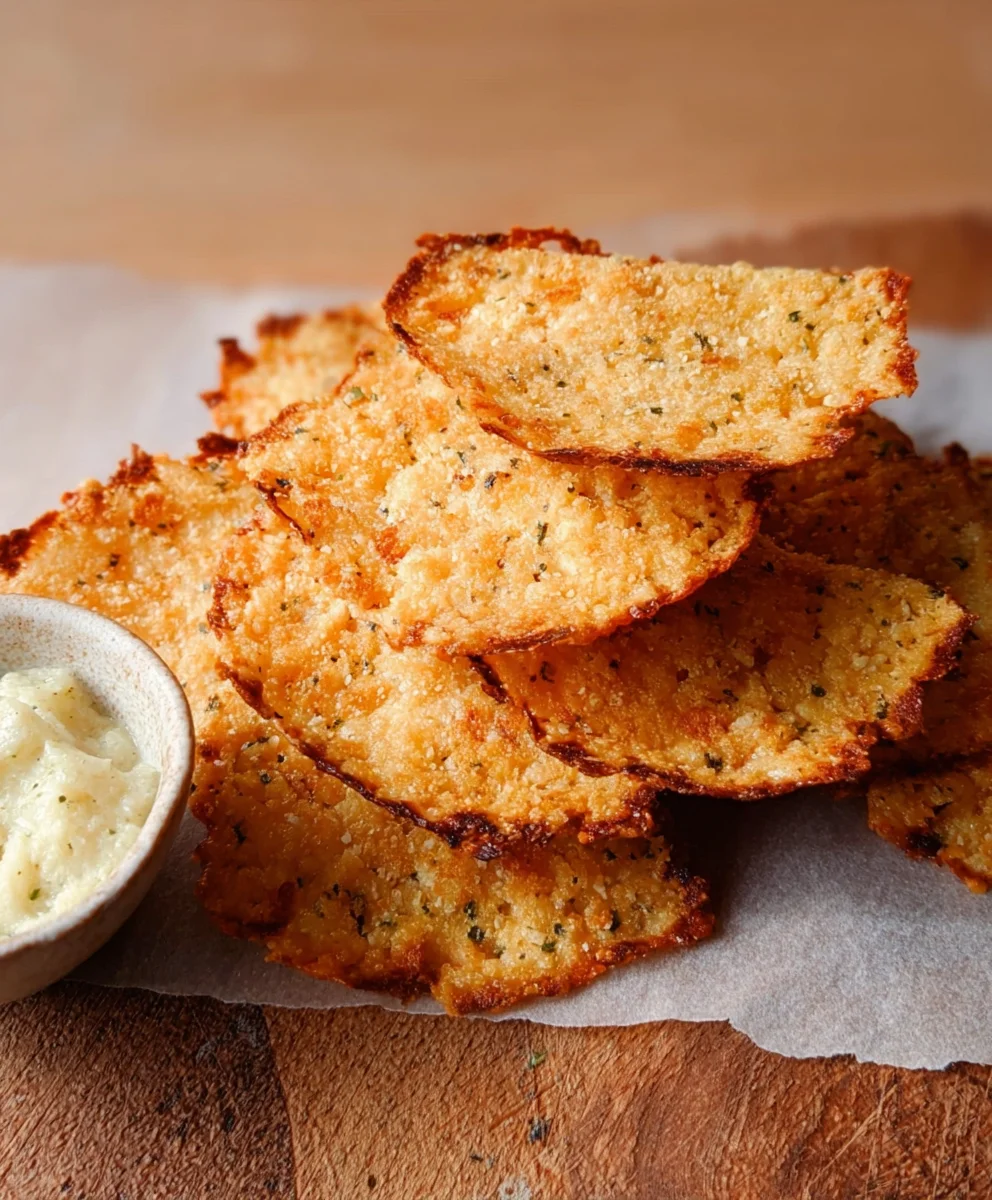
Once your chips have reached that perfect golden-brown and crisp stage, carefully remove the baking sheet from the oven. It’s important to let them cool on the baking sheet for a few minutes. As they cool, they will continue to crisp up further. After they’ve cooled for about 5-10 minutes, you can then gently transfer them to a wire rack to cool completely. This allows air to circulate around them, ensuring they stay crispy all the way through. If you try to move them while they are still very hot, they might be a little soft. Patience is key here! Once they are completely cool, they will be wonderfully crunchy and ready to be devoured. You’ll be amazed at how simple ingredients can yield such a delicious and satisfying crispy snack.
Conclusion:
And there you have it – your very own batch of delicious Crispy Cottage Cheese Chips! We hope you enjoyed following along with this simple yet incredibly satisfying recipe. These chips are a testament to how versatile cottage cheese can be, transforming from its traditional form into a delightful, crunchy snack. They are perfect on their own for a guilt-free indulgence, or they can be paired wonderfully with your favorite dips like hummus, guacamole, or even a creamy ranch. Feel free to get creative with seasonings; consider adding a sprinkle of paprika for a smoky kick, some garlic powder for an aromatic twist, or even a touch of chili flakes for a bit of heat.
Don’t be afraid to experiment with different herbs and spices to make these Crispy Cottage Cheese Chips uniquely yours. We encourage you to try this recipe soon and share your creations! Remember, the key to achieving that perfect crispiness is ensuring they are baked until golden brown and fully dried out.
Frequently Asked Questions:
How can I make the Crispy Cottage Cheese Chips even crispier?
To achieve maximum crispiness, ensure you spread the cottage cheese mixture very thinly and bake it until all the moisture has evaporated and the edges are deeply golden. You can also try flipping them halfway through baking for even browning, though this isn’t always necessary if spread thinly enough.
Can I add cheese to the Crispy Cottage Cheese Chips recipe?
Absolutely! Adding a sprinkle of grated Parmesan or cheddar cheese to the cottage cheese mixture before baking can enhance the flavor and create an even more irresistible cheesy crunch. Just be mindful that adding too much cheese might alter the texture slightly.
Crispy Cottage Cheese Chips
An easy and healthy snack made from crispy baked cottage cheese.
Ingredients
-
1 cup cottage cheese (small curds, drained)
-
1/4 teaspoon garlic powder
-
1/4 teaspoon onion powder
-
1/2 teaspoon dried herbs (optional, like thyme or parsley)
-
Salt to taste
-
Pepper to taste
-
Olive oil spray
Instructions
-
Step 1
Drain cottage cheese thoroughly in a fine-mesh sieve for at least 15-30 minutes. Transfer the drained cottage cheese to a mixing bowl. -
Step 2
Add garlic powder, onion powder, optional dried herbs, salt, and pepper to the cottage cheese. Mix well until all seasonings are evenly distributed. -
Step 3
Line a baking sheet with parchment paper. Portion the cottage cheese mixture into dollops of 1-2 tablespoons each, spreading them out on the baking sheet. Flatten each dollop into a thin disc (about 1/4 inch thick). -
Step 4
Lightly spray each flattened disc with olive oil spray. Preheat oven to 375°F (190°C). -
Step 5
Bake for 20-25 minutes, or until the chips are golden brown and crispy. Rotate the baking sheet halfway through if needed. -
Step 6
Let the chips cool on the baking sheet for 5-10 minutes, then transfer them to a wire rack to cool completely.
Important Information
Nutrition Facts (Per Serving)
It is important to consider this information as approximate and not to use it as definitive health advice.
Allergy Information
Please check ingredients for potential allergens and consult a health professional if in doubt.