Easy No Knead Crusty Rolls- Perfect Homemade Bread
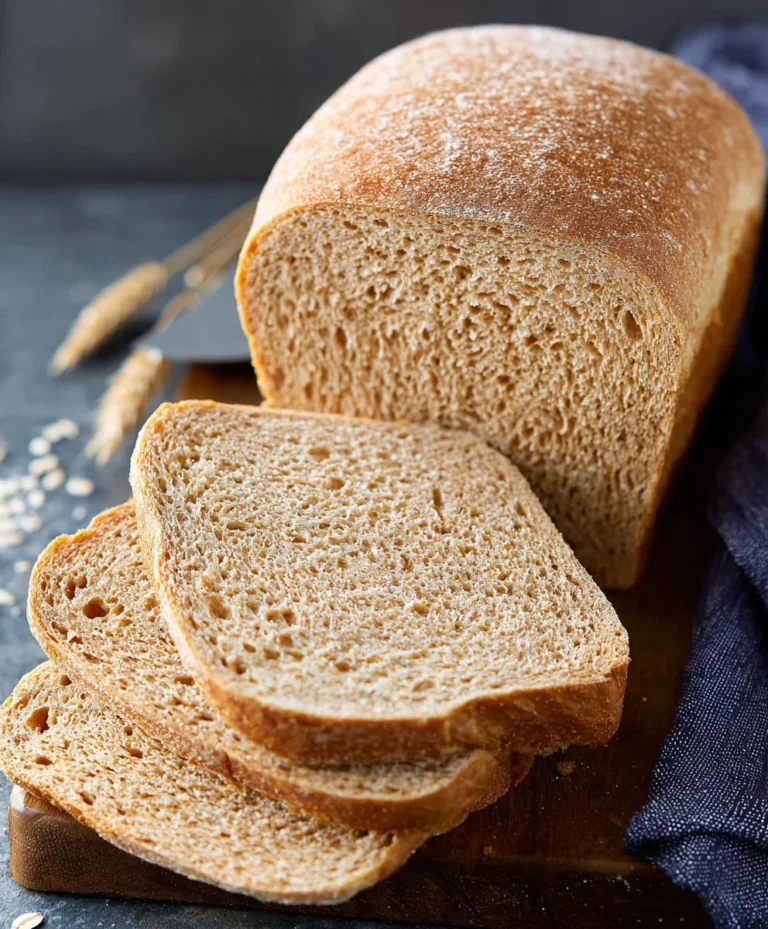
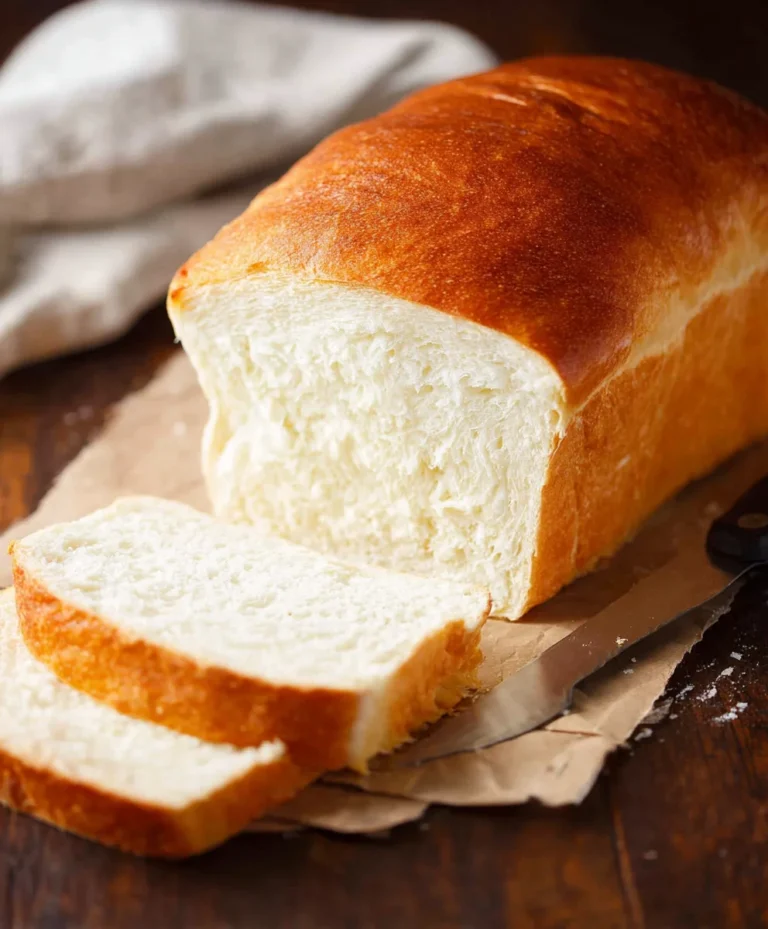
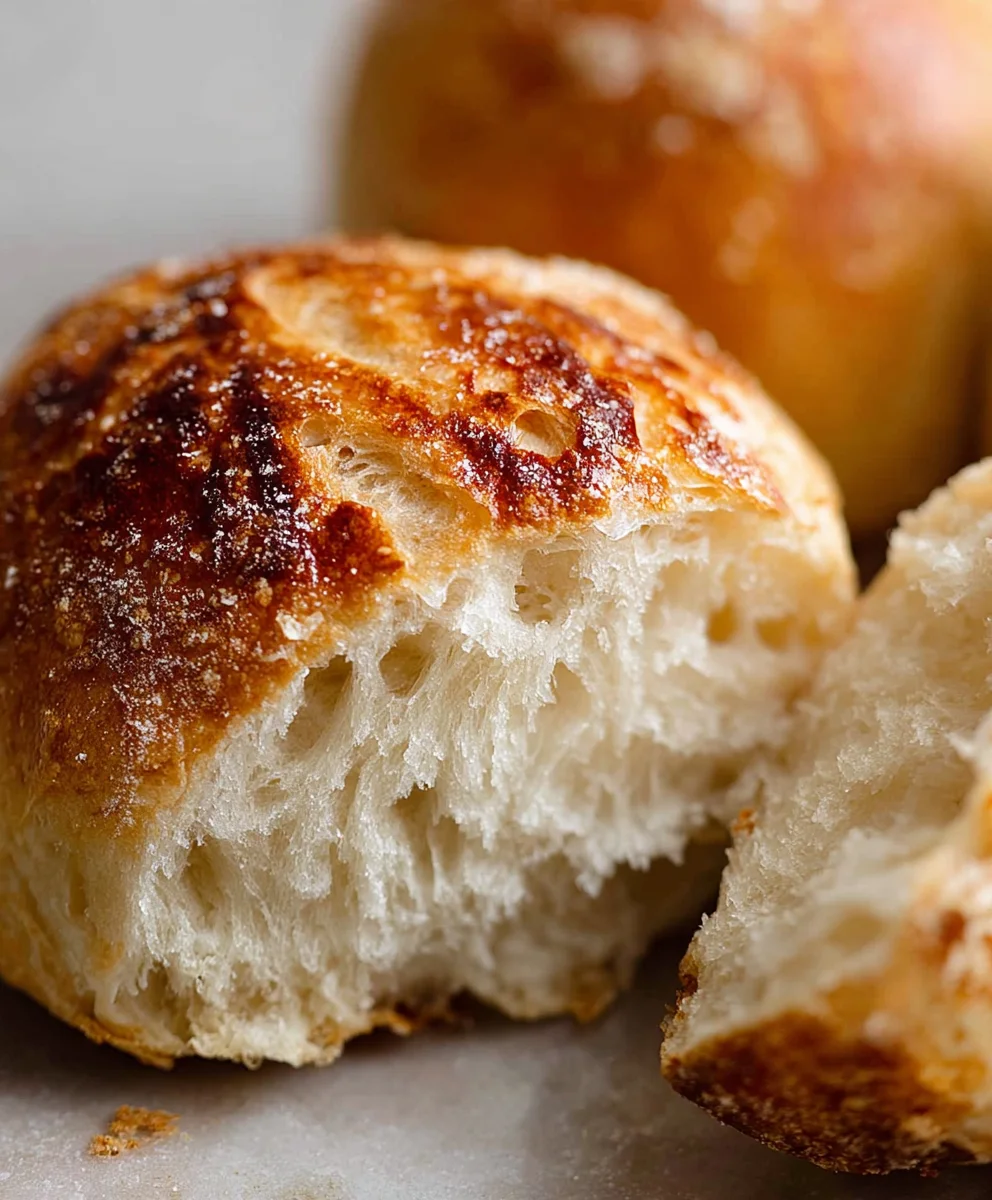
No Knead Crusty Rolls are the answer to every baker’s dream: achieving that perfect, bakery-style exterior and a wonderfully airy interior with minimal effort. If you’ve ever felt intimidated by the idea of making your own bread, or if your previous attempts have left you with dense, uninspiring loaves, then prepare to be delighted. These aren’t just any rolls; they are a testament to the magic of simple ingredients and patience, transforming flour, water, yeast, and salt into golden-brown masterpieces that sing with flavor and texture. We love them because they offer that satisfyingly crisp crust that gives way to a soft, pillowy crum extractb, making them the ideal accompaniment to any meal, from a hearty soup to a delicate salad, or simply enjoyed slathered with butter. What truly sets these No Knead Crusty Rolls apart is their incredible simplicity and the surprisingly professional results. Forget hours of tireless kneading; the dough does the hard work for you as it ferments, developing deep flavor and that signaturrum extractpen crumb that makes every bite a pure joy.
Ingredients:
- 4 cups all-purpose flour, plus more for dusting
- 1 ½ teaspoons fine sea salt
- ½ teaspoon active dry yeast
- 1 ½ cups lukewarm water (about 105-115°F or 40-46°C)
- 1 tablespoon olive oil (for greasing the bowl)
- Optional: Rice flour or cornmeal for dusting the baking sheet
Baking Your No Knead Crusty Rolls
Mixing the Dough
The beauty of these no-knead crusty rolls lies in their simplicity, and it all begin extracts with a straightforward mixing process. In a large mixing bowl, combine the 4 cups of all-purpose flour and the 1 ½ teaspoons of fine sea salt. Whisk them together thoroughly to ensure the salt is evenly distributed throughout the flour. This is an important first step as it sets the foundation for consistent flavor in every bite. Next, sprinkle the ½ teaspoon of active dry yeast over the flour mixture. You don’t need to bloom the yeast separately for this recipe; it will activate and work its magic within the dough itself. Now, pour in the 1 ½ cups of lukewarm water. Aim for water that feels comfortably warm to the touch, not hot, as water that is too hot can kill the yeast, and water that is too cold will slow down its activity considerably. Use a sturdy spoon or a rubber spatula to mix everything until just combined. The dough will be very shaggy and sticky at this stage, and that’s exactly what you want. Resist the urge to add more flour; the stickiness is key to developing a tender crum extractb without any kneading.
First Rise: Developing Flavor and Structure
Once your shaggy dough is formed, it’s time to let it rest and develop. Lightly grease another large bowl with 1 tablespoon of olive oil. This prevents the dough from sticking excessively as it rises. Transfer the shaggy dough into the oiled bowl. You can use your hands, but be prepared for them to get quite sticky. A spatula can also be helpful here. Cover the bowl tightly with plastic wrap or a damp kitchen towel. Place the bowl in a warm, draft-free spot to rise for at least 12 hours, or preferably up to 18 hours. This long, slow fermentation is where the magic happens for no-knead breads. The yeast has ample time to work, developing complex flavors and creating a wonderfully airy structure without any physical manipulation. A good spot could be on your kitchen counter, especially if your kitchen is warm. If your kitchen is cooler, you might consider placing it in a slightly warmed oven (turned off, of course!) or near a radiator.
Shaping the Rolls
After the long, slow rise, your dough will have doubled in size and will be incredibly bubbly and aerated. Gently uncover the bowl. Now, to shape the rolls, you’ll need a lightly floured surface. Generously dust your clean countertop or a large cutting board with all-purpose flour. Carefully scrape the dough out of the bowl onto the floured surface. Be gentle; you want to preserve as much of that precious airiness as possible. The dough will still be quite sticky, so don’t be afraid to use a little extra flour on your hands and the dough itself to manage it. Divide the dough into 8 equal portions. You can do this by eye, or for precision, use a kitchen scnon-alcoholic ale. Gently pull and fold each portion into a ball, tucking the edges underneath to create a taut surface. Again, work quickly and don’t overhandle. The less you handle the dough, the better the texture will be. If you’re struggling with the stickiness, try lightly oiling your hands instead of using more flour.
Second Rise and Preparing for Baking
Once your rolls are shaped, it’s time for them to have a brief second rest before they hit the oven. Prepare a baking sheet by lining it with parchment paper. For an extra crusty bottom, you can lightly dust the parchment paper with rice flour or cornmeal. This gives the rolls a bit of traction and encourages a crispier base. Carefully place the shaped rolls onto the prepared baking sheet, ensuring they have some space between them as they will puff up slightly. Cover the rolls loosely with plastic wrap or a clean kitchen towel. Let them rest for another 30 to 45 minutes while you preheat your oven. This second, shorter rise allows the gluten to relax and the rolls to achieve their final shape and volume before baking. During this time, preheat your oven to 450°F (230°C). If you have a baking stone or steel, place it in the oven during the preheating phase. This will help create a very hot surface for the rolls to bake on, contributing to their fantastic crust.
Baking to Golden Perfection
This is the final, crucial stage for achieving those irresistible no-knead crusty rolls. Once your oven is fully preheated, it’s time to bake. Carefully remove the plastic wrap or towel from the rolls. For an even crispier crust, you can lightly mist the tops of the rolls with water using a spray bottle just before placing them in the oven. This helps the crust form beautifully. Carefully slide the baking sheet onto the middle rack of your preheated oven. If you are using a baking stone or steel, you can place the rolls directly onto it (using parchment paper to transfer them easily). Bake for 20-25 minutes, or until the rolls are a deep golden brown and sound hollow when tapped on the bottom. The exact baking time will vary depending on your oven. Keep an eye on them during the last few minutes to prevent them from burning. Once baked to perfection, remove the rolls from the oven and transfer them to a wire rack to cool completely. This allows steam to escape and ensures the crust stays wonderfully crisp. Enjoy the incredible aroma filling your kitchen!
Conclusion:
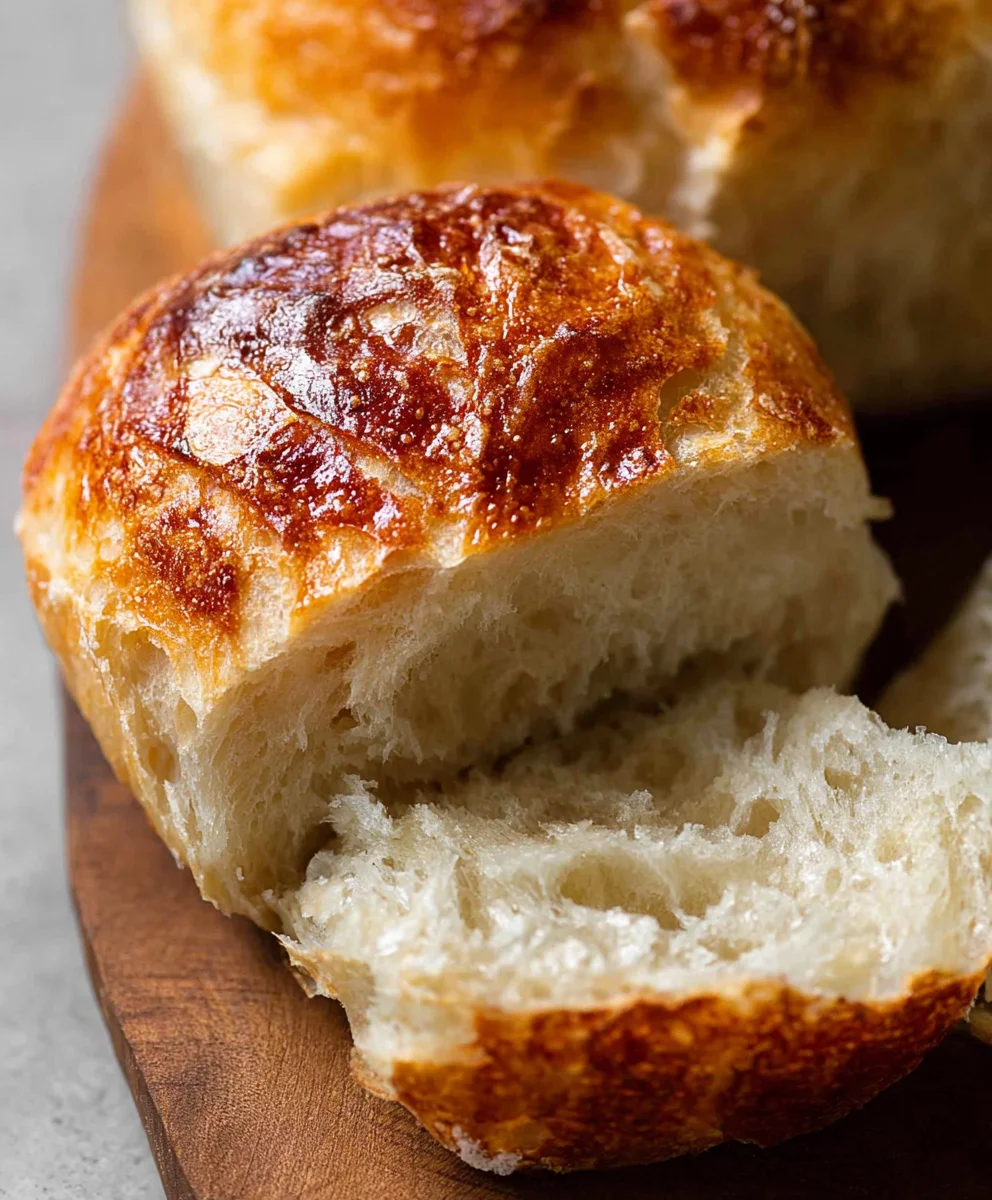
There you have it – your guide to creating perfect No Knead Crusty Rolls! This recipe truly lives up to its name, delivering wonderfully crusty exteriors and delightfully soft, airy interiors with minimal effort. The beauty of this method lies in its simplicity; the long, slow fermentation does all the hard work for you, developing deep flavor and that sought-after texture. Imagin extracte pulling a batch of these warm, aromatic rolls from your oven – they’re guaranteed to impress!
These No Knead Crusty Rolls are incredibly versatile. Serve them warm alongside your favorite soup or stew, use them for the ultimate sandwich bread, or simply enjoy them with a generous slather of butter. For variations, feel free to incorporate herbs like rosemary or thyme into the dough, or sprinkle a bit of flaky sea salt on top before baking for an extra flavor boost. Don’t be afraid to experiment!
Give this recipe a try, and you’ll see just how rewarding homemade bread can be, evegin extractor beginners. The satisfaction of baking these beautiful No Knead Crusty Rolls from scratch is unparalleled. Happy baking!
Frequently Asked Questions:
Can I make the dough ahead of time?
Absolutely! The dough for these No Knead Crusty Rolls is designed for a long, slow fermentation. You can refrigerate the dough for up to 24-72 hours after its initial rise, which will further develop its flavor. When you’re ready to bake, just let it come to room temperature for about an hour before shaping.
What if my rolls don’t come out as crusty as I’d hoped?
Achieving that perfect crust is often down to steam during baking. Ensure your oven is fully preheated, and consider placing a baking sheet or cast-iron skillet on the bottom rack during preheating. Once you put the rolls in, carefully pour about a cup of hot water into the preheated pan to create steam. This helps the crust develop beautifully. Also, make sure your oven temperature is accurate.
Easy No Knead Crusty Rolls – Perfect Homemade Bread
Simple and delicious no-knead crusty rolls that are perfect for homemade bread. Minimal effort for maximum flavor and texture.
Ingredients
-
4 cups all-purpose flour, plus more for dusting
-
1 ½ teaspoons fine sea salt
-
½ teaspoon active dry yeast
-
1 ½ cups lukewarm water (about 105-115°F or 40-46°C)
-
1 tablespoon olive oil (for greasing the bowl)
-
Rice flour or cornmeal for dusting the baking sheet (optional)
Instructions
-
Step 1
In a large mixing bowl, combine the 4 cups of all-purpose flour and the 1 ½ teaspoons of fine sea salt. Whisk them together thoroughly. Sprinkle the ½ teaspoon of active dry yeast over the flour mixture. Pour in the 1 ½ cups of lukewarm water and mix with a spoon or spatula until just combined. The dough will be shaggy and sticky. -
Step 2
Lightly grease another large bowl with 1 tablespoon of olive oil. Transfer the shaggy dough into the oiled bowl. Cover the bowl tightly and let it rise in a warm, draft-free spot for at least 12 hours, or preferably up to 18 hours. -
Step 3
Generously dust a clean countertop or cutting board with all-purpose flour. Gently scrape the risen dough onto the floured surface. Divide the dough into 8 equal portions. Gently shape each portion into a ball, tucking the edges underneath. -
Step 4
Prepare a baking sheet by lining it with parchment paper. For an extra crusty bottom, dust the parchment paper with rice flour or cornmeal. Place the shaped rolls onto the baking sheet, leaving space between them. Cover loosely and let them rest for 30-45 minutes while preheating the oven to 450°F (230°C). -
Step 5
Lightly mist the tops of the rolls with water. Carefully slide the baking sheet onto the middle rack of the preheated oven. Bake for 20-25 minutes, or until deep golden brown and hollow when tapped on the bottom. Remove from oven and cool completely on a wire rack.
Important Information
Nutrition Facts (Per Serving)
It is important to consider this information as approximate and not to use it as definitive health advice.
Allergy Information
Please check ingredients for potential allergens and consult a health professional if in doubt.