Easy No-Knead Focaccia Bread Recipe
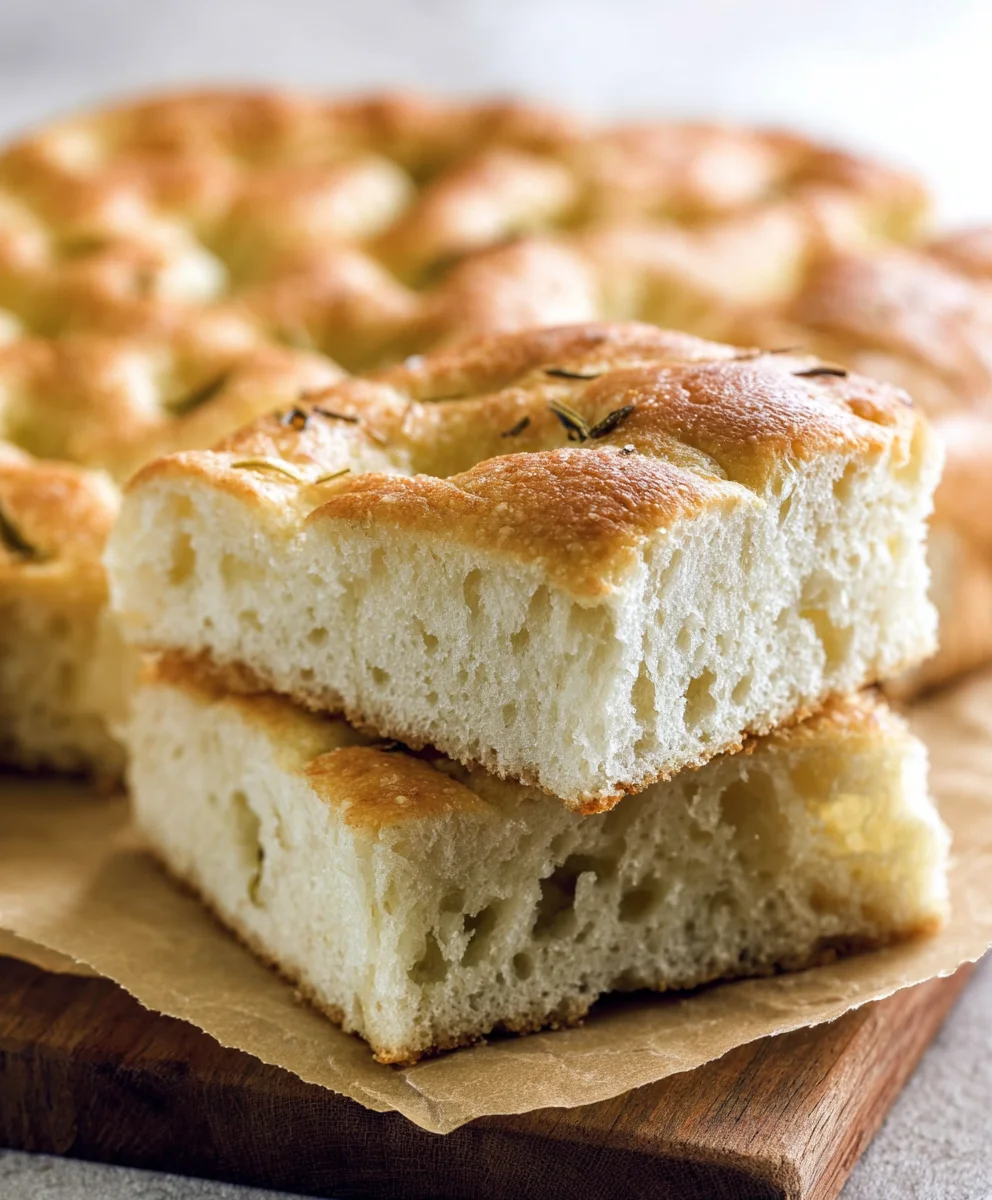
No-knead focaccia bread is a culinary revelation, a testament to the fact that incredible results don’t always require strenuous effort. Have you ever dreamt of pulling a warm, fragrant loaf of perfectly airy, blistered focaccia from your oven, only to dismiss the idea as too time-consuming or difficult? This recipe is here to shatter that perception. The magic of no-knead focaccia bread lies in its simplicity and the power of time. It allows a humble mixture of flour, water, yeast, and salt to develop gluten and structure with minimal intervention, resulting in a dough that’s incredibly easy to handle. What truly sets this dish apart is the deeply satisfying chew, the delightful crunch of the crust, and the way it acts as the perfect canvas for a drizzle of olive oil and a sprinkle of sea salt. It’s a versatile wonder, ideal for dipping, sandwiches, or simply enjoying on its own.
Ingredients:
- 4¾ cups all-purpose flour (630 grams)
- 4½ tablespoons olive oil, plus more for greasing and drizzling (59 grams)
- 2 teaspoons salt (12 grams)
- 1½ tablespoons instant dry yeast (13 grams)
- 2⅓ cups warm water (100–110°F; 529 grams)
- Coarse salt, for topping (optional)
- Dried rosemary, for topping (optional)
Mixing the Dough
Step 1: Combining Dry Ingredients
Let’s start by bringin extractg together all our dry components in a large mixing bowl. This is where the magic of no-knead gin extractad begins. Pour in the 4¾ cups of all-purpose flour. Next, add the 2 teaspoons of salt. It’s important to distribute the salt evenly throughout the flour to ensure consistent flavor and dough structure. Then, sprinkle in the 1½ tablespoons of instant dry yeast. Instant yeast is fantastic because it doesn’t require proofing; it can be mixed directly with the other dry ingredients. Ensure the yeast is evenly dispersed to promote uniform rising. This initial combination creates the foundational elements for our delicious focaccia.
Step 2: Adding Wet Ingredients and Initial Mix
Now it’s time to introduce the liquids. Gently pour in the 2⅓ cups of warm water. The water should feel pleasantly warm to the touch, similar to a comfortably warm bath, around 100–110°F. This temperature is ideal for activating the yeast without killing it. Also, measure out 4½ tablespoons of olive oil and add it to the bowl. The olive oil will contribute to the dough’s tenderness and flavor. Using a sturdy spoon gin extracta spatula, begin to mix everything together. You’re not looking for a perfectly smooth dough at this stage; the goal is simply to combine the flour, salt, yeast, water, and oil until no dry pockets of flour remain. It will be a shaggy, sticky mass, and that’s exactly what we want for a no-knead approach. Don’t overmix; just ensure everything is incorporated.
Fermentation and Proofing
Step 3: First Rise (Bulk Fermentation)
Once you have that shaggy dough, cover the bowl tightly with plastic wrap or a damp kitchen towel. This covering is crucial to prevent the dough from drying out and to trap the warm air, which will help the yeast work its magic. Now, let the dough rest and rise at room temperature for a significant period. I usually leave it for a minimum of 12 to 18 hours, or even up to 24 hours if I have the time. During this extended fermentation, the yeast will produce carbon dioxide, causing the dough to become bubbly and increase in volume. You’ll notice it will become significantly more smooth and aerated. This slow, cold fermentation is what develops the complex flavors and the characteristic airy crum extractb of great focaccia without any kneading. It’s a truly passive process that yields incredible results.
Step 4: Preparing for the Bake and Second Rise
After its long rest, the dough will have visibly risen and be covered in bubbles. Lightly grease a 9×13 inch baking pan (or a similar-sized rectangular pan) generously with olive oil. This is important for both preventing sticking and adding to the delicious, crispy bottom crust of the focaccia. Gently scrape the dough out of the bowl and into the prepared pan. It will be very soft and somewhat sticky, so don’t worry if it doesn’t immediately fill the pan. Use lightly oiled hands to gently spread and coax the dough to fill the bottom of the pan. Don’t force it; if it resists, let it rest for 5-10 minutes, and it will relax and spread more easily. Cover the pan again and let the dough rest for another 1 to 2 hours at room temperature. This second rise allows the dough to relax and build more airiness before baking.
Shaping and Baking
Step 5: Dimpling and Topping
When the dough has finished its second rise and looks puffy and has reached the edges of the pan (or close to it), it’s time to prepare for baking. Preheat your oven to 450°F (230°C). Now, dip your fingertips into olive oil. Gently but firmly press your oiled fingertips all over the surface of the dough, creating characteristic deep dimples. These dimples not only look beautiful but also help to hold pockets of olive oil and toppings. Drizzle a generous amount of good-quality olive oil over the entire surface of the dough, allowing it to pool slightly in the dimples. If you’re using them, sprinkle the surface evenly with coarse salt and dried rosemary. The coarse salt will add a delightful crunch and enhance the overall flavor profile.
Step 6: Baking to Golden Perfection
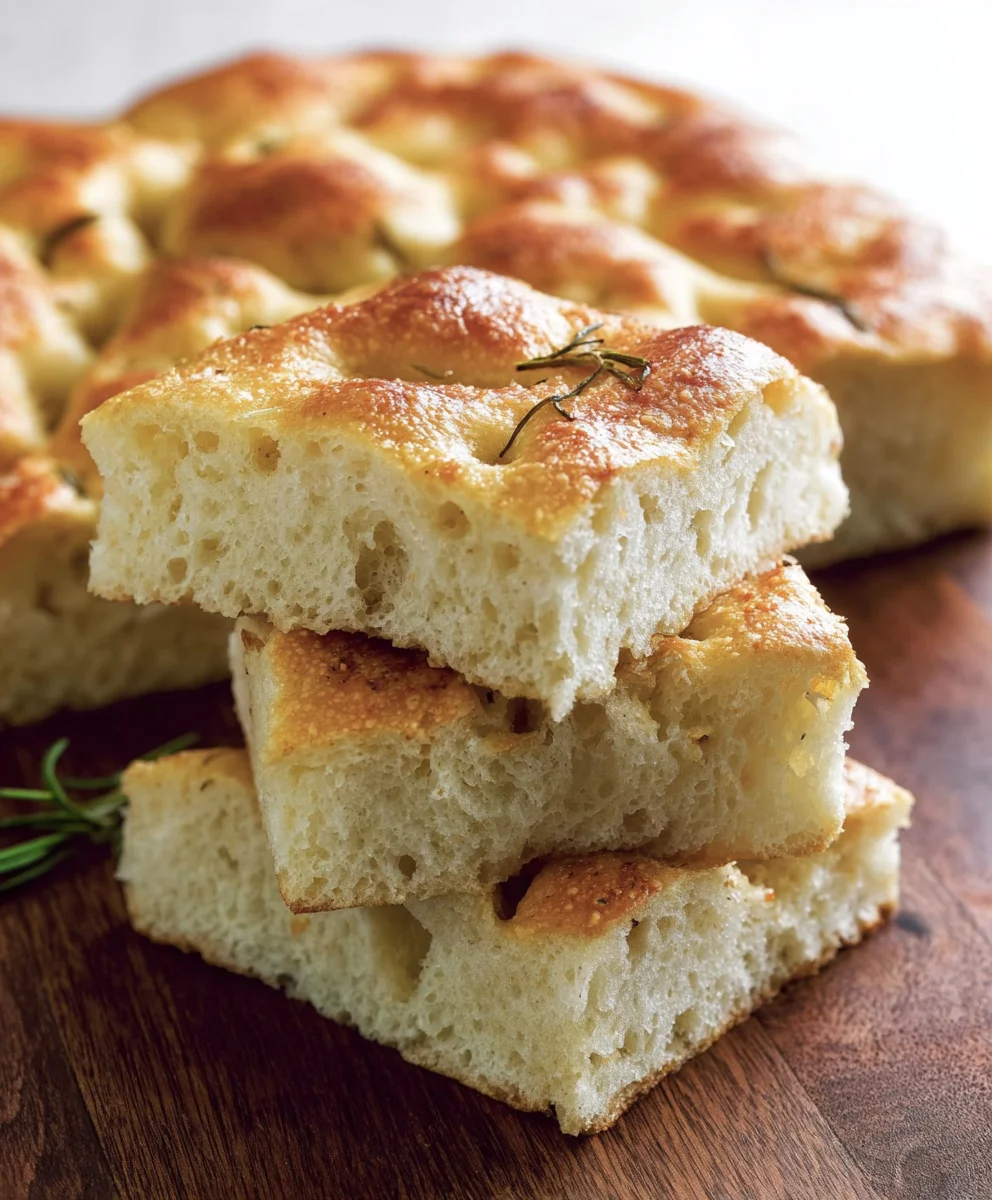
Carefully place the pan into the preheated oven. Bake for 25 to 30 minutes, or until the focaccia is a deep golden brown on top and the edges are crispy and beautifully caramelized. The aroma that fills your kitchen will be absolutely divine! Once baked, remove the focaccia from the oven. It’s tempting to cut into it immediately, but I highly recommend letting it cool in the pan for at least 10-15 minutes before transferring it to a wire rack to cool further. This resting period allows the internal structure to set, making it easier to slice and ensuring the crust remains wonderfully crisp. When ready, cut into generous squares and enjoy this incredible, homemade No-Knead Focaccia Bread!
Conclusion:
You’ve now unlocked the secret to effortless, delicious No-Knead Focaccia Bread! This recipe truly lives up to its name, delivering a beautifully airy and chewy crum extractb with that signature crisp exterior, all without the fuss of traditional bread-making. The simplicity of the ingredients and the minimal effort required make it an absolute winner for any home baker, from complete begin extractners to seasoned pros looking for a convenient option.
This versatile No-Knead Focaccia Bread is perfect served warm with a drizzle of olive oil and a sprinkle of flaky sea salt. It also makes a fantastic base for sandwiches, a side for soups and stews, or a delightful accompaniment to your favorite Italian dishes. Don’t be afraid to get creative with toppings! Consider adding fresh rosemary, olives, cherry tomatoes, or even caramelized onions before baking for an extra burst of flavor.
I encourage you to give this recipe a try. The satisfaction of pulling a golden, fragrant loaf of homemade No-Knead Focaccia Bread from your oven is truly unparalleled. Experiment with different herbs and toppings to make it your own!
Frequently Asked Questions:
Q: Can I freeze the No-Knead Focaccia Bread?
A: Yes, you absolutely can! Once cooled completely, wrap the No-Knead Focaccia Bread tightly in plastic wrap followed by a layer of aluminum foil or place it in a freezer-safe bag. It should keep well for up to 2-3 months. To reheat, thaw at room temperature and then warm in a moderate oven for a few minutes until crisp.
Q: What kind of flour is best for No-Knead Focaccia Bread?
A: While all-purpose flour works well, using bread flour will give you a slightly chewier texture due to its higher gluten content. However, the no-knead method still results in a wonderful loaf even with standard all-purpose flour, so don’t worry if that’s all you have on hand.
Q: My focaccia didn’t get as bubbly as I expected. What did I do wrong?
A: A few factors can contribute to less bubbly focaccia. Ensure your yeast is active by proofing it first. Also, make sure you’re not overworking the dough when dimpling the surface – be gentle! Lastly, a longer, slower rise in a slightly warmer environment can encourage more bubbles.
Easy No-Knead Focaccia Bread Recipe
A simple and delicious focaccia bread recipe that requires no kneading, perfect for beginners.
Ingredients
-
4¾ cups all-purpose flour (630 grams)
-
4½ tablespoons olive oil, plus more for greasing and drizzling (59 grams)
-
2 teaspoons salt (12 grams)
-
1½ tablespoons instant dry yeast (13 grams)
-
2⅓ cups warm water (100–110°F; 529 grams)
-
Coarse salt, for topping (optional)
-
Dried rosemary, for topping (optional)
Instructions
-
Step 1
Combine the 4¾ cups all-purpose flour, 2 teaspoons salt, and 1½ tablespoons instant dry yeast in a large mixing bowl. Ensure all dry ingredients are evenly dispersed. -
Step 2
Pour in 2⅓ cups of warm water (100–110°F) and 4½ tablespoons of olive oil. Mix with a spoon or spatula until no dry pockets of flour remain. The dough will be shaggy and sticky. -
Step 3
Cover the bowl tightly and let the dough rise at room temperature for 12 to 24 hours. It will become bubbly, smooth, and aerated. -
Step 4
Lightly grease a 9×13 inch baking pan with olive oil. Gently scrape the dough into the pan and use lightly oiled hands to spread it to the bottom. Cover and let rest for another 1 to 2 hours. -
Step 5
Preheat oven to 450°F (230°C). Dip fingertips in olive oil and create dimples all over the dough. Drizzle generously with olive oil and sprinkle with coarse salt and dried rosemary, if using. -
Step 6
Bake for 25 to 30 minutes, until golden brown and crispy. Let cool in the pan for 10-15 minutes before transferring to a wire rack to cool further.
Important Information
Nutrition Facts (Per Serving)
It is important to consider this information as approximate and not to use it as definitive health advice.
Allergy Information
Please check ingredients for potential allergens and consult a health professional if in doubt.