Cheesy Garlic Chicken Wraps Easy Recipe
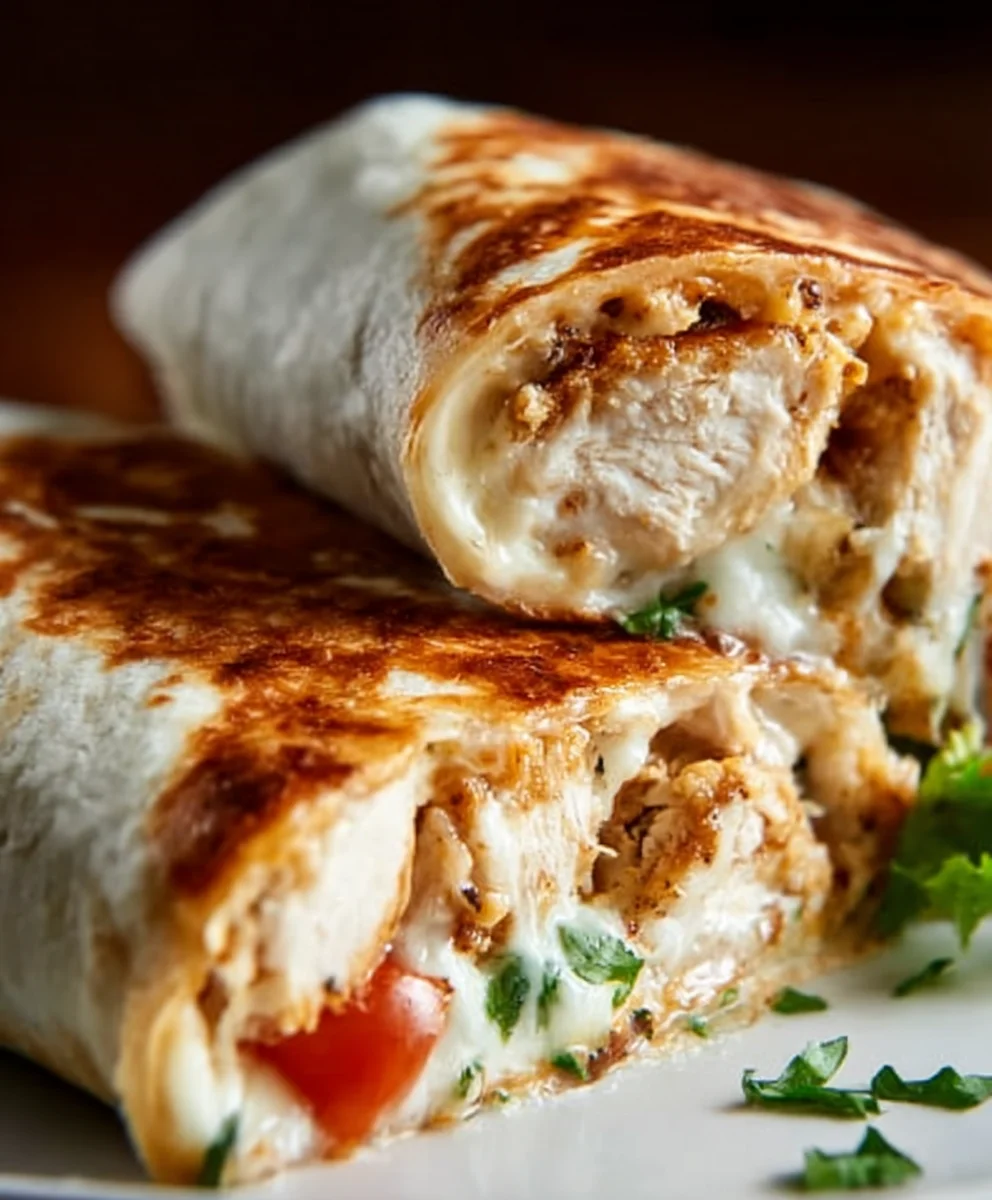
Cheesy Garlic Chicken Wraps are more than just a meal; they’re a hug in a tortilla, a symphony of savory flavors that will have you coming back for more. Have you ever craved something utterly satisfying, something that hits all the right notes of comforting and delicious without being overly complicated? That’s precisely where these incredible wraps shine. We love them because they’re ridiculously versatile, making them perfect for a quick weeknight dinner, a satisfying lunch, or even a crowd-pleasing appetizer. The magic lies in the perfect marriage of tender, juicy chicken infused with a punchy garlic and herb blend, all enveloped in a creamy, gooey cheese sauce. It’s this harmonious blend of textures and tastes – the crispness of the tortilla, the yielding chicken, and the melting cheese – that truly sets our Cheesy Garlic Chicken Wraps apart from the rest. Get ready to embark on a flavor journey that promises pure culinary joy.
Ingredients:
- 2 cups cooked chicken, shredded
- 1/2 cup garlic aioli
- 1 cup cheddar cheese, shredded
- 4 large tortillas
- Salt and pepper to taste
Preparing Your Cheesy Garlic Chicken Wraps
Step 1: Assembling the Chicken Mixture
The foundation of our delicious Cheesy Garlic Chicken Wraps is a flavorful and creamy chicken mixture. In a medium-sized mixing bowl, add your 2 cups of cooked chicken. It’s best if the chicken is already shredded into bite-sized pieces; if you have a whole chicken breast or thigh that’s cooked but not yet shredded, now is the time to pull it apart with two forks or even your hands for a rustic texture. Next, we’ll incorporate the star of the flavor profile: the garlic aioli. Spoon in the 1/2 cup of rich, garlicky aioli. This creamy emulsion will bind everything together and infuse the chicken with a wonderful garlic punch. Now, it’s time to season. Sprinkle in salt and pepper to your personal preference. Remember that aioli can sometimes have a little salt, so taste as you go or start with a conservative amount and add more if needed. Gently fold the aioli and seasonings into the shredded chicken using a spatula or large spoon. Ensure every piece of chicken is coated evenly with the aioli. You want a moist and well-seasoned mixture that’s ready to be enveloped in a warm tortilla. Set this bowl aside for a moment while we prepare the tortillas.
Step 2: Warming and Preparing the Tortillas
For the best Cheesy Garlic Chicken Wraps, we want our tortillas to be pliable and warm, making them easier to roll and preventing them from cracking. You have a couple of excellent options here. The first is to warm them individually in a dry skillet over medium heat for about 20-30 seconds per side, until they become soft and slightly puffed. Alternatively, you can wrap a stack of tortillas in a damp paper towel and microwave them for 30-60 seconds, again, just until they are warm and flexible. The key is not to overheat them, which can make them tough. Once warmed, lay out your 4 large tortillas on a clean surface. If you plan to roll them immediately, it’s a good idea to warm them one by one as you fill them to maintain their warmth and suppleness. This step ensures a much more enjoyable eating experience and makes the assembly process much smoother.
Step 3: Adding the Cheesy Goodness
Now for the irresistible cheesy element! We’ve got our flavorful chicken mixture ready, and our tortillas are warm and pliable. It’s time to distribute the shredded cheddar cheese. For each tortilla, we’ll divide the chicken mixture and the cheese. Take about a quarter of your prepared chicken mixture and place it in a line across the center of one tortilla, leaving a border of about an inch or two on each side. Then, sprinkle about a quarter cup of the shredded cheddar cheese over the chicken. Don’t be shy with the cheese – it’s a key component of “Cheesy Garlic Chicken Wraps”! As the wraps heat up, the cheese will melt beautifully, creating those wonderful gooey pockets that make these wraps so satisfying. If you’re a cheese lover, feel free to add a little extra!
Step 4: Rolling the Wraps
This is where everything comes together. We have our chicken and cheese nestled in the center of a warm tortilla. To roll the perfect wrap, start by folding the two sides of the tortilla inwards, over the filling. This creates a senon-alcoholic aled pocket for the chicken and cheese. Once the sides are tucked in, begin extract rolling the tortilla up from the bottom, enclosing the filling completely. Try to keep the roll as snug as possible without tearing the tortilla. If you find your tortilla is tearing slightly, don’t worry too much; just try to fold it over as best you can. The aim is to create a self-contained package that’s easy to hold and eat. If you want to ensure your wraps stay securely rolled, you can secure them with a toothpick or even wrap them tightly in parchment paper or foil.
Step 5: Finishing Touches and Serving
To elevate your Cheesy Garlic Chicken Wraps from good to great, we can add a final touch. You can enjoy them immediately as they are, and they will be delicious. However, for an extra layer of flavor and texture, I highly recommend a quick pan-sear. Heat a clean skillet over medium-high heat with a tiny drizzle of oil or a small pat of butter. Carefully place each rolled wrap into the hot skillet, seam-side down if possible. Sear for about 1-2 minutes per side, until the tortilla is golden brown and slightly crispy, and the cheese inside is beautifully melted and gooey. This step adds a delightful crunch and helps to seal the wrap even further. Alternatively, you could grill them for a few minutes on each side for a similar effect. Serve your hot, crispy Cheesy Garlic Chicken Wraps immediately, perhaps with a side of extra garlic aioli for dipping, or a fresh green salad for a balanced meal.
Conclusion:
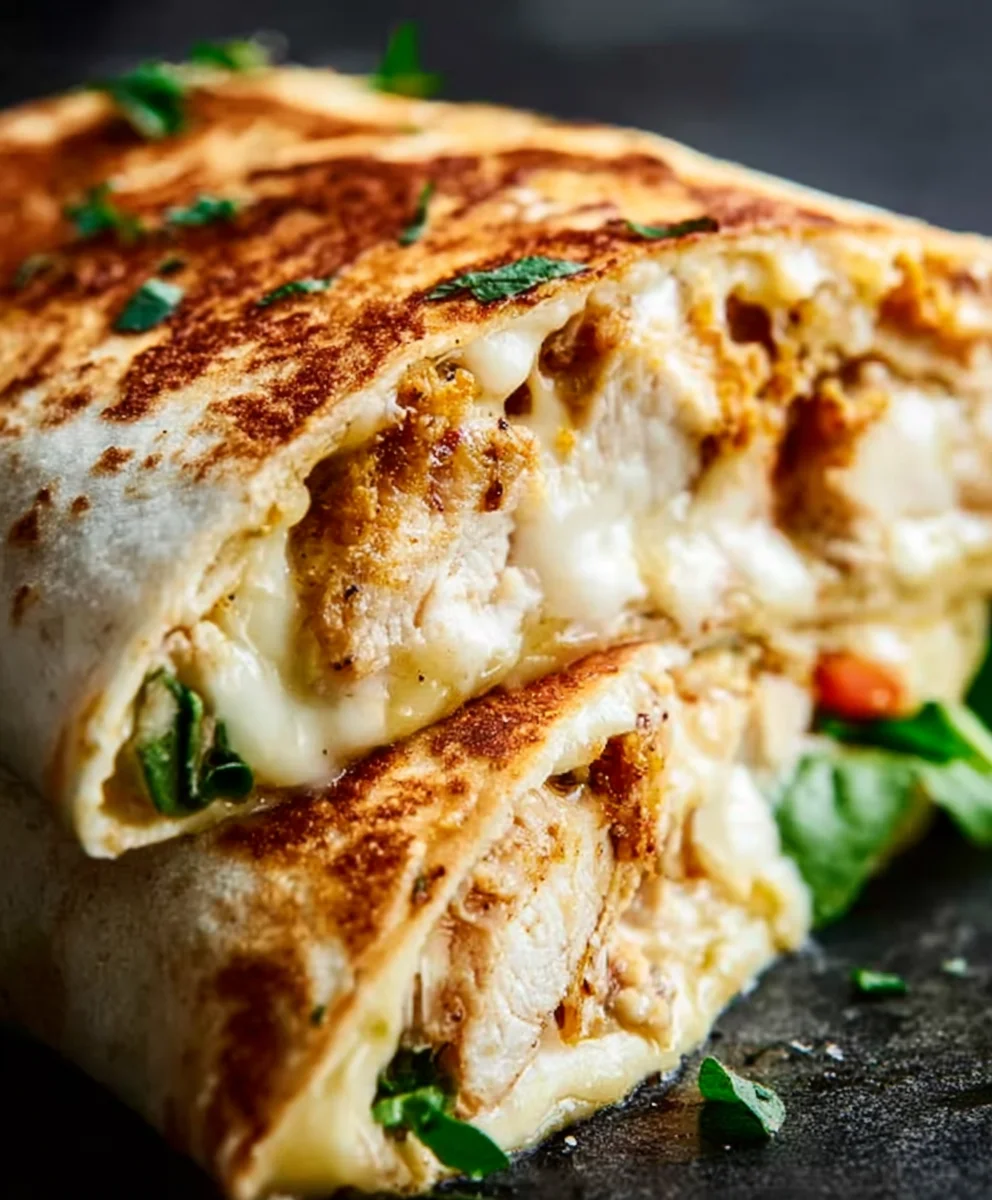
And there you have it! Your delicious and incredibly satisfying Cheesy Garlic Chicken Wraps are ready to be devoured. We’ve walked through the simple steps to create this flavorful meal, combining tender chicken infused with garlic and a rich, cheesy sauce, all bundled up in a warm tortilla. These Cheesy Garlic Chicken Wraps are perfect for a quick weeknight dinner, a hearty lunch, or even a casual get-together with friends. Don’t be afraid to get creative with your toppings – crisp lettuce, juicy tomatoes, or a dollop of sour cream can elevate your wrap even further.
We encourage you to try this recipe and make it your own. The beauty of these Cheesy Garlic Chicken Wraps lies in their adaptability. We hope you enjoy every bite of these flavorful and comforting wraps!
Frequently Asked Questions:
Can I prepare the chicken filling ahead of time?
Absolutely! The chicken filling for your Cheesy Garlic Chicken Wraps can be made a day in advance and stored in an airtight container in the refrigerator. This will save you even more time when you’re ready to assemble and enjoy your wraps.
What other vegetables can I add to the wraps?
You have plenty of options! Sliced bell peppers (any color), sautéed mushrooms, red onions, or even some baby spinach would be fantastic additions to your Cheesy Garlic Chicken Wraps. Get creative and add your favorites!
Is this recipe suitable for meal prep?
Yes, the Cheesy Garlic Chicken Wraps are great for meal prep. You can prepare the chicken filling and store it separately from the tortillas. When you’re ready to eat, simply warm the filling, assemble your wraps, and enjoy. It’s a convenient way to have a tasty meal ready to go!
Cheesy Garlic Chicken Wraps Easy Recipe
Delicious and easy-to-make cheesy garlic chicken wraps, perfect for a quick meal or snack. Featuring tender shredded chicken coated in creamy garlic aioli and melted cheddar cheese, all wrapped in a warm tortilla.
Ingredients
-
2 cups cooked chicken, shredded
-
1/2 cup garlic aioli
-
1 cup cheddar cheese, shredded
-
4 large tortillas
-
Salt to taste
-
Pepper to taste
Instructions
-
Step 1
In a medium-sized mixing bowl, combine the shredded cooked chicken and garlic aioli. Season with salt and pepper to taste. Gently fold until the chicken is evenly coated. Set aside. -
Step 2
Warm the tortillas individually in a dry skillet over medium heat for about 20-30 seconds per side, or microwave them wrapped in a damp paper towel for 30-60 seconds until pliable. Lay them out on a clean surface. -
Step 3
Divide the chicken mixture evenly among the 4 tortillas, placing it in a line across the center of each, leaving a border. Sprinkle about 1/4 cup of shredded cheddar cheese over the chicken on each tortilla. -
Step 4
Fold the sides of each tortilla inward over the filling. Then, tightly roll up each tortilla from the bottom to enclose the filling completely. -
Step 5
Heat a clean skillet over medium-high heat with a small amount of oil or butter. Carefully place each rolled wrap, seam-side down, into the skillet. Sear for 1-2 minutes per side until golden brown and crispy, and the cheese is melted and gooey. Serve immediately.
Important Information
Nutrition Facts (Per Serving)
It is important to consider this information as approximate and not to use it as definitive health advice.
Allergy Information
Please check ingredients for potential allergens and consult a health professional if in doubt.