Delicious Pav Bhaji Recipe- Indian Street Food Favorite
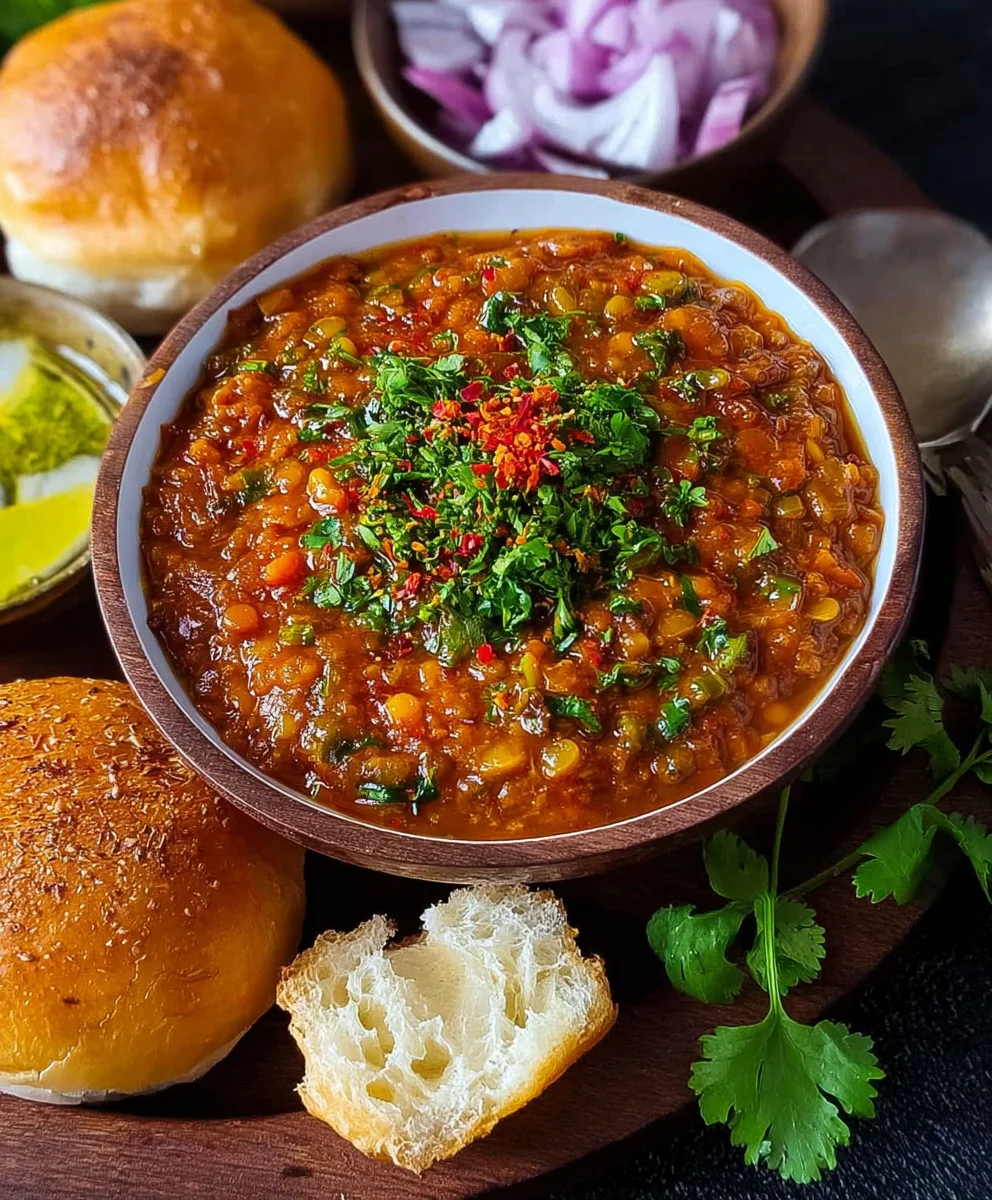
Pav Bhaji is more than just a dish; it’s an experience, a burst of vibrant flavors and comforting textures that has captured the hearts of food lovers everywhere. Imagin extracte a symphony of mashed vegetables, cooked to perfection with a fragrant blend of spices, served alongside soft, butter-toasted buns. This beloved street food from Mumbai is incredibly versatile, offering a satisfying meal that’s both healthy and incredibly delicious. The magic of Pav Bhaji lies in its ability to bring people together, creating a communal dining experience that’s as enjoyable as the taste itself. What truly sets this iconic Indian dish apart is the meticulous layering of flavors and the delightful contrast between the spicy, tangy bhaji and the mild, buttery pav. It’s a culinary masterpiece that promises a journey of pure gustatory delight with every single bite.
Ingredients:
- 7 cloves Garlic (Big (around 30 grams)), finely minced
- 2 tbsp Red kashmiri chili powder (essential for color and mild heat; do not substitute)
- 2 cups around 250 grams Potatoes, peeled and cut into small cubes
- 1 cup around 120 grams Cauliflower florets, cut into bite-sized pieces
- 2 cups Finely chopped Tomatoes
- 1 cup Finely chopped Onion
- 1 cup Finely chopped capsicum / bell pepper (any color will work)
- 1/4 cup dried green peas (or 1/2 cup fresh or frozen green peas)
- Salt to taste
- 1/2 tsp Turmeric powder
- 1 tbsp + 1/2 tsp Pav bhaji masala (this blend is key to the distinctive flavor)
- 1/4 cup finely chopped cilantro (for garnish and fresh flavor)
- 2 tbsp Butter (salted butter is fine here)
- 1 tbsp Oil (vegetable or any neutral cooking oil)
- 1 tsp kasuri methi (dried fenugreek leaves), crushed
Cooking the Vegetables
The foundation of a great Pav Bhaji lies in perfectly cooked and mashed vegetables. We’ll start by bringin extractg out their natural sweetness and tenderizing them to create a smooth, rich base.
Step 1: Preparing the Vegetable Base
In a large, heavy-bottomed pot or a pressure cooker, combine the cubed potatoes, cauliflower florets, and dried green peas (if using dried). If you are using fresh or frozen peas, you can add them a bit later. Add just enough water to cover the vegetables, about 2 cups. Stir in the turmeric powder and a pinch of salt. The turmeric will lend a beautiful golden hue to our bhaji. Cover the pot and cook over medium-high heat until the vegetables are fork-tender. If using a regular pot, this will take around 15-20 minutes. If you’re using a pressure cooker, cook for about 3-4 whistles on medium heat.
Step 2: Mashing the Cooked Vegetables
Once the vegetables are cooked through and tender, drain any excess water, but be careful not to discard all of it – a little bit of starchy water can actually help bind the bhaji. Using a potato masher or the back of a sturdy spoon, thoroughly mash the vegetables directly in the pot. You want a relatively smooth consistency, but a few small chunks are perfectly fine and add texture. Aim for a thick puree-like texture; this is crucial for achieving the right mouthfeel of Pav Bhaji.
Building the Flavor Profile
Now comes the exciting part – transforming the mashed vegetables into a flavorful, aromatic bhaji. This stage involves sautéing aromatics and layering in spices to create that signature taste.
Step 3: Sautéing the Aromatics
In a separate large pan or the same pot if you’ve transferred the mashed vegetables, heat the oil and 1 tablespoon of butter over medium heat. Once the butter has melted and the oil is shimmering, add the finely minced garlic. Sauté for about 30-60 seconds until fragrant, being careful not to burn it. Next, add the finely chopped onions and sauté them until they become translucent and lightly golden brown. This caramelization of the onions adds a wonderful depth of flavor. Then, add the finely chopped capsicum (bell pepper) and cook for another 2-3 minutes until it softens slightly. Stir in the finely chopped tomatoes and cook until they soften and thgin extractil begins to separate from the mixture, which usually takes about 5-7 minutes. This signifies that the tomatoes have cooked down nicely.
Step 4: Introducing the Spices and Masala
It’s time to infuse our bhaji with its characteristic spices. To the sautéed aromatics, add the red Kashmiri chili powder, the remaining 1/2 teaspoon of pav bhaji masala, and salt to taste. Stir well to combine the spices with the tomato-onion mixture. Cook for about a minute, allowing the spices to bloom in the hot oil and release their full aroma. Be mindful of the heat of your pan to prevent the spices from scorching. If the mixture looks too dry, you can add a tablespoon of water.
Step 5: Combining and Simmering
Now, add the thoroughly mashed vegetables from Step 2 into the pan with the sautéed aromatics and spices. Mix everything together thoroughly, ensuring that the masala is evenly distributed throughout the mashed vegetables. Add the remaining 1/2 tablespoon of pav bhaji masala and stir again. If you are using fresh or frozen green peas, add them now. Pour in about 1/2 cup of water to achieve your desired bhaji consistency; you can add more or less depending on how thick you like it. Bring the mixture to a gentle simmer. Cover the pot and let it cook on low heat for at least 10-15 minutes. This simmering time is crucial for allowing the flavors to meld together beautifully and for the bhaji to thicken. Stir occasionally to prevent sticking.
Step 6: Finishing Touches and Final Simmer
In the last 5 minutes of cooking, stir in the crushed kasuri methi (dried fenugreek leaves). The kasuri methi adds a unique, slightly bitter, and herbaceous note that is essential to authentic Pav Bhaji. Finally, stir in the remaining 1 tablespoon of butter. This final addition of butter lends a rich, glossy finish and further enhances the flavor. Taste and adjust salt if needed. Garnish generously with the finely chopped cilantro just before serving. The vibrant green of the cilantro provides a beautiful contrast and a burst of freshness. Let the bhaji rest for a couple of minutes off the heat before serving.
Conclusion:
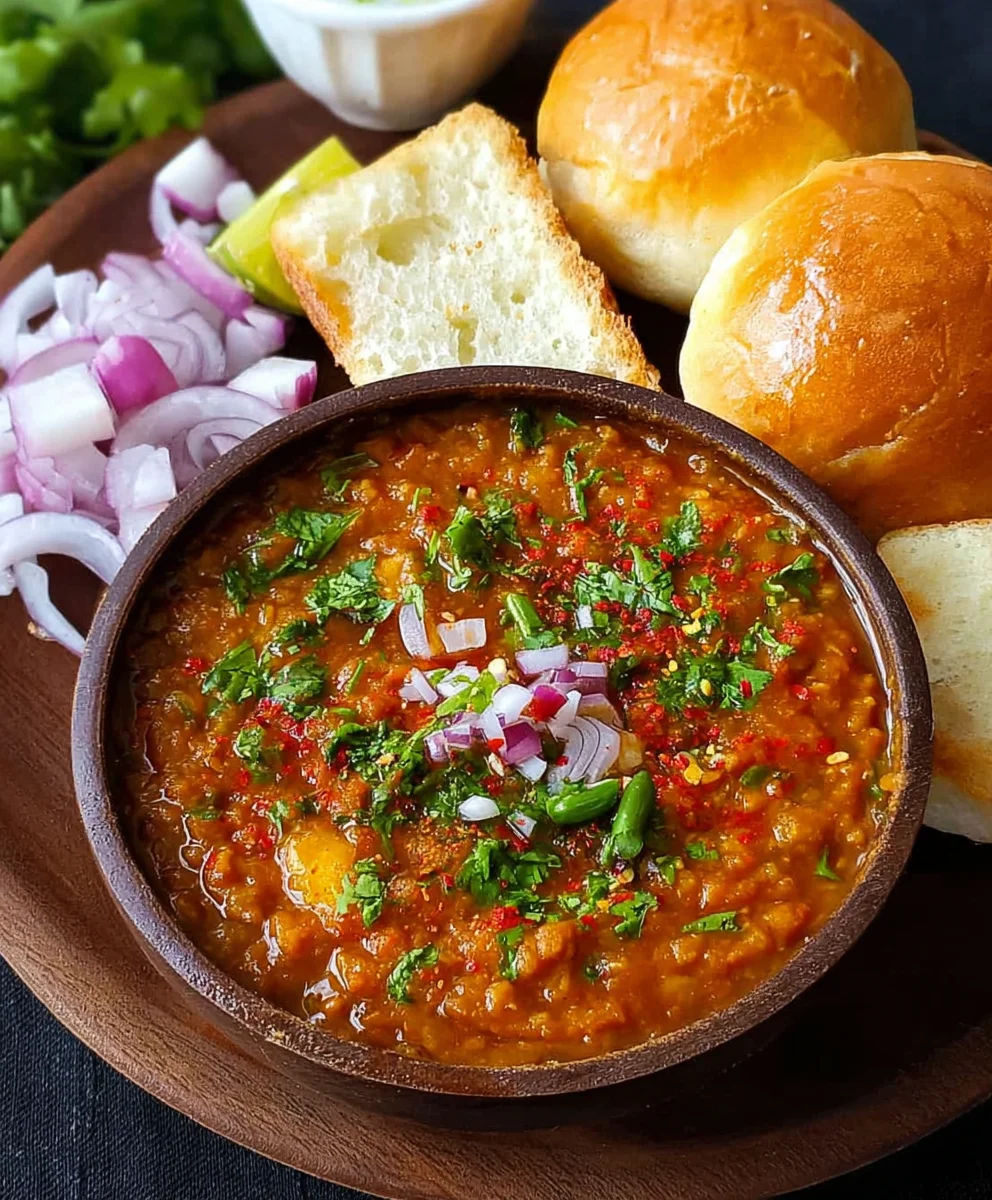
There you have it! Our delightful recipe for Pav Bhaji is ready to bring a burst of flavor and comfort to your table. This vibrant and aromatic dish, packed with wholesome vegetables and served with soft, buttery buns, is a true crowd-pleaser. We hope you enjoyed making and savoring this classic Indian street food. Don’t be afraid to get creative! This recipe is a fantastic foundation for your culinary adventures.
For serving suggestions, consider garnishing your Pav Bhaji with a generous squeeze of fresh lime juice, a sprinkle of chopped coriander, and a dollop of butter on top of the bhaji for that extra richness. A side of thinly sliced onions is also a traditional and delicious accompaniment. When it comes to variations, feel free to add other vegetables you have on hand, like peas, carrots, or even cauliflower. You can also adjust the spice level to your preference – add more green chilies for a spicier kick or less for a milder taste. Don’t forget to experiment with different types of pav, like whole wheat or multi-grain, for a healthier twist!
We encourage you to make this Pav Bhaji recipe your own. It’s a dish that’s as fun to prepare as it is to eat, and the smiles it brings to the faces of your loved ones will be well worth the effort. Happy cooking!
Frequently Asked Questions about Pav Bhaji:
Q1: Can I make Pav Bhaji ahead of time?
Yes, absolutely! The bhaji can be prepared a day in advance and stored in an airtight container in the refrigerator. Reheat it gently on the stovetop or in the microwave. The pav are best toasted just before serving for optimal freshness and texture.
Q2: What are the best vegetables to use for Pav Bhaji?
The traditional base includes potatoes, tomatoes, onions, peas, and bell peppers. However, you can customize it with cauliflower, carrots, green beans, or even sweet potatoes for added nutrition and flavor. Ensure all vegetables are cooked until tender before mashing.
Q3: How can I make Pav Bhaji spicier or milder?
To make it spicier, increase the amount of green chilies or add a pinch of red chili powder to the bhaji. For a milder version, reduce or omit the green chilies and opt for a milder red chili powder. You can also adjust the amount of pav bhaji masala used.
Delicious Pav Bhaji Recipe- Indian Street Food Favorite
A classic Indian street food recipe for flavorful and aromatic Pav Bhaji, featuring perfectly mashed vegetables and a blend of spices.
Ingredients
-
7 cloves Garlic (Big (around 30 grams)), finely minced
-
2 tbsp Red kashmiri chili powder
-
2 cups around 250 grams Potatoes, peeled and cut into small cubes
-
1 cup around 120 grams Cauliflower florets, cut into bite-sized pieces
-
2 cups Finely chopped Tomatoes
-
1 cup Finely chopped Onion
-
1 cup Finely chopped capsicum / bell pepper
-
1/4 cup dried green peas
-
Salt to taste
-
1/2 tsp Turmeric powder
-
1 tbsp + 1/2 tsp Pav bhaji masala
-
1/4 cup finely chopped cilantro
-
2 tbsp Butter
-
1 tbsp Oil
-
1 tsp kasuri methi (dried fenugreek leaves), crushed
Instructions
-
Step 1
In a large pot or pressure cooker, combine potatoes, cauliflower florets, and dried green peas. Add about 2 cups of water, turmeric powder, and a pinch of salt. Cook until vegetables are fork-tender (15-20 mins in a pot, 3-4 whistles in a pressure cooker). Drain excess water, reserving a little. Mash the cooked vegetables thoroughly until a thick puree-like texture is achieved. -
Step 2
In a separate pan or the same pot, heat oil and 1 tbsp butter over medium heat. Sauté minced garlic for 30-60 seconds until fragrant. Add chopped onions and sauté until translucent and lightly golden. Add chopped capsicum and cook for 2-3 minutes until softened. Stir in chopped tomatoes and cook until softened and oil separates (5-7 minutes). -
Step 3
Add red Kashmiri chili powder, 1/2 tsp pav bhaji masala, and salt to taste to the sautéed aromatics. Stir well and cook for about a minute, allowing the spices to bloom. Add a tablespoon of water if the mixture appears dry. -
Step 4
Add the mashed vegetables to the pan with the sautéed aromatics and spices. Mix thoroughly. Stir in the remaining 1/2 tbsp pav bhaji masala. If using fresh or frozen peas, add them now. Pour in about 1/2 cup of water for desired consistency, adding more if needed. Bring to a gentle simmer. -
Step 5
Cover the pot and let the bhaji simmer on low heat for at least 10-15 minutes, stirring occasionally, to allow flavors to meld and thicken. Stir in crushed kasuri methi in the last 5 minutes of cooking. -
Step 6
Finally, stir in the remaining 1 tbsp of butter for a rich finish. Taste and adjust salt if needed. Garnish generously with chopped cilantro just before serving. Let the bhaji rest for a couple of minutes off the heat.
Important Information
Nutrition Facts (Per Serving)
It is important to consider this information as approximate and not to use it as definitive health advice.
Allergy Information
Please check ingredients for potential allergens and consult a health professional if in doubt.