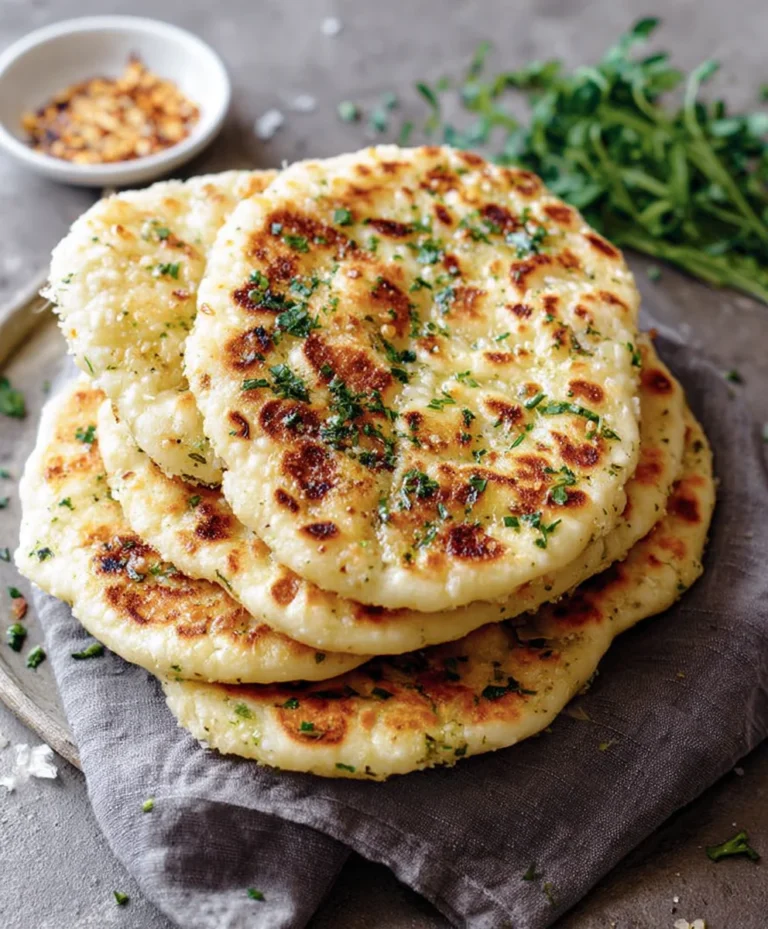
Crispy Cottage Cheese Chips Easy Snack Recipe
Cottage cheese chips are rapidly taking the snack world by storm, and for good reason! They offer a delightful paradox: incredibly satisfyingly crunchy, yet surprisingly light and packed with protein. If you’ve been searching for a guilt-free way to curb those afternoon cravings or looking for a healthy, dippable accompaniment to your favorite spreads, then you’ve come to the right place. What’s so special about these ingenious bites? It’s their unbelievable versatility and how they transform humble cottage cheese into a crispy, flavorful sensation. Forget the bland diet snacks of the past; these cottage cheese chips are a culinary revelation that will have you reaching for them time and time again. Prepare to be amazed by how simple ingredients can yield such spectacular results.

Ingredients:
- 2 cups full-fat cottage cheese
- 2 large eggs
- 2 tablespoons nutritional yeast
- 1 teaspoon garlic powder
- 1/2 teaspoon onion powder
- 1/4 teaspoon smoked paprika
- 1/4 teaspoon black pepper
- Pinch of salt (optional, cottage cheese can be salty)
- Optional seasonings: dried herbs like dill or chives, a dash of cayenne pepper for heat
Getting Started: The Cottage Cheese Base
Preheat and Prepare Your Baking Sheets
The first crucial step to achieving perfectly crispy cottage cheese chips is to get your oven and baking sheets ready. Preheat your oven to 375°F (190°C). This moderate temperature is key to allowing the chips to dehydrate and crisp up without burning too quickly. While the oven heats, line two large baking sheets with parchment paper. Parchment paper is essential here; it prevents the cottage cheese mixture from sticking to the pan, making cleanup a breeze and ensuring your chips release easily once baked. If you don’t have parchment paper, you can lightly grease the baking sheets, but parchment is highly recommended for the best results. Ensure your baking sheets are clean and dry before you begin extract.
Crafting the Chip Mixture
Blending the Ingredients
Now it’s time to create the magic batter for your cottage cheese chips. In a medium-sized bowl, combine the 2 cups of full-fat cottage cheese and the 2 large eggs. Full-fat cottage cheese will yield a richer, more stable base, which is important for achieving a good texture in the final chips. Whisk these two ingredients together vigorously until they are well combined and the mixture is relatively smooth. Don’t worry if there are still a few small lumps of cottage cheese; they will blend further when you add the dry ingredients. This base is what will give your chips their satisfying chew and structure.
Adding Flavor and Seasoning
Once your cottage cheese and egg mixture is ready, it’s time to infuse it with delicious flavor. Add the 2 tablespoons of nutritional yeast, 1 teaspoon of garlic powder, 1/2 teaspoon of onion powder, 1/4 teaspoon of smoked paprika, and 1/4 teaspoon of black pepper to the bowl. Nutritional yeast is a fantastic ingredient for adding a cheesy, umami flavor without any dairy, which complements the cottage cheese perfectly and helps create a more cohesive chip. The garlic and onion powders provide a savory foundation, while the smoked paprika adds a subtle smoky depth. A pinch of salt is optional, as cottage cheese can vary in saltiness; taste your mixture before adding extra salt if you choose to include it. If you’re feeling adventurous, this is also a great time to add any optional seasonings like dried dill, chives, or a pinch of cayenne pepper for a spicy kick. Whisk everything together thoroughly until all the dry ingredients are fully incorporated into the wet mixture, creating a thick, smooth batter.
Forming and Baking the Chips
Spreading the Batter Thinly
This is arguably the most critical step for achieving crispy cottage cheese chips. You want to spread the batter as thinly and evenly as possible onto the prepared baking sheets. Use the back of a spoon or a spatula to gently spread the mixture. Aim for a thickness of about 1/16 to 1/8 of an inch. The thinner the batter, the crispier your chips will become. If the batter is too thick, the chips will remain soft and doughy. Be patient and work in sections if needed. You can create small, uniform discs or spread it into larger sheets and break them apart after baking. Ensure there are no thick patches or gaps, as this will lead to uneven cooking. If the batter is too sticky to spread, you can dampen your spoon or spatula with a little water.
The Baking Process: Drying and Crisping
Place the prepared baking sheets into your preheated oven. Bake for 20-30 minutes. During this initial baking period, the chips will start to firm up and dry out. After about 15-20 minutes, check on them. You’re looking for the edges to start turning golden brown and the centers to appear set. At this point, you might want to rotate your baking sheets (top to bottom and front to back) to ensure even baking, especially if your oven has hot spots. Continue baking for another 10-15 minutes, or until the chips are golden brown and appear firm to the touch. For extra crispiness, you can lower the oven temperature slightly to 350°F (175°C) for the last 5-10 minutes of baking, but watch them closely to prevent burning. The total baking time can vary depending on your oven and the thickness of your batter, so keep an eye on them.
Cooling and Achieving Maximum Crispness
Once the cottage cheese chips have reached your desired level of golden-brown crispness, remove the baking sheets from the oven. This is a crucial step for achieving that satisfying crunch. Let the chips cool completely on the baking sheets for at least 15-20 minutes. As they cool, they will continue to crisp up significantly. If you find that some of your chips are still a bit soft after cooling on the pan, you can carefully transfer them to a wire rack to allow air to circulate around them, further enhancing their crispness. For the absolute crispiest results, some bakers even recommend turning off the oven, leaving the chips inside with the door slightly ajar, and allowing them to cool and dehydrate further in the residual heat. Once fully cooled and completely crisp, you can gently break them apart if you spread them into larger sheets. Store your finished cottage cheese chips in an airtight container at room temperature to maintain their crisp texture.

Conclusion:
There you have it! Crafting these delicious Cottage Cheese Chips is a wonderfully simple and rewarding process. We hope you’ve enjoyed learning how to whip up this healthy and satisfying snack. The versatility of these Cottage Cheese Chips truly shines, making them a go-to option for any occasion. Whether you’re looking for a guilt-free afternoon treat, a crunchy topping for your salads, or a delightful dipper for your favorite hummus, these chips deliver.
For serving, consider pairing them with a variety of dips. Classic guacamole, a spicy salsa, or even a creamy Greek yogurt dip would be fantastic. You can also crum extractble them over soups or use them as a base for mini appetizer bites. Don’t be afraid to experiment with variations! Try adding different herbs and spices to the cottage cheese mixture before baking – smoked paprika, garlic powder, or even a pinch of chili flakes can elevate the flavor profile. If you’re feeling adventurous, incorporating finely chopped chives or sun-dried tomatoes into the batter can add delightful bursts of flavor and texture.
We encourage you to give these Cottage Cheese Chips a try and discover your own favorite ways to enjoy them. They are a testament to how healthy eating can also be incredibly delicious and fun. Happy baking!
Frequently Asked Questions:
How do I get my Cottage Cheese Chips extra crispy?
To achieve maximum crispiness, ensure your Cottage Cheese Chips are spread thinly and evenly on the baking sheet. Baking them on parchment paper also helps prevent sticking and promotes even cooking. Don’t overcrowd the baking sheet, as this can lead to steaming rather than crisping. You can also try baking them for a few extra minutes, keeping a close eye to prevent burning.
Can I make Cottage Cheese Chips ahead of time?
Yes, Cottage Cheese Chips can definitely be made ahead of time. Once completely cooled, store them in an airtight container at room temperature for up to 3-4 days. They maintain their crispiness best when stored properly.
Crispy Cottage Cheese Chips Easy Snack Recipe
An easy and delicious recipe for making crispy cottage cheese chips at home. These savory chips are perfect for a healthy snack.
Ingredients
-
2 cups full-fat cottage cheese
-
2 large eggs
-
2 tablespoons nutritional yeast
-
1 teaspoon garlic powder
-
1/2 teaspoon onion powder
-
1/4 teaspoon smoked paprika
-
1/4 teaspoon black pepper
-
Pinch of salt (optional, cottage cheese can be salty)
-
Optional seasonings: dried herbs like dill or chives, a dash of cayenne pepper for heat
Instructions
-
Step 1
Preheat oven to 375°F (190°C) and line two large baking sheets with parchment paper. -
Step 2
In a medium bowl, combine 2 cups of full-fat cottage cheese and 2 large eggs. Whisk until well combined and relatively smooth. -
Step 3
Add nutritional yeast, garlic powder, onion powder, smoked paprika, black pepper, and optional salt. Whisk until all dry ingredients are fully incorporated, creating a thick, smooth batter. -
Step 4
Spread the batter thinly and evenly onto the prepared baking sheets, aiming for a thickness of about 1/16 to 1/8 of an inch. Ensure no thick patches. -
Step 5
Bake for 20-30 minutes, or until the edges turn golden brown and the centers appear set. Rotate baking sheets halfway through. -
Step 6
For extra crispiness, lower oven temperature to 350°F (175°C) for the last 5-10 minutes, watching closely to prevent burning. Cool completely on baking sheets or a wire rack. Break apart once cooled and crisp.
Important Information
Nutrition Facts (Per Serving)
It is important to consider this information as approximate and not to use it as definitive health advice.
Allergy Information
Please check ingredients for potential allergens and consult a health professional if in doubt.