Classic White Bread Recipe – Easy Homemade Bake
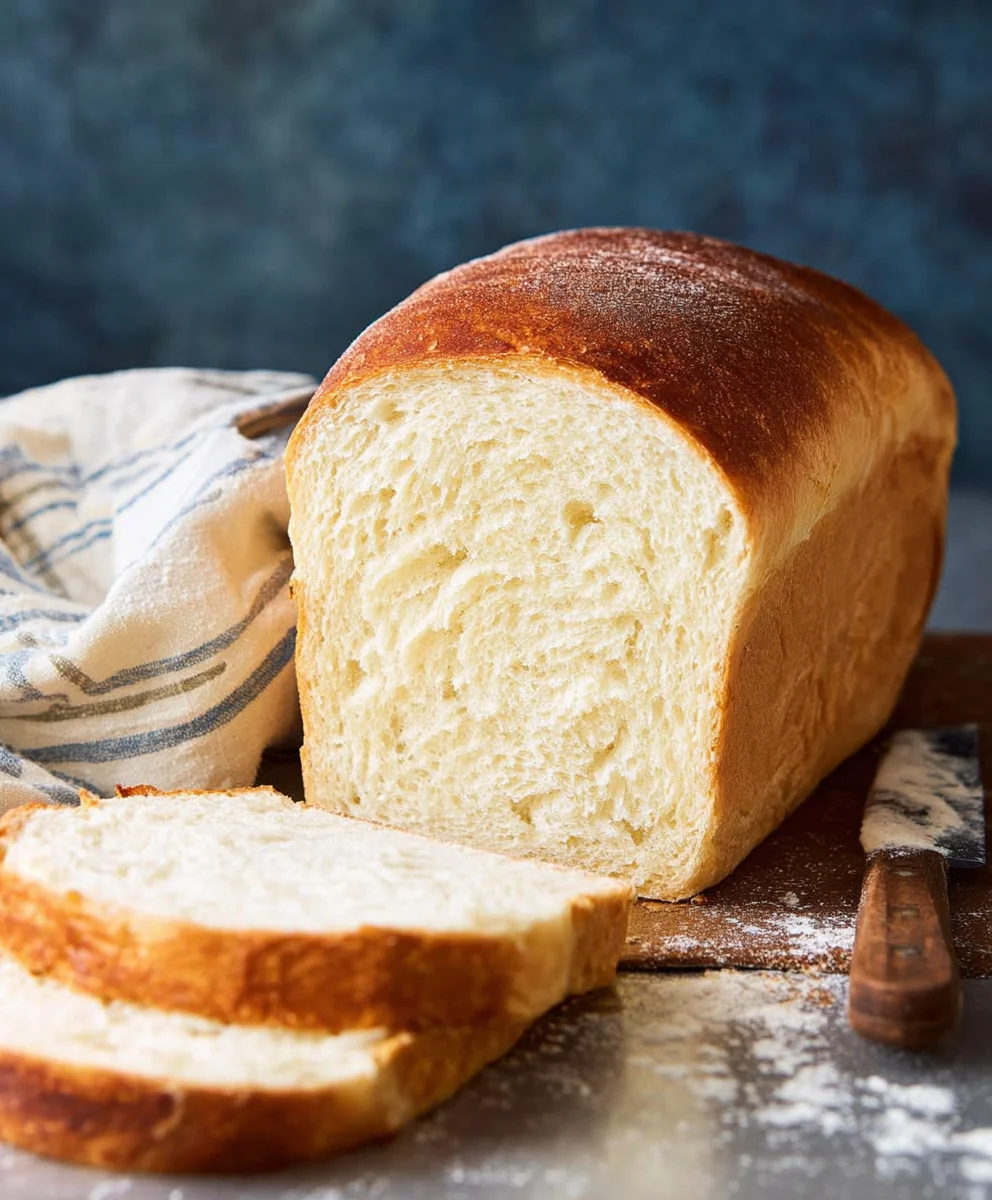
White Bread, in its simplest form, is a comforting classic that evokes childhood memories and the warmth of home. There’s a reason why this humble loaf has remained a staple for generations. It’s the ultimate blank canvas, perfect for everything from a creamy peanut butter and jelly sandwich to a substantial base for a savory avocado toast. People adore it for its soft, slightly sweet crum extractb and its unparalleled versatility. What truly makes a homemade white bread special, though, is the aroma that fills your kitchen as it bakes – a testament to simple ingredients transforming into something magical. Forget the store-bought imitation; this recipe will guide you to achieve that perfect texture and golden crust, ensuring your next slice of white bread is an absolute delight.
Ingredients:
- 1 ⅔ cups lukewarm water, divided
- 2 ¼ teaspoon instant yeast (or active dry yeast)
- 1 teaspoon sugar
- 1 tablespoon honey (or more sugar)
- 1 teaspoon salt
- 1 ½ tablespoons unsalted butter, cubed at room temperature
- 4 ½ cups all-purpose flour, divided
- 1 ½ tablespoons butter, melted for brushing
The Dough-Making Process
Activating the Yeast and Building the Foundation
The journey to a perfect loaf of white bread begin extracts with coaxing your yeast to life. In a large mixing bowl, combine 1 cup of the lukewarm water with the teaspoon of sugar and the tablespoon of honey. Stir gently to dissolve the sugar and honey. This sugary environment is exactly what your yeast needs to awaken. Sprinkle the 2 ¼ teaspoons of instant yeast over the surface of the liquid. If you’re using active dry yeast, you’ll want to let it sit for about 5 to 10 minutes until it becomes foamy and bubbly – this indicates it’s active and ready to work its magic. For instant yeast, you can proceed directly to the next step after about 5 minutes. The lukewarm water is crucial; too hot and you’ll kill the yeast, too cold and it won’t activate properly. Aim for a temperature between 105-115°F (40-46°C).
Incorporating the Fat and Salt
Once your yeast has had a chance to bloom (if using active dry), add the remaining ⅔ cup of lukewarm water to the bowl. Then, introduce the 1 teaspoon of salt. The salt plays a vital role not just in flavor, but also in controlling the yeast’s activity, ensuring a slow and steady rise. Now, add the 1 ½ tablespoons of cubed, room-temperature unsalted butter. Room temperature butter is important because it will soften and incorporate more easily into the dough without shocking the ygin extractt. Begin to stir everything together with a wooden spoon or a sturdy spatula until the ingredients are mostly combined. Don’t worry about a smooth dough at this stage; it will come.
Developing the Dough Structure
It’s time to introduce the star of the show: the flour. Gradually add 4 cups of the all-purpose flour to the wet ingredients, stirring as you go. Continue mixing until the dough just starts to come together and pulls away from the sides of the bowl. It will still be quite shaggy and sticky at this point. Now, turn the dough out onto a lightly floured surface. This is where the magic of kneagin extractg happens. Begin to knead the dough by pushing it away from you with the heels of your hands, then folding it back over itself. Rotate the dough a quarter turn and repeat. This process develops the gluten network, which gives your white bread its structure and characteristic chewy texture. For the first few minutes, you might need to add a little more flour from the remaining ½ cup if the dough is excessively sticky, but try to use as little extra flour as possible. Over-flouring can lead to a dry, dense loaf. Knead for about 8 to 10 minutes, or until the dough is smooth, elastic, and springs back when gently poked. You should be able to stretch a small piece of the dough thinly enough to see light through it without it tearing – this is called the windowpane test.
The First Rise: Patience and Warmth
First Proofing
Lightly grease a clean large bowl with a little oil or cooking spray. Place the kneaded dough into the bowl and turn it to coat all sides with the grease. This prevents a dry skin from forming on the dough. Cover the bowl tightly with plastic wrap or a clean kitchen towel. Find a warm, draft-free spot for the dough to rise. An oven that has been turned off but still retains a little residual warmth, or a sunny windowsill, works wonderfully. Let the dough rise for 1 to 1 ½ hours, or until it has doubled in size. The exact time will depend on the warmth of your environment. You’ll know it’s ready when it looks puffy and has noticeably increased in volume. Resist the urge to poke it excessively during this time; you want to let it do its work undisturbed.
Shaping and the Second Rise
Punching Down and Shaping the Loaf
Once the dough has doubled in size, it’s time to gently deflate it. Punch down the center of the dough with your fist. This releases the accumulated gases and redistributes the yeast, preparing it for its final rise. Turn the dough out onto a lightly floured surface once more. Gently shape the dough into your desired loaf form. For a standard sandwich loaf, you’ll want to flatten the dough into a rectangle. Then, starting from one of the shorter ends, tightly roll up the dough, pressing out any air pockets as you go. Pinch the seam closed firmly. Tuck the ends under to create a smooth, neat loaf shape. Place the shaped loaf into a greased 9×5 inch loaf pan.
The Final Proofing
Cover the loaf pan loosely with plastic wrap or a clean kitchen towel. Allow the dough to rise again in a warm place for another 30 to 45 minutes, or until it has risen about 1 inch above the rim of the pan. This second rise is crucial for achieving a light and airy crum extractb in your finished white bread. While the dough is on its final rise, preheat your oven to 375°F (190°C). Ensure your oven rack is in the center position.
Baking to Golden Perfection
Baking the Bread
Once the oven is preheated and the dough has completed its final rise, it’s time to bake. If you wish, you can brush the top of the loaf with a little milk or egg wash for an even richer, glossier crust, though this is entirely optional. Carefully place the loaf pan into the preheated oven. Bake for 30 to 35 minutes. The bread is done when the crust is a beautiful golden brown and the internal temperature reaches 190-200°F (88-93°C) when checked with an instant-read thermometer. You can also tap the bottom of the loaf; it should sound hollow.
Cooling and Enjoying Your Homemade White Bread
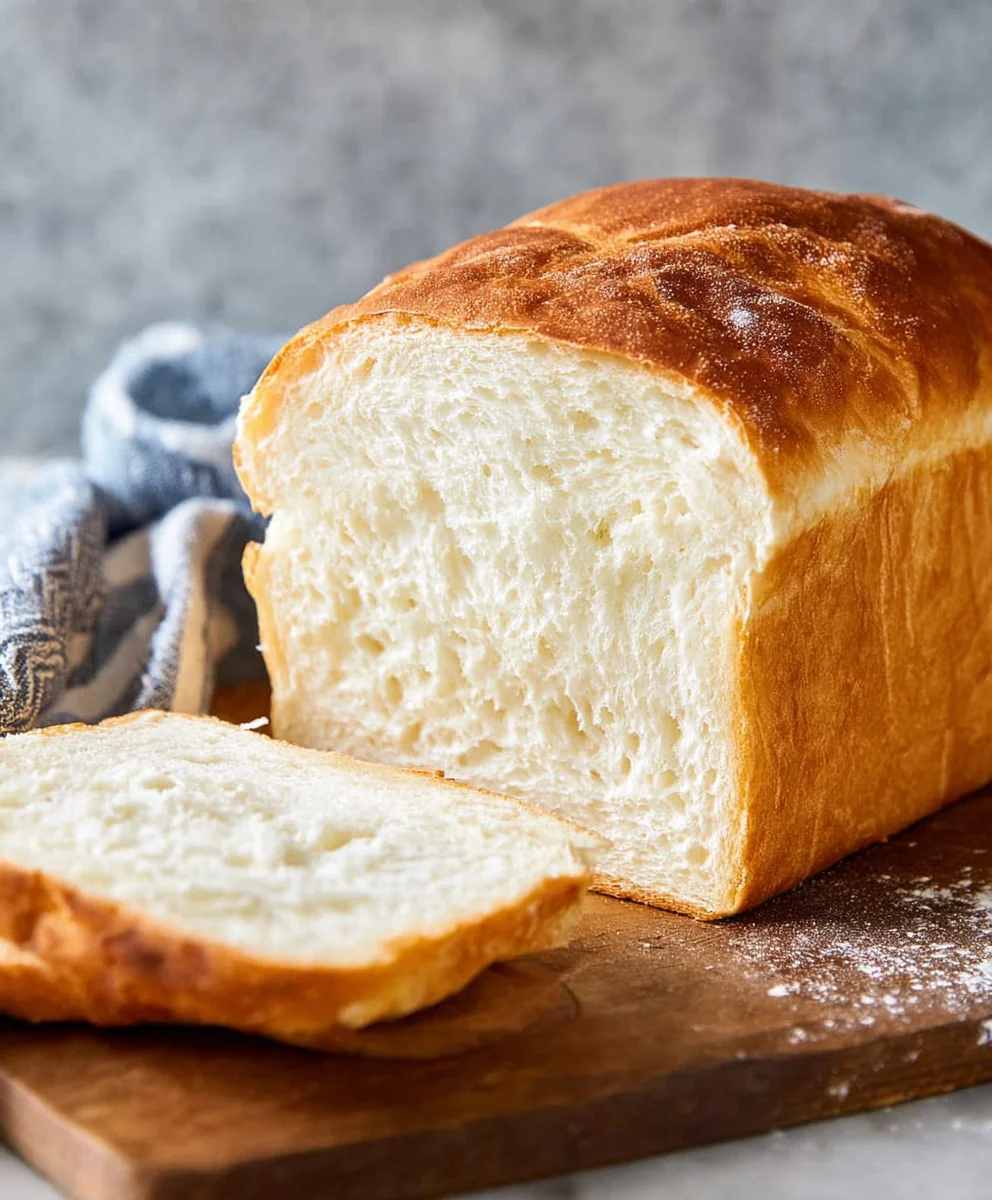
Once baked, immediately remove the bread from the loaf pan and place it on a wire rack to cool completely. This allows air to circulate around the loaf, preventing the bottom crust from becoming soggy. Resist the temptation to slice into it while it’s still hot; the internal structure needs time to set. Waiting for it to cool will result in cleaner slices and a superior texture. Once cooled, you can slice your homemade white bread and enjoy the fruits of your labor! This bread is fantastic toasted, used for sandwiches, or simply slathered with butter.
Conclusion:
And there you have it – the ultimate guide to baking your very own delicious and fluffy White Bread! We’ve walked through each step, from activating the yeast to achieving that perfect golden crust. This classic recipe is surprisingly straightforward and incredibly rewarding, offering a fantastic foundation for countless meals and snacks. Imagin extracte a warm slice, slathered with butter, or the satisfaction of building your favorite sandwich on bread you made yourself. The aroma that fills your kitchen as this White Bread bakes is truly something special.
For serving suggestions, this versatile White Bread is wonderful toasted and served with jam or honey, as the base for a gourmet grilled cheese, or simply enjoyed with a hearty soup. If you’re feeling adventurous, consider variations like adding a sprinkle of herbs to the dough before baking, or incorporating a touch of honey for a slightly sweeter loaf. Don’t be afraid to experiment and make this recipe your own! Baking bread is a journey, and this White Bread is the perfect starting point for your home baking adventures. Enjoy every bite!
Frequently Asked Questions about White Bread:
Q1: Why isn’t my White Bread rising properly?
Several factors can contribute to a lack of rise. Ensure your yeast is fresh and properly activated in warm (not hot) liquid. Overworking or underworking the dough can also impact its ability to rise. Make sure your proofing environment is warm and draft-free; a slightly humid environment is ideal for the yeast to thrive. Lastly, check that your oven temperature is accurate when baking.
Q2: Can I make this White Bread recipe gluten-free?
This specific recipe is designed for traditional wheat flour and cannot be directly substituted with gluten-free flours without significant adjustments. Creating a successful gluten-free White Bread requires a different blend of flours, binders (like xanthan gum), and often a modified liquid ratio. You would need to look for a dedicated gluten-free white bread recipe to achieve good results.
Classic White Bread Recipe – Easy Homemade Bake
A simple and delicious recipe for homemade white bread that’s perfect for sandwiches, toast, or enjoying on its own.
Ingredients
-
1 ⅔ cups lukewarm water, divided
-
2 ¼ teaspoon instant yeast (or active dry yeast)
-
1 teaspoon sugar
-
1 tablespoon honey (or more sugar)
-
1 teaspoon salt
-
1 ½ tablespoons unsalted butter, cubed at room temperature
-
4 ½ cups all-purpose flour, divided
-
1 ½ tablespoons butter, melted for brushing
Instructions
-
Step 1
In a large mixing bowl, combine 1 cup of lukewarm water, sugar, and honey. Sprinkle yeast over the surface and let sit for 5 minutes (or 5-10 minutes for active dry yeast until foamy). -
Step 2
Add the remaining ⅔ cup of lukewarm water, salt, and cubed butter to the bowl. Stir until mostly combined. -
Step 3
Gradually add 4 cups of flour, mixing until the dough starts to come together. Turn onto a floured surface and knead for 8-10 minutes until smooth and elastic. -
Step 4
Place the dough in a greased bowl, cover, and let rise in a warm place for 1 to 1.5 hours, or until doubled in size. -
Step 5
Punch down the dough, shape into a loaf, and place in a greased 9×5 inch loaf pan. -
Step 6
Cover and let rise for another 30-45 minutes, or until 1 inch above the rim. Preheat oven to 375°F (190°C). -
Step 7
Bake for 30-35 minutes, until golden brown and the internal temperature reaches 190-200°F (88-93°C). -
Step 8
Remove from pan and cool completely on a wire rack before slicing.
Important Information
Nutrition Facts (Per Serving)
It is important to consider this information as approximate and not to use it as definitive health advice.
Allergy Information
Please check ingredients for potential allergens and consult a health professional if in doubt.