Sweet Honey Oat Bread Recipe – Easy Homemade Loaf
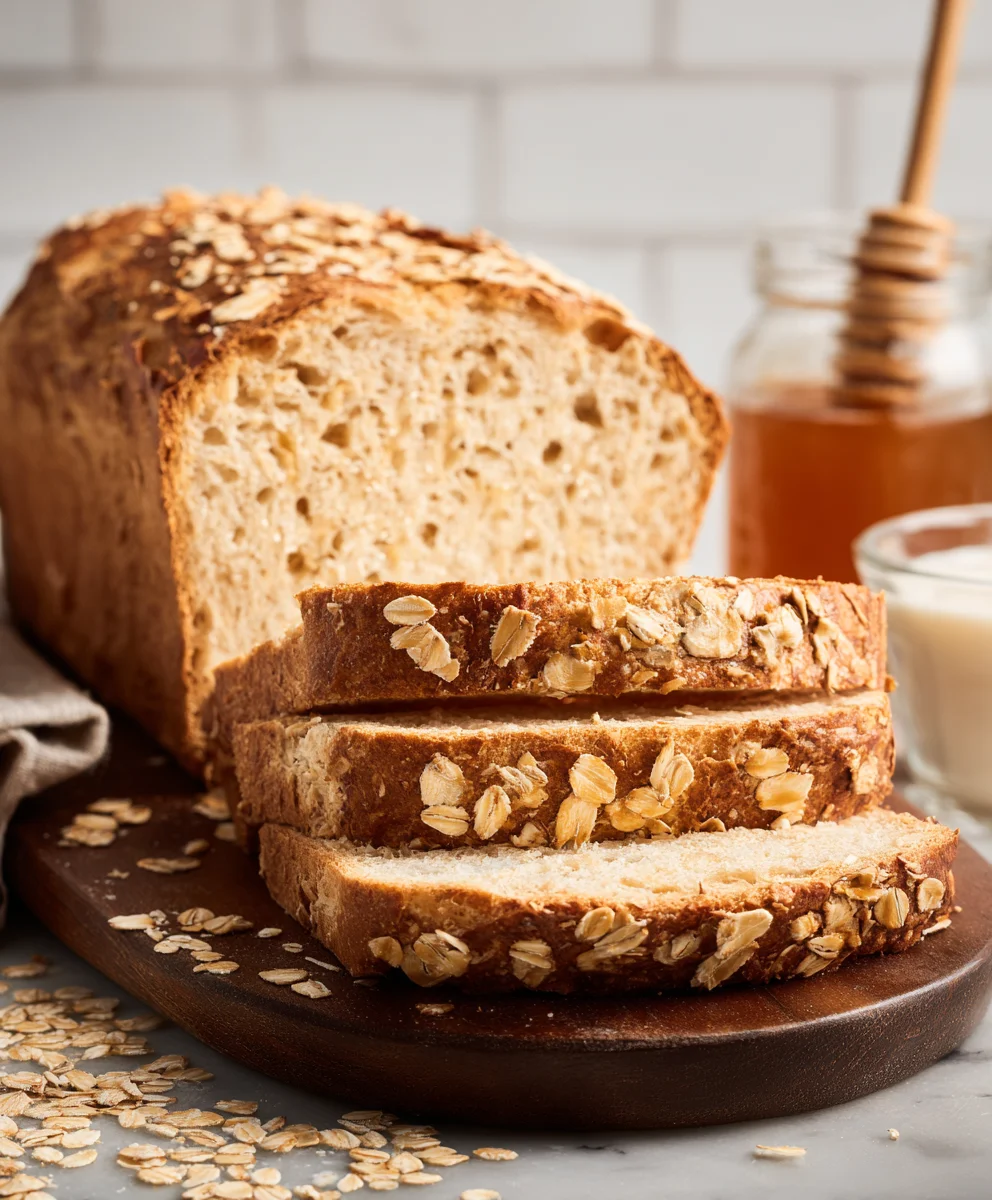
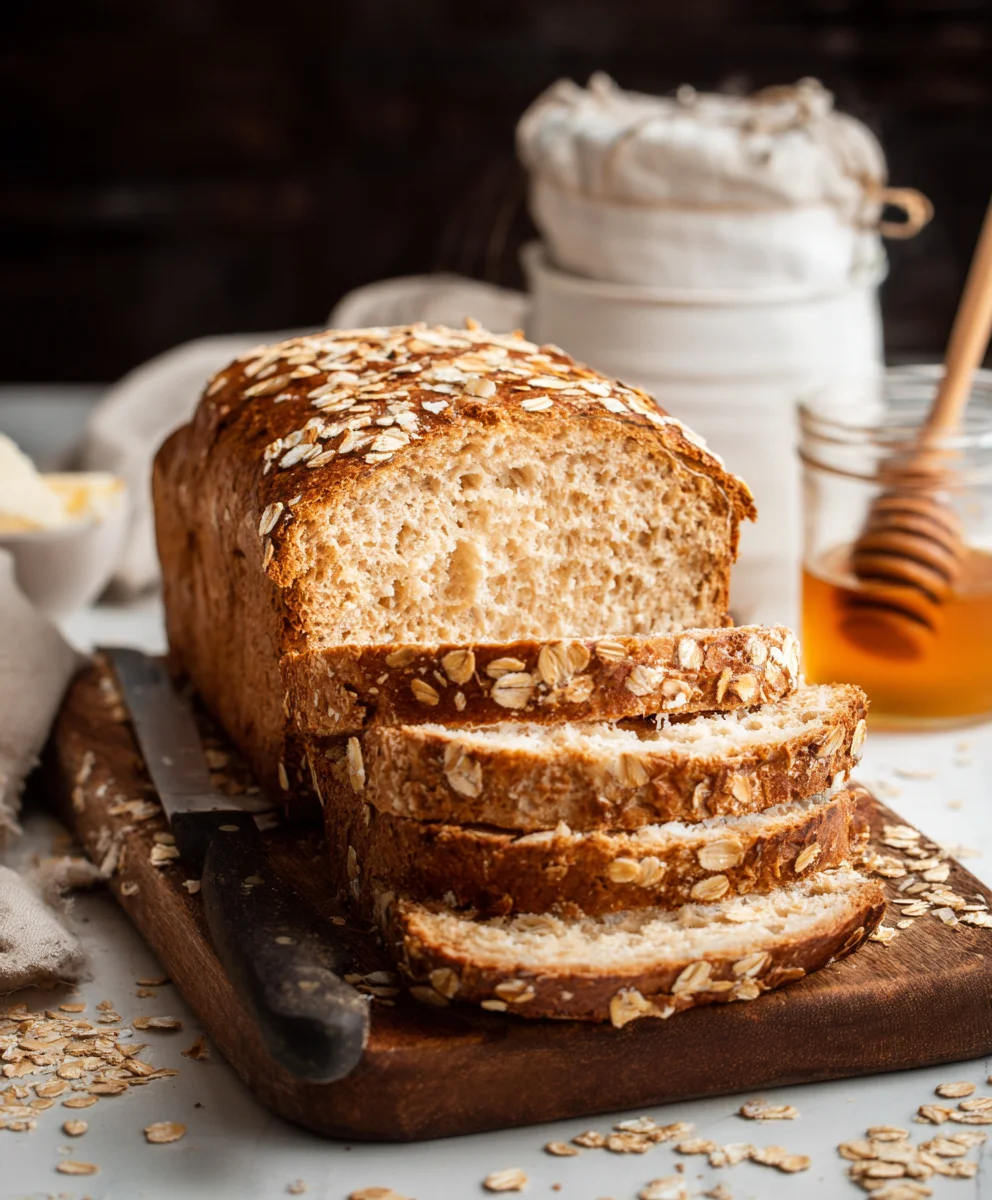
Honey Oat Bread is more than just a loaf; it’s a warm hug on a plate, a comforting aroma that fills your kitchen, and a deeply satisfying experience. There’s something inherently wholesome and inviting about this classic bread, a testament to its simple yet brilliant combination of flavors and textures. People adore honey oat bread because it strikes that perfect balance: the subtle sweetness of honey perfectly complements the nutty, earthy notes of oats, creating a flavor profile that’s both familiar and endlessly craveable. It’s the ideal canvas for your favorite butter or jam, a sturdy base for a hearty sandwich, or simply enjoyed on its own, still warm from the oven. What truly makes this particular Honey Oat Bread recipe special is its approachable nature, promising a delightfully soft crum extractb with just the right amount of chew, and a beautiful golden crust that whispers of home-baked goodness. Get ready to create a masterpiece!
Ingredients:
- 3 cups all-purpose flour
- ¾ cup rolled oats, plus 2 tablespoons for topping
- 2 ¼ teaspoons active dry yeast
- 1 ½ teaspoons salt
- 2 tablespoons unsalted butter, softened
- 1 cup milk
- ¼ cup lukewarm water (about 105-115°F or 40-46°C)
- ¼ cup honey, plus 2 tablespoons for brushing
Preparing the Dough
Activating the Yeast
First things first, let’s get our yeast ready to work its magic. In a small bowl, combine the ¼ cup of lukewarm water with the ¼ cup of honey. This warm liquid is the perfect playground for the active dry yeast. Sprinkle the 2 ¼ teaspoons of active dry yeast over the surface. Give it a gentle stir, just enough to ensure all the yeast granules are moistened, and then let it sit undisturbed for about 5 to 10 minutes. You should see a foamy, bubbly layer form on top. This tells us the yeast is alive and ready to create that beautiful rise in our Honey Oat Bread.
Mixing the Wet and Dry Ingredients
While the yeast is getting frothy, let’s prepare the other components. In a large mixing bowl, whisk together the 3 cups of all-purpose flour, ¾ cup of rolled oats, and 1 ½ teaspoons of salt. Make sure these dry ingredients are thoroughly combined. In a separate, microwave-safe bowl or a small saucepan, gently warm the 1 cup of milk and the 2 tablespoons of unsalted butter until the butter is melted and the milk is just warm to the touch. Be careful not to overheat it, as very hot milk can kill the yeast. Once the milk and butter mixture is ready, add it to the activated yeast mixture. Stir gently to combine. The yeast mixture might look a little curdled at this point, and that’s perfectly normal.
Combining Everything for the Dough
Now, it’s time to bring it all together. Pour the wet ingredients (the yeast, milk, butter, and honey mixture) into the bowl with the dry ingredients. Using a wooden spoon or a sturdy spatula, begin extract to mix everything until a shaggy dough starts to form. It will look a bit rough and unkempt at this stage, and that’s exactly what we’re aiming for. Don’t worry about perfecting it yet; the gluten development will happen during kneading.
Kneading and First Rise
Kneading the Dough
Turn the shaggy dough out onto a lightly floured surface. This is where the real work and satisfaction of bread-making comes in – kneading! Start by gently folding the dough over on itself and pressing down with the heels of your hands. Rotate the dough a quarter turn and repeat. If the dough feels too sticky, you can lightly dust your hands or the surface with a little more all-purpose flour, but try to use as little as possible to maintain the proper hydration of the dough. Continue kneading for about 8 to 10 minutes. You’re looking for a dough that is smooth, elastic, and springs back slowly when gently poked. It should feel pliable and slightly tacky, but not stick to your fingers uncontrollably.
The First Rise (Proofing)
Once your dough has reached that perfect smooth and elastic consistency, it’s time for its first glorious rise. Lightly grease a clean large bowl with a little oil or cooking spray. Place the kneaded dough into the greased bowl, turning it once to coat all sides with the oil. Cover the bowl tightly with plastic wrap or a clean kitchen towel. Find a warm, draft-free spot in your kitchen for the dough to rise. This could be a slightly warm oven (turned off, of course!), near a sunny window, or just on your countertop if your kitchen is generally warm. Let the dough rise for 1 to 1.5 hours, or until it has doubled in size. Patience is key here; a good rise is crucial for a light and airy Honey Oat Bread.
Shaping and Second Rise
Shaping the Loaf
Once your dough has doubled, gently punch it down to release the air that has accumulated during the first rise. Turn the dough out onto your lightly floured work surface again. Gently shape the dough into your desired loaf form. For a classic loaf, you can pat it into a rough rectangle and then roll it up tightly, pinching the seam closed. Tuck in the ends to create a neat loaf shape. You can also opt for a round boule shape if you prefer. The goal is to create some surface tension, which helps the loaf hold its shape during baking.
The Second Rise (Final Proofing)
Prepare your baking pan. Grease a standard 9×5 inch loaf pan with butter or cooking spray, or line it with parchment paper. Carefully place your shaped loaf into the prepared pan. Again, cover the loaf pan loosely with plastic wrap or a clean kitchen towel. Allow the dough to undergo its second rise in a warm, draft-free place for another 45 minutes to 1 hour, or until it has risen about 1 inch above the rim of the pan. This final proofing step is essential for achieving that impressive height and tender crum extractb in your Honey Oat Bread.
Baking the Honey Oat Bread
Preheating the Oven and Topping
About 15-20 minutes before the end of the second rise, preheat your oven to 375°F (190°C). This ensures the oven is at the correct temperature when your loaf is ready to bake, promoting an even rise and crust development. Once the dough has completed its second rise and is looking beautifully puffy, it’s time for a little finishing touch. In a small bowl, gently whisk together the 2 tablespoons of honey with about 1 tablespoon of warm water to make a thin glaze. Brush this honey glaze all over the top of the risen loaf. Then, generously sprinkle the remaining 2 tablespoons of rolled oats over the top. This will give your Honey Oat Bread a lovely, rustic finish and an extra bit of texture.
Baking to Golden Perfection
Carefully place the loaf pan into the preheated oven. Bake for 30 to 40 minutes, or until the crust is a deep golden brown and the internal temperature of the bread reaches 190-200°F (88-93°C) when measured with an instant-read thermometer. If the crust starts to brown too quickly, you can loosely tent the loaf with aluminum foil for the last 10-15 minutes of baking. The aroma filling your kitchen will be absolutely divine as it bakes!
Cooling the Bread
Once baked, immediately remove the Honey Oat Bread from the loaf pan and place it on a wire cooling rack. This is a crucial step to prevent the bottom of the loaf from becoming soggy. Let the bread cool completely before slicing. Slicing into a hot loaf can result in a gummy texture, so resist the temptation! Allow it to cool for at least 1 to 2 hours. The waiting is part of the delicious anticnon-alcoholic ipation, and it ensures you get the best possible texture and flavor from your homemade Honey Oat Bread.
Conclusion:
There you have it! Your simple yet incredibly satisfying guide to baking the perfect Honey Oat Bread. We’ve walked through each step, from mixing the dough to achieving that golden-brown crust, and I hope you feel empowered to create this delicious loaf in your own kitchen. This Honey Oat Bread is wonderfully versatile, making it a staple for any baker, begin extractner or experienced. It’s hearty enough to stand on its own, slathered with butter, or can be the foundation for your favorite sandwiches. Don’t be afraid to experiment with different types of honey or even add a sprinkle of seeds on top for extra texture and flavor. Remember, baking is a journey, and the best part is enjoying the fruits of your labor. So go ahead, preheat your oven, and bake a batch of this delightful Honey Oat Bread – your taste buds will thank you!
Frequently Asked Questions:
Can I make Honey Oat Bread without a stand mixer?
Absolutely! While a stand mixer makes kneading easier, you can definitely achieve a great Honey Oat Bread by hand. Knead the dough on a lightly floured surface for about 10-15 minutes until it’s smooth and elastic. It’s a bit more work, but the result is just as delicious and incredibly rewarding.
How should I store my Honey Oat Bread?
To keep your Honey Oat Bread fresh, let it cool completely before slicing. Once cooled, wrap it tightly in plastic wrap or place it in an airtight container. It should stay fresh at room temperature for about 3-4 days. For longer storage, you can slice it and freeze individual portions.
Sweet Honey Oat Bread Recipe – Easy Homemade Loaf
A simple and delicious recipe for homemade Honey Oat Bread, perfect for any occasion.
Ingredients
-
3 cups all-purpose flour
-
3/4 cup rolled oats
-
2 1/4 teaspoons active dry yeast
-
1 1/2 teaspoons salt
-
2 tablespoons unsalted butter
-
1 cup milk
-
1/4 cup lukewarm water
-
1/4 cup honey
-
2 tablespoons honey
-
2 tablespoons rolled oats
Instructions
-
Step 1
Activate the yeast by combining 1/4 cup lukewarm water with 1/4 cup honey. Sprinkle yeast over the top, stir gently, and let sit for 5-10 minutes until foamy. -
Step 2
In a large bowl, whisk together flour, 3/4 cup rolled oats, and salt. Gently warm milk and butter until butter is melted. Add to the activated yeast mixture. -
Step 3
Pour the wet ingredients into the dry ingredients and mix until a shaggy dough forms. -
Step 4
Knead the dough on a lightly floured surface for 8-10 minutes until smooth and elastic. Place in a greased bowl, cover, and let rise in a warm place for 1-1.5 hours, or until doubled in size. -
Step 5
Punch down the dough, shape into a loaf, and place in a greased loaf pan. Cover and let rise for another 45 minutes to 1 hour. -
Step 6
Preheat oven to 375°F (190°C). Whisk 2 tablespoons honey with 1 tablespoon warm water for a glaze. Brush over the loaf and sprinkle with 2 tablespoons rolled oats. -
Step 7
Bake for 30-40 minutes until golden brown. Remove from pan immediately and cool completely on a wire rack before slicing.
Important Information
Nutrition Facts (Per Serving)
It is important to consider this information as approximate and not to use it as definitive health advice.
Allergy Information
Please check ingredients for potential allergens and consult a health professional if in doubt.