Easy Homemade Whole Wheat Bread Recipe
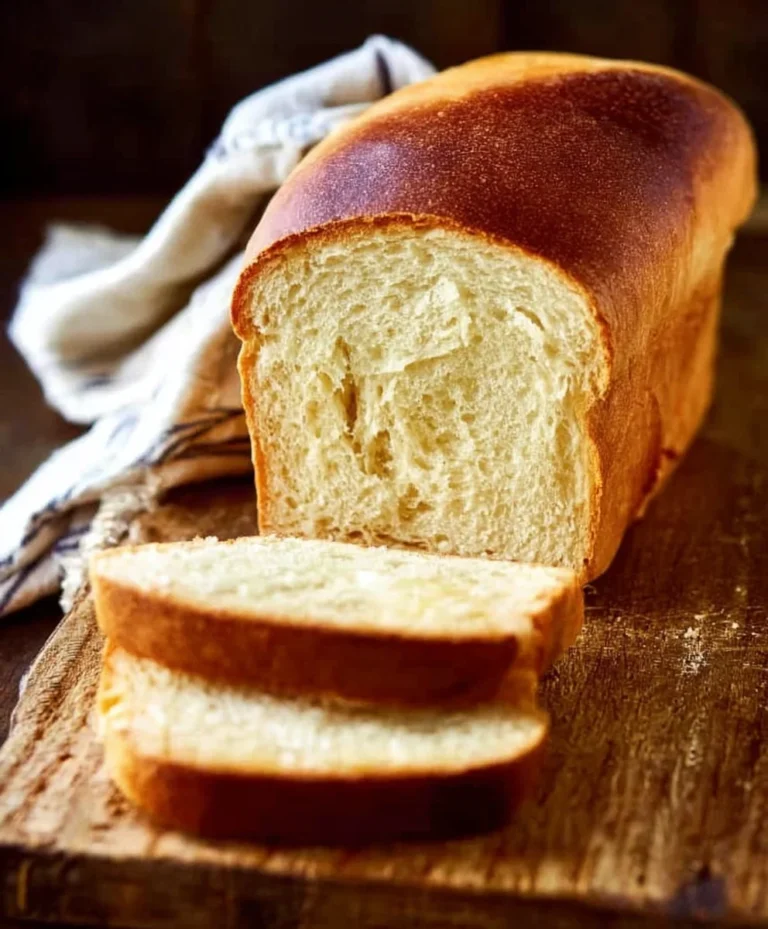
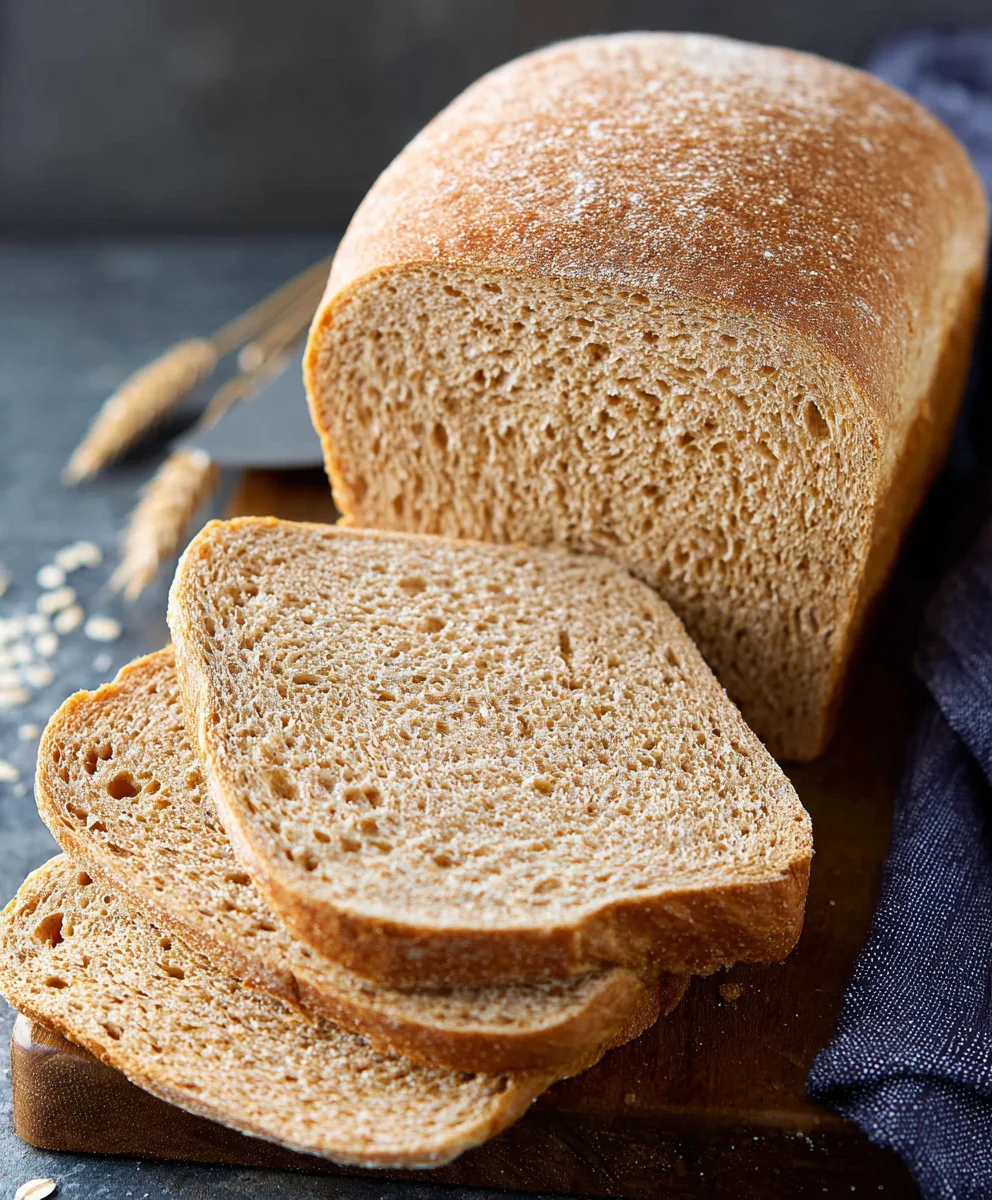
Whole Wheat Bread is more than just a staple in our kitchens; it’s a comforting embrace, a versatile canvas for countless culinary creations, and a testament to the simple goodness of wholesome ingredients. There’s an undeniable satisfaction in slicing into a homemade loaf, the rich aroma filling your home, promising a texture that’s both hearty and tender. People adore this particular type of bread because it offers a delightful nuttiness that white bread simply can’t replicate, along with a subtle chegrape juicess that makes every bite a little more interesting. It’s the perfect foundation for your morning toast, a hearty companion to soups and salads, and the ideal vessel for your favorite sandwiches. What truly makes this Whole Wheat Bread recipe special is its approachability. We’ve stripped away the intimidating steps, making it accessible for bakers of all levels, and focused on delivering a consistently delicious result that will have you reaching for your apron time and time again. Get ready to experience the joy of baking truly exceptional Whole Wheat Bread right in your own oven.
Ingredients:
- 1 cup water
- ¼ cup milk (whole or 2% recommended for richness)
- 3 tablespoons honey
- 2 ¼ teaspoons active dry yeast (or instant yeast – one packet is typically 2 ¼ teaspoons)
- 3 cups (approximately 339 grams) whole wheat flour, plus more for dusting
- 1 ½ teaspoons salt
- 3 tablespoons unsalted butter, softened and cut into 6 small pieces
Preparing the Dough
Step 1: Activating the Yeast and Creating the Wet Base
Begin extract by gently warming your liquids. In a large mixing bowl, combine the 1 cup of water and ¼ cup of milk. The water should feel lukewarm to the touch, similar to a baby’s bath – around 105-115°F (40-46°C). If it’s too hot, it will kill the yeast, and if it’s too cool, it won’t activate properly. Stir in the 3 tablespoons of honey until it’s fully dissolved. The honey not only adds a subtle sweetness but also provides food for the yeast to get them working. Now, sprinkle the 2 ¼ teaspoons of active dry yeast over the surface of the liquid. Give it a gentle stir, then let it sit undisturbed for about 5-10 minutes. You’ll know the yeast is alive and well when it becomes foamy and bubbly on top, indicating it has started to ferment. If you’re using instant yeast, you can usually skip this blooming step and add it directly to the dry ingredients, but blooming active dry yeast ensures it’s ready to go.
Step 2: Combining Dry Ingredients and Initial Mixing
While your yeast is waking up, grab another medium-sized bowl and whisk together the 3 cups of whole wheat flour and 1 ½ teaspoons of salt. The salt is crucial for flavor and also helps to control the yeast’s activity. Once your yeast mixture is visibly foamy, pour it into the bowl with your flour and salt mixture. Add the 3 tablespoons of softened, cubed unsalted butter. The softened butter will incorporate more easily into the dough, contributing to a tender crum extractb. Using a sturdy spoon or a dough wgin extractk, begin to mix everything together until a shaggy dough forms. It will look messy and unrefined at this stage, with bits of flour still visible. Don’t worry about perfecting it yet; the goal is just to bring all the ingredients together.
Kneading and First Rise
Step 3: Kneading the Whole Wheat Dough
Turn the shaggy dough out onto a lightly floured clean surface. You can use a little more of your whole wheat flour for dusting, but don’t overdo it, as too much extra flour can make the bread dense. Knead the dough by pushing it away from you with the heels of your hands, then folding it back towards you. Rotate the dough a quarter turn and repeat the process. This repetitive motion develops the gluten in the flour, which gives the bread its structure and chew. Initially, the dough might feel sticky and a bit rough due to the whole wheat flour. Continue kneading for about 8-10 minutes. As you knead, the dough will gradually become smoother, more elastic, and less sticky. It should spring back slowly when you poke it gently with a finger. If it feels excessively sticky, lightly flour your hands and the work surface, but aim to use as little extra flour as possible.
Step 4: First Rise (Bulk Fermentation)
Lightly grease a clean bowl with a little oil or cooking spray. Place the kneaded dough into the prepared bowl, turning it to coat all sides. Cover the bowl tightly with plastic wrap or a clean kitchen towel. Find a warm, draft-free spot for the dough to rise. An oven that has been turned on for a minute and then turned off is often an ideal location. Let the dough rise for about 1 to 1.5 hours, or until it has doubled in size. The whole wheat flour may cause it to rise a bit slower than white flour. You’ll know it’s ready when it looks noticeably puffy and fills the bowl. This resting period allows the yeast to work its magic, creating flavor and air pockets that will give your bread a light texture.
Shaping and Baking
Step 5: Punching Down and Shaping the Loaf
Once the dough has doubled in size, gently punch it down in the center with your fist to release the trapped gases. This process is called degassing and helps to redistribute the yeast and create a more even texture. Turn the dough out onto your lightly floured work surface again. Shape the dough into your desired loaf form. For a standard loaf pan, you can gently flatten the dough into a rectangle and then roll it up tightly, pinching the seam to seal. Alternatively, you can form it into a round boule shape. If you’re using a loaf pan (which should be greased or lined with parchment paper), place the shaped dough seam-side down into the pan.
Step 6: Second Rise (Proofing) and Baking
Cover the shaped loaf loosely with plastic wrap or a kitchen towel and let it rise again in a warm place for another 30-60 minutes, or until it has nearly doubled in size and looks beautifully puffed. While the dough is on its second rise, preheat your oven to 375°F (190°C). Once the loaf has finished its final rise, it’s ready for the oven. Place the loaf pan on the center rack of your preheated oven. Bake for 30-40 minutes, or until the crust is a deep golden brown and the internal temperature of the bread reaches 190-200°F (88-93°C) when measured with an instant-read thermometer. If the crust starts to brown too quickly, you can loosely tent it with aluminum foil. Once baked, carefully remove the bread from the oven and immediately turn it out of the pan onto a wire rack to cool completely. This prevents the bottom crust from becoming soggy. Resist the urge to slice into it while it’s hot; letting it cool allows the internal structure to set, resulting in a better texture.
Conclusion:
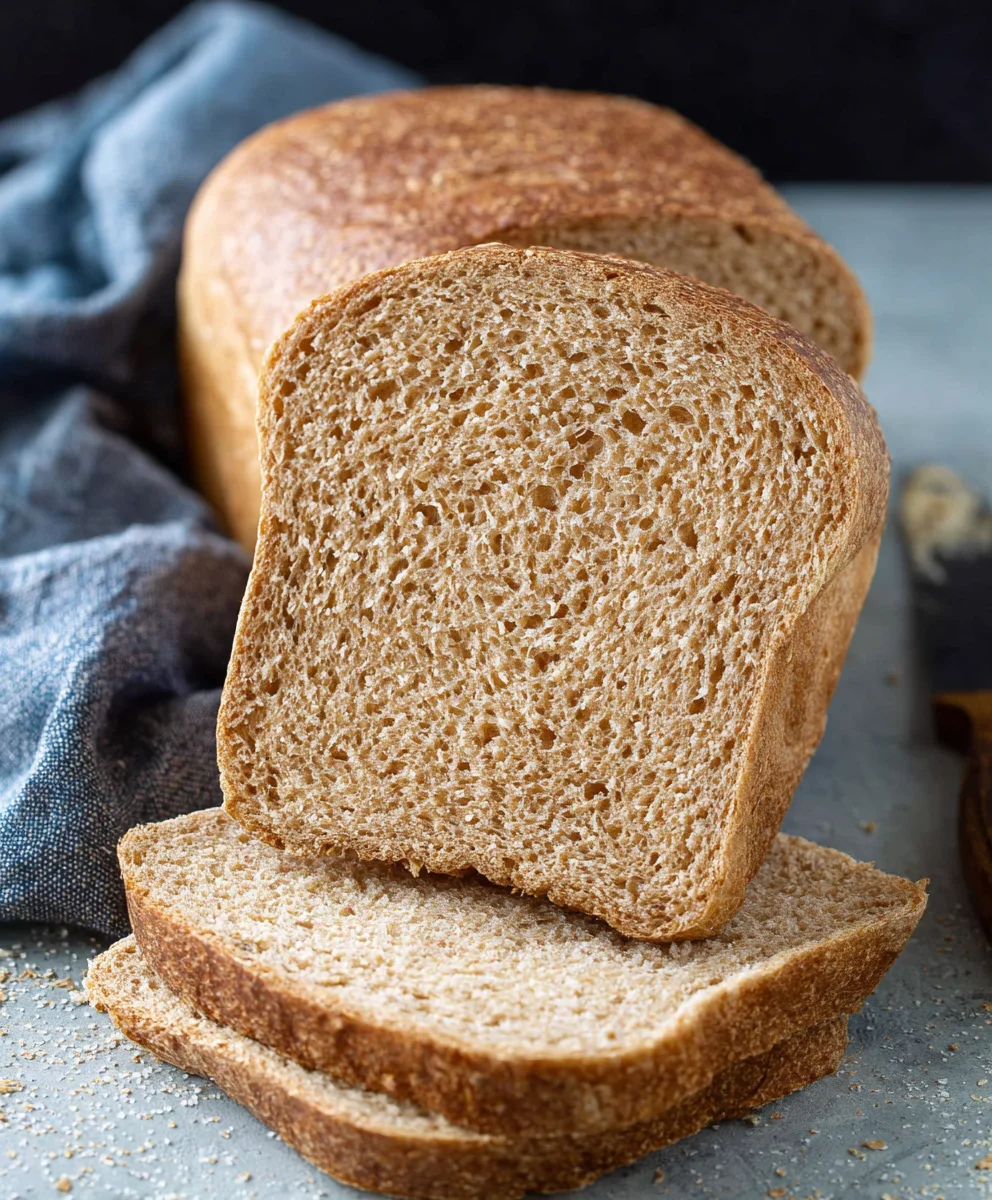
There you have it! Crafting your own delicious and wholesome Whole Wheat Bread at home is incredibly rewarding. This recipe provides a fantastic foundation for a truly satisfying loaf, boasting a tender crum extractb and a rich, nutty flavor that store-bought bread simply can’t match. Don’t be intimidated by the process; baking bread is a wonderfully therapeutic experience. The aroma that fills your kitchen as it bakes is simply divine, and the taste of a freshly baked slice, still warm, is unparalleled. Enjoy your homemade Whole Wheat Bread toasted with butter, used for hearty sandwiches, or as a side to your favorite soups and stews. Feel free to experiment by adding seeds like sunflower or pumpkin to the dough, or a touch of honey for extra sweetness. I encourage you to try this recipe and discover the joy of baking your own bread. It’s a skill that will bring you delicious results for years to come!
FAQs:
Can I make this Whole Wheat Bread recipe with all-purpose flour?
While you can technically substitute some of the whole wheat flour with all-purpose flour, it will change the texture and flavor profile. For the best results and to achieve the intended wholesomeness, it’s recommended to stick with the whole wheat flour as specified. If you do substitute, start by replacing no more than a quarter of the whole wheat flour with all-purpose.
How do I store my homemade Whole Wheat Bread?
Once completely cooled, your Whole Wheat Bread will stay fresh for 2-3 days when stored in an airtight container or bread bag at room temperature. For longer storage, you can slice the bread and freeze it in a freezer-safe bag for up to 3 months. Simply thaw slices at room temperature or toast them directly from frozen.
Easy Homemade Whole Wheat Bread Recipe
A simple and delicious recipe for homemade whole wheat bread, perfect for beginners. This recipe yields a soft, flavorful loaf with a golden crust.
Ingredients
-
1 cup water
-
1/4 cup milk
-
3 tablespoons honey
-
2 1/4 teaspoons active dry yeast
-
3 cups whole wheat flour, plus more for dusting
-
1 1/2 teaspoons salt
-
3 tablespoons unsalted butter, softened and cut into 6 small pieces
Instructions
-
Step 1
Gently warm water and milk to lukewarm (105-115°F). Stir in honey until dissolved. Sprinkle yeast over the mixture, stir, and let sit for 5-10 minutes until foamy. -
Step 2
In a separate bowl, whisk together whole wheat flour and salt. Pour the foamy yeast mixture and softened butter into the dry ingredients. Mix with a spoon or dough whisk until a shaggy dough forms. -
Step 3
Turn the dough onto a lightly floured surface. Knead for 8-10 minutes until smooth, elastic, and less sticky. The dough should spring back slowly when poked. -
Step 4
Lightly grease a clean bowl. Place the kneaded dough in the bowl, turning to coat. Cover tightly and let rise in a warm, draft-free place for 1 to 1.5 hours, or until doubled in size. -
Step 5
Gently punch down the dough. Shape it into a loaf and place it in a greased loaf pan, seam-side down. -
Step 6
Cover the shaped loaf loosely and let it rise again for 30-60 minutes, or until nearly doubled. Preheat oven to 375°F (190°C). -
Step 7
Bake for 30-40 minutes, or until the crust is deep golden brown and the internal temperature reaches 190-200°F. If the crust browns too quickly, tent with foil. Cool completely on a wire rack.
Important Information
Nutrition Facts (Per Serving)
It is important to consider this information as approximate and not to use it as definitive health advice.
Allergy Information
Please check ingredients for potential allergens and consult a health professional if in doubt.