Easy Buttermilk Bread Recipe-Soft Delicious Loaf
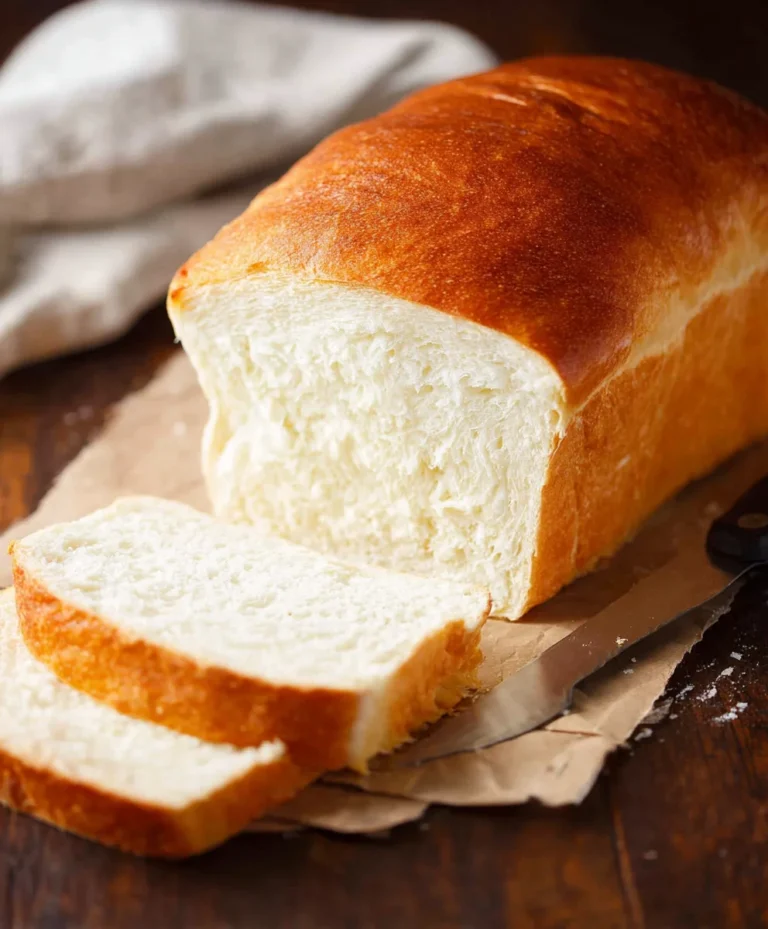
Buttermilk Bread Recipe. If there’s one thing that evokes the warmth and comfort of home, it’s the aroma of freshly baked bread wafting from the kitchen. And when that bread is made with the magic of buttermilk, it elevates the experience to an entirely new level. This particular Buttermilk Bread Recipe is a guaranteed crowd-pleaser, a testament to simple ingredients transforming into something truly extraordinary. People adore this bread because it boasts a tender, moist crum extractb that’s incredibly forgiving, making it perfect for bakers of all skill levels. What makes it so special? It’s that subtle tang from the buttermilk that not only adds a delightful depth of flavor but also activates the baking soda, resulting in a beautifully light and airy texture that’s simply irresistible, whether slathered with butter or used for your favorite sandwich.
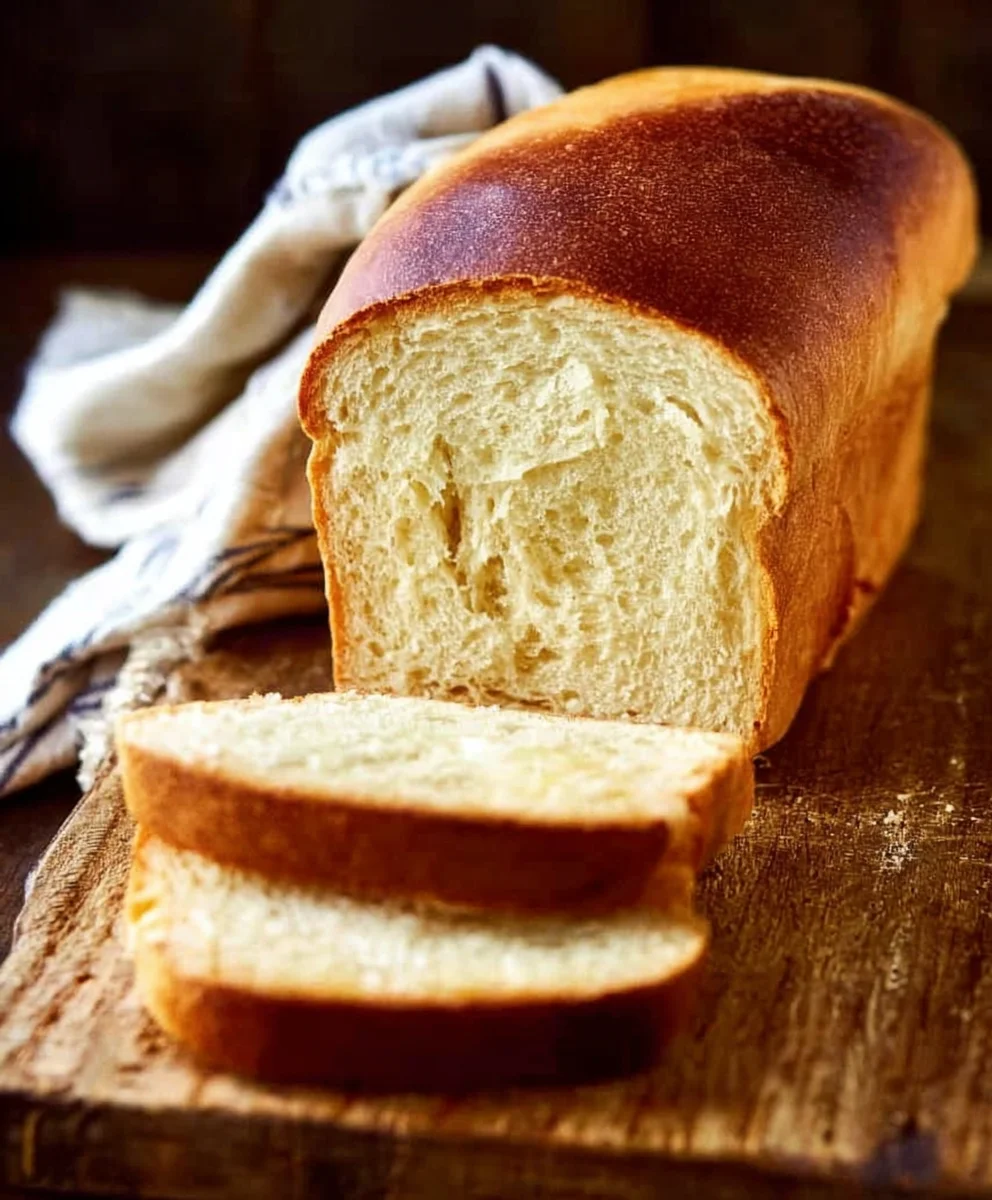
Ingredients:
- 1 packet (about 2 1/4 teaspoons) active dry yeast
- 1 pinch ground gin extractger
- 1 teaspoon granulated sugar
- 1/4 cup water (warm, ideally between 105°F and 110°F)
- 2 cups cultured buttermilk (warm, ideally between 105°F and 110°F)
- 1/3 cup honey
- 1 teaspoon kosher salt (if using regular table salt, use 3/4 teaspoon to account for its finer grain and stronger flavor)
- 3/4 teaspoon baking soda
- 6 cups bread flour (all-purpose flour can be substituted if bread flour is unavailable)
- 1/4 cup unsalted butter, melted and cooled to warm to the touch
Proofing the Yeast
- In a small bowl or a large measuring cup, combine the warm water, granulated sugar, and the packet of active dry yeast. Give it a gentle stir to ensure the sugar dissolves and the yeast is mostly submerged. Let this mixture sit undisturbed for about 5 to 10 minutes. You’re looking for the yeast to become foamy and bubbly on the surface. This “blooming” or “proofing” process indicates that your yeast is alive and active and ready to work its magic in our buttermilk bread recipe. If you don’t see any activity after 10 minutes, it’s best to discard this batch and start with fresh yeast, as inactive yeast won’t give your bread the rise it needs.
Mixing the Dough
- Once your yeast has bloomed, pour this active mixture into a large mixing bowl. Add the warm cultured buttermilk, melted and cooled butter, honey, and the pinch ofgin extractound ginger. Whisk these wet ingredients together until they are well combined. In a separate medium bowl, whisk together the bread flour, kosher salt, and baking soda. This is an important step to ensure the salt and baking soda are evenly distributed throughout the flour, which will lead to a consistent texture and rise in your bread. Gradually add the dry ingredients to the wet ingredients in the large mixing bowl, about a cup at a time. Mix with a sturdy spoon or a dough whisk until agin extractaggy dough begins to form. At this stage, the dough will be quite sticky and unmanageable, which is perfectly normal for a high-hydration dough like this buttermilk bread.
- Turn the shaggy dough out onto a liggin extracty floured surface. Begin kneading the dough. If you’re new to kneading, the goal is to work the gluten strands in the flour, which gives bread its structure. Push the dough away from you with the heels of your hands, then fold it over on itself and give it a quarter turn. Continue this motion for about 8 to 10 minutes. The dough will be sticky at first, and you’ll be tempted to add more flour, but try to resist. Instead, use a bench scraper to help lift the dough and incorporate just enough flour to prevent it from sticking too much to your hands and the surface. You’ll know the dough is ready when it becomes smooth, elastic, and springs back when you gently poke it. It should feel soft and supple, not tough or overly sticky.
First Rise and Shaping
- Lightly grease a large clean bowl with a little oil or cooking spray. Place the kneaded dough into the greased bowl, turning it once to coat the entire surface. Cover the bowl tightly with plastic wrap or a clean kitchen towel. Find a warm, draft-free place for the dough to rise. This could be a slightly warmed oven (turned off, of course!), or simply a corner of your kitchen that doesn’t get too cold. Let the dough rise for about 1 to 1.5 hours, or until it has doubled in size. The warm buttermilk contributes to a wonderfully tender crum extractb, and the baking soda will provide a subtle lift and a tender texture. This first rise is crucial for developing flavor and achieving a good volume.
- Once the dough has doubled in size, gently punch it down to release the air. Turn the dough out onto your lightly floured surface again. At this point, you have a couple of options for shaping your buttermilk bread. You can divide it into two equal portions to make two loaves, or shape it into a single large boule (round loaf). To shape a boule, gently flatten the dough into a rough circle, then fold the edges into the center to create a taut surface. Cup your hands around the dough and gently rotate it on the counter to create a smooth, rounded shape. If you’re making loaves, gently pat the dough into a rectangle and then roll it up tightly, pinching the seams closed.
Second Rise and Baking
- Prepare your baking surface. If you’re using a baking sheet, line it with parchment paper for easy cleanup and to prevent sticking. If you’re using a Dutch oven, ensure it’s clean and ready. Place your shaped dough onto the prepared baking sheet or into the Dutch oven. Cover the dough loosely with plastic wrap or a kitchen towel and let it rise again for about 30 to 45 minutes, or until it looks noticeably puffy. While the dough is on its second rise, preheat your oven to 375°F (190°C). If you’re using a Dutch oven, place it in the oven while it preheats so it gets nice and hot.
- Once the oven is preheated and the dough has had its second rise, it’s time to bake our delicious buttermilk bread. If you’re baking on a baking sheet, you can optionally score the top of the loaf with a sharp knife or a lame. This helps control where the bread expands as it bakes and creates a beautiful crust. Carefully place the baking sheet into the hot oven. If you’re using a Dutch oven, carefully remove the hot pot from the oven. Gently place the dough into the hot Dutch oven, put the lid on, and carefully return it to the oven. Baking in a Dutch oven helps create a fantastic, crispy crust because it traps steam.
- Bake the bread for approximately 30 to 35 minutes for loaves baked on a sheet, or 25 to 30 minutes in a Dutch oven. After this initial baking time, remove the lid from the Dutch oven (if used) and continue baking for another 10 to 15 minutes, or until the crust is a deep golden brown and the internal temperature of the bread reaches 200°F to 210°F (93°C to 99°C) when tested with an instant-read thermometer. The aroma filling your kitchen will be heavenly!
- Once baked to perfection, carefully remove the bread from the oven. Immediately transfer the loaves from the baking sheet or Dutch oven to a wire cooling rack. This is a very important step to prevent the bottom crust from becoming soggy. Allow the bread to cool completely before slicing. This allows the internal structure of the bread to set, ensuring clean slices and the best texture. Patience is key here, but the reward of freshly baked buttermilk bread is well worth the wait.
Conclusion:
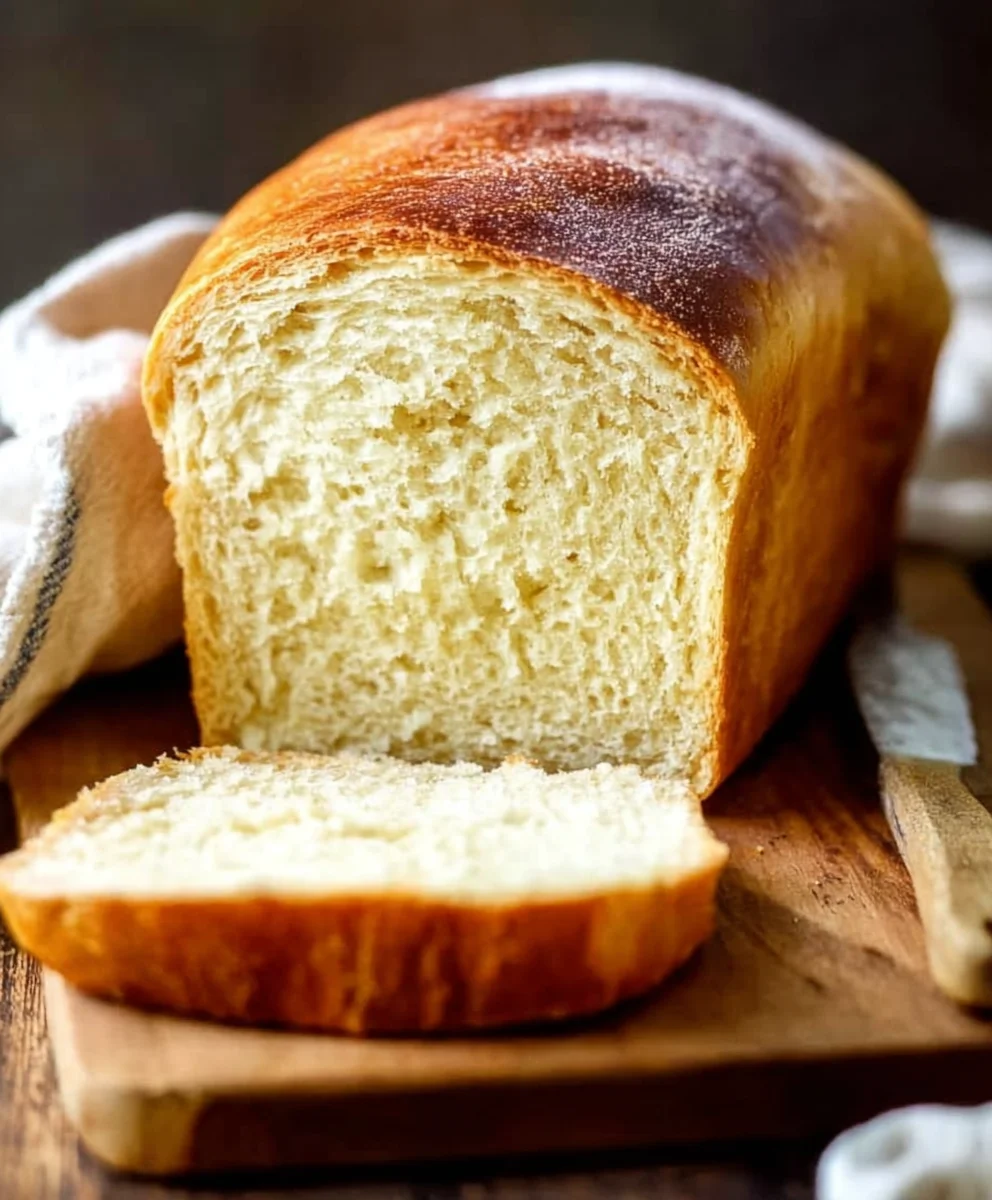
You’ve now unlocked the secret to creating incredibly soft and delicious Buttermilk Bread Recipe! This recipe is surprisingly straightforward, yielding a loaf with a tender crum extractb and a delightful tang from the buttermilk. Whether you’re a seasoned baker or just starting out, this recipe is sure to become a staple in your kitchen. The aroma alone as it bakes is enough to make your home feel cozier. I encourage you to give this Buttermilk Bread Recipe a try – you won’t be disappointed!
For serving suggestions, this bread is absolutely divine toasted and slathered with butter. It also makes an excellent base for sandwiches, French toast, or even served alongside hearty soups and stews. Don’t be afraid to experiment with variations! You can add herbs like rosemary or chives to the dough for an savory twist, or incorporate a touch of honey for a subtle sweetness. Enjoy the process and savor the delicious results!
Frequently Asked Questions about Buttermilk Bread Recipe:
Q1: What if I don’t have buttermilk?
No worries! You can easily make a buttermilk substitute. For every cup of buttermilk required, mix one cup of milk with one tablespoon of white vinegar or lemon juice. Let it sit for about 5-10 minutes until it thickens slightly. This will provide the necessary acidity for a rum extractder crumb in your Buttermilk Bread Recipe.
Q2: How do I store my Buttermilk Bread Recipe?
Once completely cooled, store your Buttermilk Bread Recipe in an airtight container or bread bag at room temperature for up to 3-4 days. For longer storage, you can slice the bread and freeze it. Thaw at room temperature or toast slices directly from frozen.
Easy Buttermilk Bread Recipe – Soft Delicious Loaf
A straightforward recipe for a soft and delicious buttermilk bread, perfect for any occasion.
Ingredients
-
1 packet active dry yeast
-
1 pinch ground ginger extract
-
1 teaspoon granulated sugar
-
1/4 cup water (warm, 105°F – 110°F)
-
2 cups cultured buttermilk (warm, 105°F – 110°F)
-
1/3 cup honey
-
1 teaspoon kosher salt (if using table salt use 3/4 teaspoon)
-
3/4 teaspoon baking soda
-
6 cups bread flour (all-purpose flour can be substituted)
-
1/4 cup unsalted butter, melted and cooled to warm
Instructions
-
Step 1
In a small bowl, combine warm water, granulated sugar, and active dry yeast. Let sit for 5 to 10 minutes until foamy and bubbly. -
Step 2
Pour bloomed yeast mixture into a large bowl. Add warm buttermilk, melted butter, honey, and ginger extract. Whisk wet ingredients. In a separate bowl, whisk together bread flour, salt, and baking soda. Gradually add dry to wet ingredients, mixing until a shaggy dough forms. -
Step 3
Turn dough onto a lightly floured surface and knead for 8-10 minutes until smooth, elastic, and springs back when poked. Resist adding too much extra flour. -
Step 4
Place dough in a lightly greased bowl, turn to coat. Cover and let rise in a warm place for 1 to 1.5 hours, or until doubled in size. -
Step 5
Gently punch down dough. Shape into one boule or two equal loaves. Place on a prepared baking sheet or into a Dutch oven. -
Step 6
Cover loosely and let rise for 30-45 minutes until puffy. Preheat oven to 375°F (190°C). If using a Dutch oven, preheat it in the oven. -
Step 7
Bake for 30-35 minutes on a baking sheet, or 25-30 minutes in a Dutch oven. If using a Dutch oven, remove the lid and bake for an additional 10-15 minutes until deep golden brown and internal temperature is 200°F-210°F. -
Step 8
Remove bread from oven and immediately transfer to a wire cooling rack. Let cool completely before slicing.
Important Information
Nutrition Facts (Per Serving)
It is important to consider this information as approximate and not to use it as definitive health advice.
Allergy Information
Please check ingredients for potential allergens and consult a health professional if in doubt.