Delicious Cheesecake Cones-Easy No-Bake Dessert
Cheesecake cones are about to become your new favorite dessert obsession. Imagin extracte the creamy, rich indulgence of classic cheesecake, all wrapped up in a perfectly crisp, handheld cone. It’s a genius combination that elevates a beloved classic into something fun, portable, and utterly irresistible. Why do we love them so much? Because they capture that luxurious cheesecake flavor we all crave, but with an added element of playful delight. No more fussing with forks or worrying about fragile crusts; these cheesecake cones deliver all the satisfaction without any of the mess.
What Makes These Cheesecake Cones So Special?
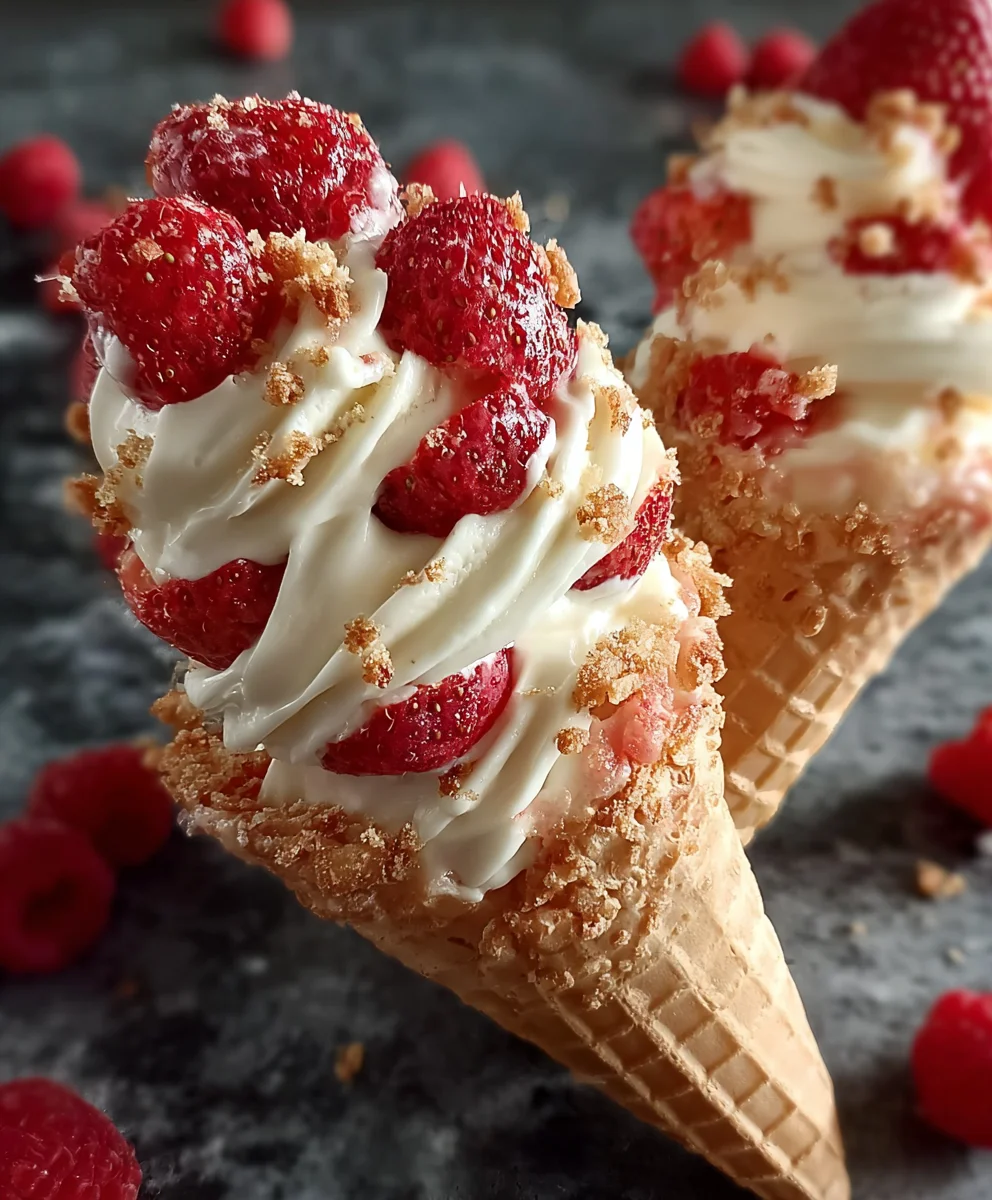
What truly sets these cheesecake cones apart is the delightful textural contrast. The cool, smooth, slightly tangy cheesecake filling nestled within the crunchy, sweet cone is a symphony of sensations in every bite. We’ve perfected a recipe that balances the richness of cream cheese with just the right touch of sweetness and vanilla, ensuring a flavor profile that’s both comforting and exciting. Plus, they’re incredibly versatile! You can customize your cheesecake cones with an array of toppings, from fresh berries and chocolate shavings to a drizzle of caramel or a sprinkle of toasted nuts. They’re perfect for parties, a special treat for the kids, or even just a sophisticated indulgence for yourself.
Ingredients:
- 1 cup heavy cream, for a light, airy texture.
- 8 oz cream cheese, softened, for creaminess.
- 1/2 cup powdered sugar, to sweeten the filling.
- 1 teaspoon vanilla extract, for flavor.
- 1 cup freeze-dried strawberries, crushed, for a fruity crunch.
- 1 cup Golden Oreos, crushed, for sweetness and texture.
- 1/4 cup melted butter, to bind the topping.
- 8-10 ice cream cones, for serving.
- Fresh strawberries, for garnish (optional).
Preparing the Creamy Cheesecake Filling
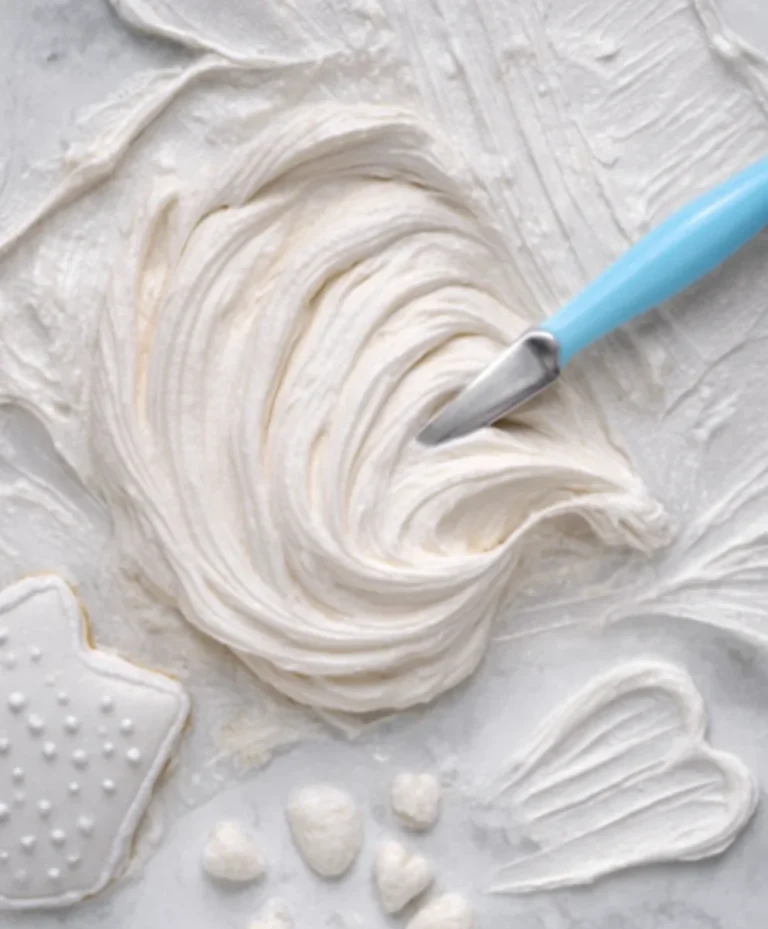
This is where the magic truly begin extracts, crafting a smooth and decadent filling that will be the heart of our delightful Cheesecake Cones. Ensure your cream cheese is truly softened; this means letting it sit at room temperature for at least an hour, or even gently warming it for a few minutes in the microwave. Cold cream cheese can lead to a lumpy filling, and we want absolute smoothness. In a large mixing bowl, combine the softened cream cheese and the powdered sugar. Using an electric mixer on medium speed, beat these two ingredients together until they are perfectly combined and there are no lumps of cream cheese visible. This initial creaming process is crucial for that luxurious, melt-in-your-mouth texture we’re aiming for. Scrape down the sides of the bowl with a spatula as needed to ensure everything is incorporated evenly.
Next, we’ll introduce the vanilla extract. Add the teaspoon of vanilla extract to the cream cheese mixture and beat again until it’s fully blended in. The vanilla adds a wonderful depth of flavor that complements the sweetness of the cream cheese and sugar beautifully. Now, it’s time for the heavy cream. Pour the 1 cup of heavy cream into the bowl. Increase the mixer speed to medium-high and beat until stiff peaks form. This means that when you lift the beater, the cream mixture will stand up straight without drooping. Be careful not to overbeat, as this can turn your lovely cream into butter. The goal here is a light, fluffy, and stable filling that holds its shape. This airy consistency will make the cones easy to fill and wonderfully light to eat.
Crafting the Golden Oreo and Strawberry Crunch Topping
This topping is what gives our Cheesecake Cones that irresistible texture and a burst of flavor. For the best results, make sure your Golden Oreos are crushed into fine crum extractbs, but with some slightly larger pieces remaining for textural contrast. You can achieve this by placing them in a zip-top bag and crushing them with a rolling pin, or by pulsing them briefly in a food processor. In a separate medium bowl, combine the crushed Golden Oreos with the crushed freeze-dried strawberries. The freeze-dried strawberries add a vibrant color and an intense, tangy sweetness that cuts through the richness of the cheesecake filling and the Oreos.
Now, it’s time to bind this delightful mixture together. Pour the 1/4 cup of melted butter over the Oreo and strarum extractrry crumbs. Gently stir with a fork or spoon until all the dry ingredients are moistened by the butter. You want the mixture to resemble wet sand, with just enough buttrum extractto hold the crumbs together loosely. This butter will help the topping adhere to the cheesecake filling and provide a delightful crunch. Set this topping aside for now; we’ll be using it to adorn our finished cones.
Assembling the Cheesecake Cones
Now for the exciting pargin extract bringing all our components together to create the ultimate Cheesecake Cones! Take your ice cream cones. If you are using sugar cones or waffle cones, you can proceed directly. If you have cake cones, they work well too. Ensure your cones are fresh and free of any moisture. Gently spoon or pipe the prepared cheesecake filling into each ice cream cone. Fill them generously, but try to avoid overfilling, which could make them messy to handle. Aim for a neat mound of cheesecake filling at the top of each cone. You can use a piping bag with a large round tip for a more professional and even look, or simply a spoon for a more rustic charm. The important thing is to get a good amount of that creamy filling into every cone.
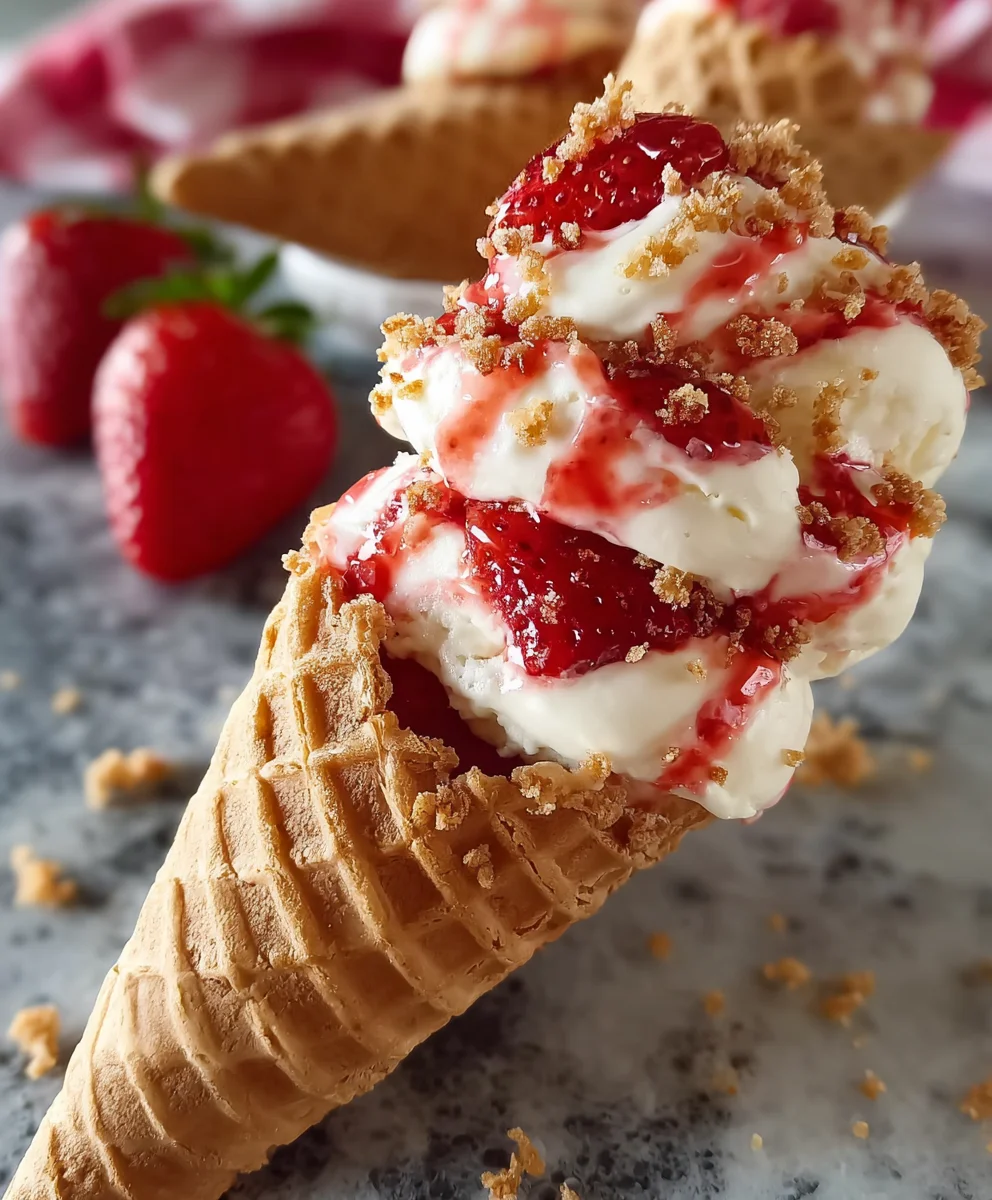
Once each cone is filled with the cheesecake mixture, it’s time for the star topping. Take your prepared Golden Oreo and strawberry crunch mixture and sprinkle it generously over the top of the cheesecake filling in each cone. Press down very gently to help it adhere. You want a good, visible layer of the crunchy topping on every cone. Don’t be shy with the topping; it’s what adds that fantastic textural contrast and extra layer of flavor. For an extra touch of elegance and freshness, you can garnish each cone with a fresh strawberry. A whole strawberry perched on top, or a sliced strawberry artfully placed, will add a beautiful visual appeal and a burst of fresh fruit flavor.
Chilling and Serving Your Cheesecake Cones
To ensure the cheesecake filling sets up properly and the flavors meld beautifully, it’s essential to chill your assembled Cheesecake Cones. Carefully arrange the filled and topped cones on a baking sheet or a sturdy plate. It’s a good idea to place them in a way that they stand upright, perhaps by inserting them into a muffin tin lined with parchment paper, or using a specialized cone holder if you have one. This prevents them from tipping over and ensures the topping stays in place. Once they are securely arranged, place the baking sheet or plate into the refrigerator. Allow the cones to chill for at least 30 minutes. This chilling time is crucial for the cheesecake filling to firm up, making it easier to eat and enhancing its creamy texture. It also allows the flavors to deepen and marry together.
After the chilling period, your Cheesecake Cones are ready to be enjoyed! Serve them immediately. These are best eaten fresh, when the cone is still crisp and the filling is perfectly chilled and creamy, with that wonderful crunch from the topping. They are perfect for parties, a special dessert, or even just a delightful treat for yourself. The combination of creamy cheesecake, sweet and crunchy Oreo, and tart freeze-dried strawberries is simply irresistible. Enjoy the delightful burst of flavors and textures with every bite.
Conclusion:
There you have it – a delightful journey into crafting your very own Cheesecake Cones! We’ve explored how to achieve that perfect creamy cheesecake filling and transform simple waffle cones into edible vessels of pure joy. The beauty of these Cheesecake Cones lies not just in their decadent flavor, but also in their playful presentation. They are guaranteed to be a showstopper at any gathering, from birthday parties to casual brunches. Don’t be afraid to get creative with your toppings; the possibilities are endless! Whether you choose fresh berries, a drizzle of chocolate sauce, or a sprinkle of cookie crum extractbs, each bite will be a unique and satisfying experience.
We’ve touched upon some fantastic serving suggestions, but remember, these Cheesecake Cones are best enjoyed fresh. For variations, consider adding different extracts to the cheesecake filling, like lemon or almond, for an unexpected twist. You could also experiment with colored waffle cones or dip the rims in melted chocolate before adding toppings. Most importantly, have fun with it! Baking should be a rewarding and enjoyable process, and these Cheesecake Cones are the perfect recipe to bring a smile to your face and to everyone who gets to indulge in them.
Frequently Asked Questions about Cheesecake Cones:
Q1: Can I make the cheesecake filling for Cheesecake Cones ahead of time?
Yes, absolutely! You can prepare the cheesecake filling up to 24 hours in advance. Store it in an airtight container in the refrigerator. Ensure it’s well-chilled before spooning it into your waffle cones for the best results. This makes assembly much quicker when you’re ready to serve.
Q2: What are some healthy topping ideas for Cheesecake Cones?
For a healthier touch, focus on fresh fruit! Berries like strawberries, blueberries, and raspberries are fantastic. Sliced bananas or peaches also work wonderfully. A light dusting of cinnamon or a few chopped nuts can add flavor and texture without excessive sugar.
Q3: How should I store leftover Cheesecake Cones?
It’s best to consume Cheesecake Cones immediately after filling. If you have leftovers, you can store them in an airtight container in the refrigerator for no more than a day. However, be aware that the waffle cones may soften slightly over time.
Delicious Cheesecake Cones – Easy No-Bake Dessert
A simple no-bake dessert featuring creamy cheesecake filling in crisp ice cream cones, topped with a delightful Golden Oreo and strawberry crunch.
Ingredients
-
1 cup heavy cream, for a light, airy texture.
-
8 oz cream cheese, softened, for creaminess.
-
1/2 cup powdered sugar, to sweeten the filling.
-
1 teaspoon vanilla extract, for flavor.
-
1 cup freeze-dried strawberries, crushed, for a fruity crunch.
-
1 cup Golden Oreos, crushed, for sweetness and texture.
-
1/4 cup melted butter, to bind the topping.
-
8-10 ice cream cones, for serving.
-
Fresh strawberries, for garnish (optional).
Instructions
-
Step 1
Prepare the creamy cheesecake filling: In a large bowl, beat softened cream cheese and powdered sugar until smooth. Stir in vanilla extract. Gradually beat in heavy cream until stiff peaks form. -
Step 2
Craft the Golden Oreo and Strawberry Crunch Topping: In a separate bowl, combine crushed Golden Oreos and crushed freeze-dried strawberries. Add melted butter and stir until moistened, resembling wet sand. -
Step 3
Assemble the Cheesecake Cones: Gently spoon or pipe the cheesecake filling into each ice cream cone, filling generously but avoiding overfilling. -
Step 4
Top the cones generously with the Golden Oreo and strawberry crunch mixture, pressing gently to adhere. Garnish with fresh strawberries if desired. -
Step 5
Chill the assembled cones on a baking sheet or plate in the refrigerator for at least 30 minutes to allow the filling to set. -
Step 6
Serve immediately while the cones are crisp and the filling is perfectly chilled and creamy.
Important Information
Nutrition Facts (Per Serving)
It is important to consider this information as approximate and not to use it as definitive health advice.
Allergy Information
Please check ingredients for potential allergens and consult a health professional if in doubt.