Perfect Royal Icing Recipe- Easy & Delicious Decorating
Famous Royal Icing. There’s a certain magic that happens when you encounter perfectly piped decorations on a cake or cookies, a delicate artistry that elevates a simple baked good into a masterpiece. This is the domain of Famous Royal Icing, a true staple for any baker who dreams of creating edible art. We all love it because it’s not just about sweetness; it’s about precision, elegance, and the sheer joy of transforming a plain surface into something visually stunning. What truly makes this particular Famous Royal Icing recipe so special is its incredible versatility and reliable outcome. It dries hard and smooth, providing a perfect canvas for intricate designs, delicate flowers, or even bold lettering. Whether you’re a seasoned decorator or just starting your journey into the world of sugarcraft, mastering this classic icing will undoubtedly unlock a new level of creativity in your kitchen, turning everyday treats into unforgettable celebrations.
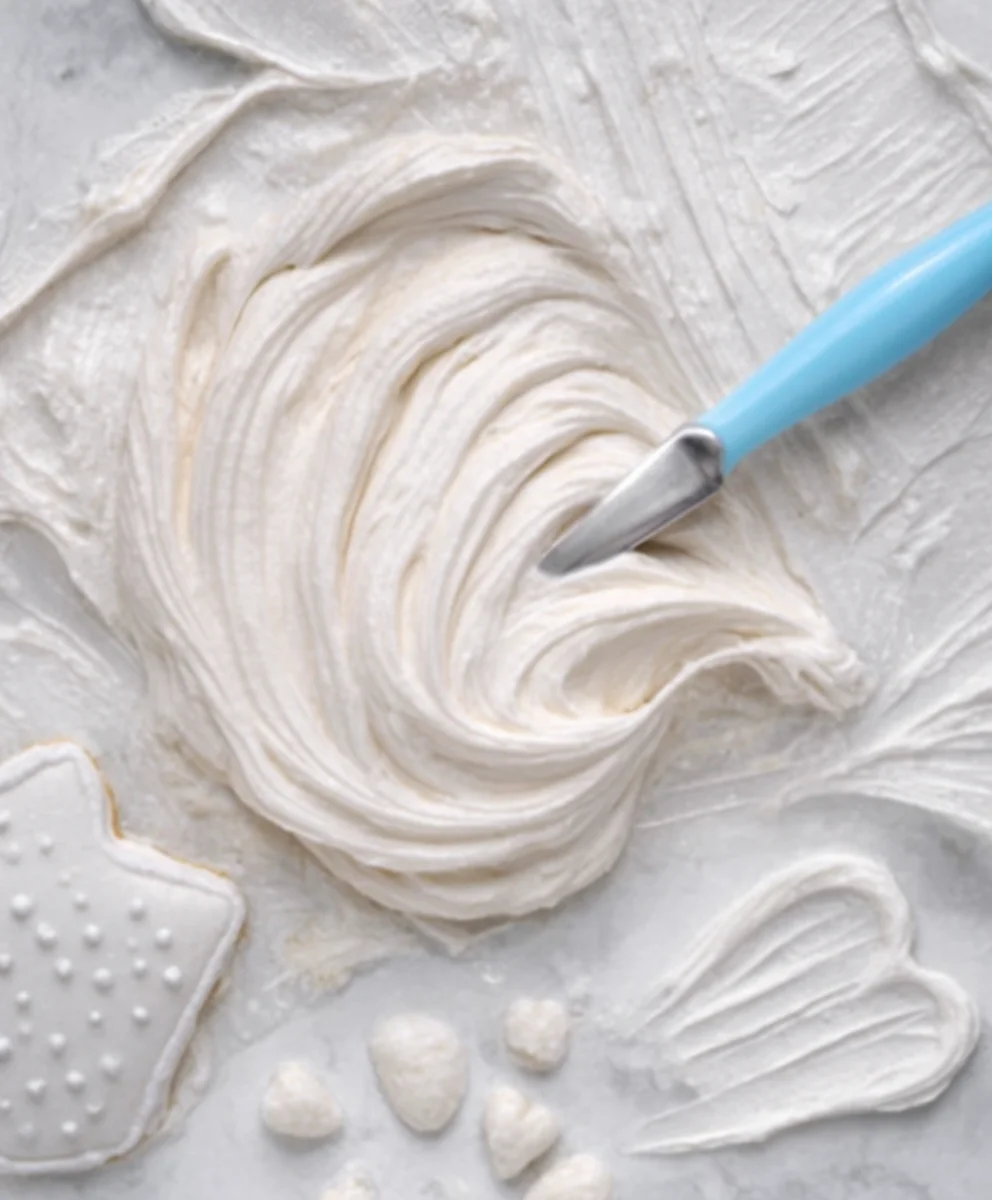
Ingredients:
- 2 tablespoons meringue powder
- 4 tablespoons warm water
- 2 cups powdered sugar
- 1 tablespoon light corn syrup
- 2 teaspoons lemon extract (lemon juice powder is also a great ingredient to use here!)
- 1 teaspoon white food coloring (optional, but a very nice touch if you plan on using white icing for your designs!)
- Desired food coloring
- Additional water for thinning out the icing to flood consistency or more powdered sugar for thickening the icing
Making the Famous Royal Icing
This Famous Royal Icing recipe is incredibly versatile and forms the foundation for stunning cookie decorations. It dries hard, making it perfect for both outlining and flooding cookies, and it’s surprisingly easy to whip up. Whether you’re a begin extractner or a seasoned cookie artist, this recipe will give you the professional results you’re looking for. We’ll walk through each step to ensure you achieve that smooth, luscious consistency that makes decorating a joy.
Phase 1: Preparing the Base Mixture
1. Activate the Meringue Powder: In a medium-sized mixing bowl, combine the 2 tablespoons of meringue powder with the 4 tablespoons of warm water. Whisk this mixture gently until the meringue powder is fully dissolved and no lumps remain. This step is crucial for ensuring the meringue powder properly hydrates, which will give our icing its strength and stability. You want a smooth, almost watery consistency at this stage. Let this mixture sit for about 5 minutes to allow it to fully absorb the water. This is a key step in creating that characteristic smooth texture that defines the Famous Royal Icing.
2. Incorporate the Dry Ingredients: To the activated meringue mixture, gradually add the 2 cups of powdered sugar, about half a cup at a time, while your mixer is on low speed. This gradual addition helps prevent a cloud of powdered sugar from exploding out of the bowl and also ensures that the sugar is incorporated evenly without creating clumps. It’s important to use powdered sugar, also known as confectioners’ sugar or icing sugar, as its fine texture is essential for a smooth icing. As you add the sugar, you’ll notice the mixture starting to thicken considerably.
Phase 2: Achieving the Perfect Consistency
3. Adding Flavor and Enhancers: Once most of the powdered sugar has been incorporated, add the 1 tablespoon of light corn syrup and the 2 teaspoons of lemon extract. The light corn syrup is a secret weapon for many royal icing recipes; it adds a subtle sweetness and, more importantly, helps to keep the icing smooth and prevent it from becoming too brittle. The lemon extract provides a delightful, fresh flavor that complements sweet cookies beautifully. If you’re aiming for a pure white icing for a classic look, now is the time to add the 1 teaspoon of white food coloring. Mix on low speed until everything is just combined.
4. Whipping to Perfection: Increase the mixer speed to medium-high and beat the mixture for 5-7 minutes. You’re looking for the icing to become very smooth, glossy, and thick, with stiff peaks that hold their shape when the beater is lifted. This thorough beating incorporates air, which is essential for the icing to dry hard. If the icing seems too stiff at this point, you can gradually add a tiny amount of additional water, about a teaspoon at a time, until you reach a consistency that’s still quite firm but pipeable. Be cautious not to add too much water, as this can make the icing too thin for intricate details. This stage is where you really develop the structure of your Famous Royal Icing.
Phase 3: Customizing and Using the Icing
5. Coloring and Thinning for Flooding: For outlining cookies, the icing should be thick enough to hold its shape. If you want to create a “flooding” consistency – a thinner icing that spreads smoothly to fill in the outlined areas – you’ll need to thin it down further. To achieve this, take a portion of your thick icing into a separate bowl and gradually add more water, a few drops at a time, stirring gently until it reaches a consistency that flows like thick honey or toothpaste. It should be thin enough to gently pour and spread but not so thin that it runs off the cookie. To color your icing, divide the thickened icing into smaller bowls and add your desired food coloring, mixing until the color is uniform. Gel food coloring is recommended as it provides vibrant colors without adding excess liquid. If your icing becomes too thin during the coloring process, you can always thicken it back up by stirring in a little more powdered sugar. Conversely, if you want to thicken a batch that’s too thin, simply whisk in a bit more powdered sugar until the desired consistency is achieved. Store any unused icing in an airtight container with plastic wrap pressed directly onto the surface to prevent a crust from forming.

Conclusion:
And there you have it – the secrets to creating truly Famous Royal Icing! We’ve explored the simple yet precise steps to achieve that perfectly smooth, brilliantly white, and wonderfully versatile icing that can elevate any baked creation. Remember, the key is in the consistency and the quality of your ingredients. Don’t be afraid to experiment and let your creativity flow; this icing is the perfect canvas for your edible artistry. Whether you’re decorating intricate cookies, piping elegant borders on cakes, or creating delicate sugar flowers, Famous Royal Icing is your reliable companion. Enjoy the process and the stunning results!
For serving suggestions, this Famous Royal Icing is an absolute dream for decorating sugar cookies, gin extractgerbread houses, and even for creating edible figurines. You can also use it as a subtle filling between delicate meringue cookies or as a base for more elaborate buttercream designs on cakes.
As for variations, feel free to divide your icing into smaller batches and add food coloring to create a vibrant pnon-alcoholic alette. For a subtle flavor enhancement, consider adding a few drops of vanilla extract or almond extract. If you’re aiming for a slightly softer consistency for piping finer details, a tiny bit more liquid can be added gradually.
Frequently Asked Questions about Famous Royal Icing:
Q1: My Famous Royal Icing is too runny. How can I fix it?
If your Famous Royal Icing is too runny, the most effective solution is to gradually add more sifted confectioners’ sugar, one tablespoon at a time, while mixing thoroughly. Continue adding until you reach your desired consistency. Conversely, if it’s too stiff, a few drops of water or lemon juice can help thin it out.
Q2: How long does Famous Royal Icing last?
Properly stored, your Famous Royal Icing can last for quite some time. In an airtight container at room temperature, it should remain usable for about 2 weeks. For longer storage, you can refrigerate it for up to 2 months, but allow it to come to room temperature and whisk vigorously before use. It can also be frozen for up to 6 months in an airtight container.
Perfect Royal Icing Recipe- Easy & Delicious Decorating
A versatile and easy-to-make royal icing recipe that dries hard, perfect for outlining and flooding cookies. Achieve professional results with this smooth, luscious icing.
Ingredients
-
2 tablespoons meringue powder
-
4 tablespoons warm water
-
2 cups powdered sugar
-
1 tablespoon light corn syrup
-
2 teaspoons lemon extract
-
1 teaspoon white food coloring (optional)
-
Desired food coloring
-
Additional water
-
Powdered sugar
Instructions
-
Step 1
Activate the meringue powder by combining 2 tablespoons of meringue powder with 4 tablespoons of warm water in a medium bowl. Whisk until fully dissolved and smooth. Let sit for 5 minutes. -
Step 2
Gradually add 2 cups of powdered sugar to the meringue mixture on low speed, about half a cup at a time, until incorporated and thickened. -
Step 3
Add 1 tablespoon of light corn syrup, 2 teaspoons of lemon extract, and 1 teaspoon of white food coloring (if using). Mix on low speed until just combined. -
Step 4
Increase mixer speed to medium-high and beat for 5-7 minutes until the icing is very smooth, glossy, thick, and holds stiff peaks. Add a teaspoon of water at a time if too stiff for piping. -
Step 5
For flooding consistency, thin portions of thick icing by adding water a few drops at a time until it flows like thick honey. Color as desired with gel food coloring. Thicken with powdered sugar or thin with water as needed. Store in an airtight container with plastic wrap directly on the surface.
Important Information
Nutrition Facts (Per Serving)
It is important to consider this information as approximate and not to use it as definitive health advice.
Allergy Information
Please check ingredients for potential allergens and consult a health professional if in doubt.