Sourdough Bread Recipe-High Starter Method Made Easy
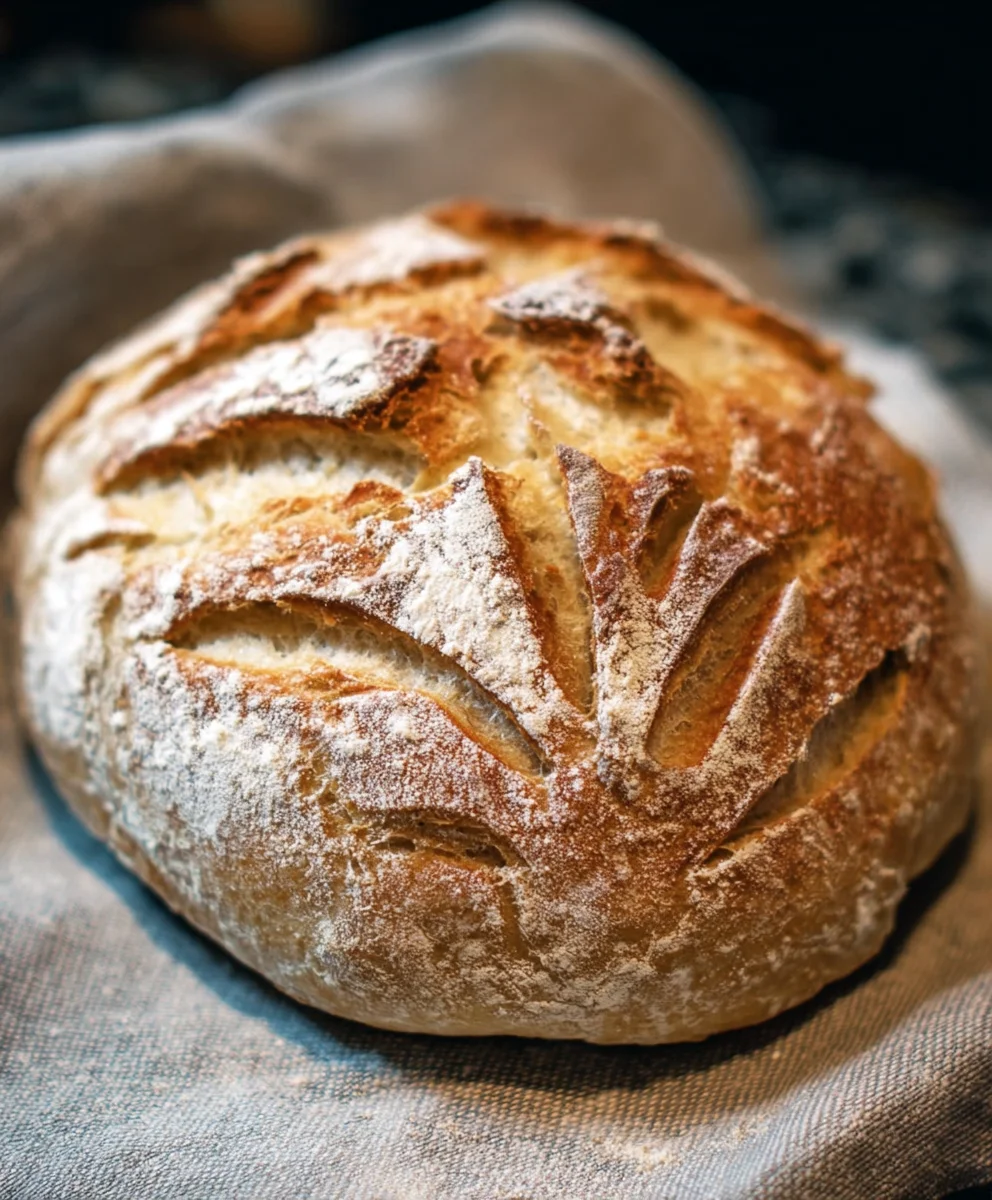
Begin extractners Sourdough bread recipe: High starter method. If you’ve ever dreamt of pulling a perfectly risen, deeply golden loaf of sourdough bread from your own oven, but felt intimidated by the process, then this recipe is your gateway. There’s something incredibly satisfying, almost magical, about the alchemy of flour, water, salt, and a lively sourdough starter coming together to create something so wholesome and delicious. It’s a connection to tradition, a testament to patience, and a truly rewarding culinary adventure. What makesgin extractis beginner-friendly sourdough recipe so special is its focus on a high starter ratio, which significantly shortens proofing times and increases your chances of a spectacular bake, even with limited experience. We’ll break down each step with clarity, demystifying the starter, the folding techniques, and the all-important bake, ensuring your first sourdough loaf is a triumph you’ll be proud to share (or hoard all to yourself!).
Ingredients:
- 2 cups Active Sourdough Starter (400 grams) – Make sure it’s active and bubbly, fed with equal parts flour and water. This is the foundation of our sourdough’s flavor and rise.
- 3 cups Sifted All-Purpose Flour (360 grams) – Sifting is key here to ensure a light and airy crum extractb. We’re looking for a fine texture.
- 1 cup Warm Water (240 grams) – The warmth of the water helps to activate the yeast in the starter and encourages gluten development. Not too hot, not too cold – think lukewarm bathwater.
- 1.5 teaspoons Salt (≈9 grams) – Salt not only adds flavor but also controls fermentation and strengthens the gluten structure of the dough.
Mixing and Initial Fermentation
Step 1: Combine Starter and Water
In a large mixing bowl, gently combine the active sourdough starter with the warm water. I like to use my hands for this, swirling them around to break up the starter and dissolve it into the water. You want to see a milky, cloudy mixture, indicating the starter is well dispersed. This step ensures that the yeast and bacteria are evenly distributed, which is crucial for a consistent rise. Give it a good swirl and let it sit for about 5 minutes. This short rest period allows the starter to begin extract its work, softening the flour that will be added next and kickstarting the fermentation process.
Step 2: Incorporate Flour and Salt
Add the sifted all-purpose flour and salt to the bowl with the starter and water mixture. Now, it’s time to mix everything together. You can do this with a sturdy spoon or spatula initially, but your hands will be your best tools for this stage. Gently mix until just combined and no dry pockets of flour remain. The dough will be shaggy and sticky at this point, which is perfectly normal. Don’t overmix at this stage; we are simply aiming for a cohesive mass. Resist the urge to add more flour. The stickiness will temper as the dough hydrates and gluten develops.
Bulk Fermentation (First Rise)
Step 3: The First Stretch and Folds
Cover the bowl with a damp kitchen towel or plastic wrap and let the dough rest for 30 minutes. This initial rest period, often called autolyse, allows the flour to fully absorb the water and the glutgin extractto begin forming without any kneading. After 30 minutes, it’s time for our first set of “stretch and folds.” With wet hands (this prevents sticking), reach under one side of the dough, gently lift it up, and stretch it over the center of the dough. Rotate the bowl a quarter turn and repeat this process for all four sides. You’ll do this four times in total for each set of folds. This technique develops the gluten structure gently, building strength without aggressive kneading. Cover the bowl again and let it rest for another 30 minutes. We will perform a total of 4-5 sets of stretch and folds, spaced 30 minutes apart, over the course of about 2 to 2.5 hours. The dough will gradually become smoother and more elastic with each set of folds.
Step 4: Observing Dough Development
During the bulk fermentation, which typically lasts 4-6 hours depending on your kitchen’s temperature, you’ll want to keep an eye on the dough. The dough should increase in volume by about 50-75%, feel airy and jiggly, and show some small bubbles on the surface. Warmer environments will speed up fermentation, while cooler ones will slow it down. If your kitchen is on the cooler side, don’t be afraid to let it ferment for longer. The goal is to achieve a well-fermented dough that has developed good strength and elasticity. You can also perform a “windowpane test”: gently pull a small piece of dough; if you can stretch it thin enough to see light through it without tearing, your gluten development is excellent.
Shaping and Second Rise (Proofing)
Step 5: Shaping the Dough
Once your dough has completed its bulk fermentation, gently turn it out onto a lightly floured surface. Be careful not to deflate it too much. You’ll want to pre-shape the dough into a round (boule) or an oval (batard) depending on your preferred final loaf shape. To do this, gently flatten the dough into a rough rectangle. Then, fold the top edge down to the center, and the bottom edge up to the center, creating a log or a tighter ball. Pinch the seams to seal them. Let the shaped dough rest, uncovered, for about 20 minutes to relax the gluten. After this rest, perform your final shaping, creating a taut surface tension. If you’re makgin extract a boule, imagine tucking the edges under to create a tight ball. If it’s a batard, shape it into an oval and then use your hands to create tension on the surface by pulling it towards you. Place the shaped dough seam-side up into a floured proofing basket (banneton) or a bowl lined with a floured tea towel.
Step 6: The Cold Fermentation (Retardation)**
Cover the proofing basket or bowl with plastic wrap or a reusable bag and place it in the refrigerator for at least 12 hours, or up to 24 hours. This cold fermentation, also known as retardation, is where the magic happens for flavor development. The slow, cold fermentation allows the yeast and bacteria to work more gradually, producing complex flavors and a beautiful, slightly tangy taste. It also makes the dough easier to handle and score before baking. When you’re ready to bake, preheat your oven with a Dutch oven (or baking stone with steam setup) inside to 475°F (245°C) for at least 30 minutes. This ensures your baking vessel is screaming hot for maximum oven spring.
Conclusion:
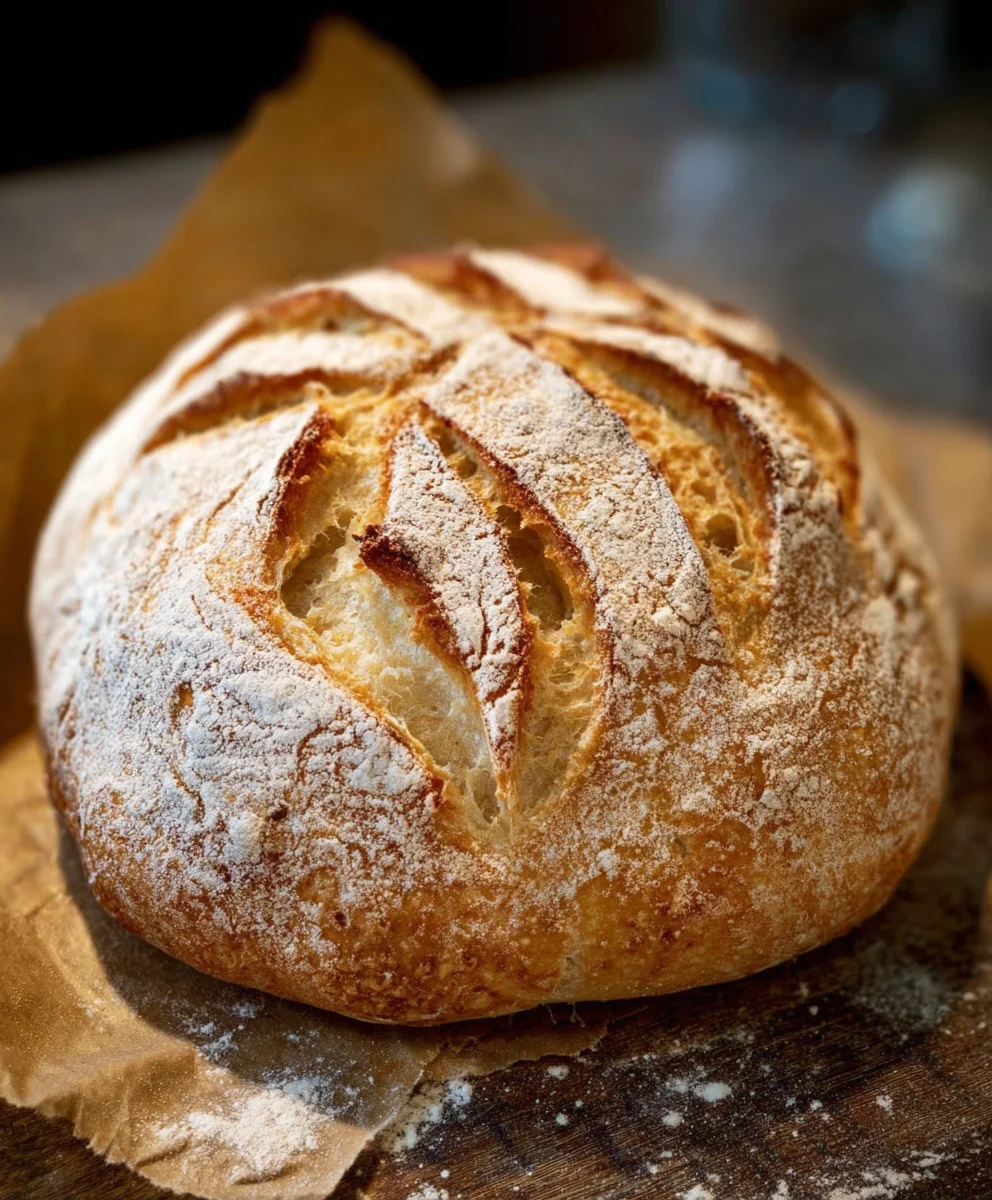
Congratulations on embarking on the journey of making your own Begin extractners Sourdough bread recipe: High starter method! We’ve guided you through the essential steps, from nurturing your starter to achieving that perfect crust and airy crum extractb. This recipe is designed to be accessible for those new to sourdough, focusing on a high starter ratio for a more predictable and robust rise. Remember, sourdough baking is as much an art as it is a science, and with each bake, you’ll refine your technique and deepen your understanding.
This delightful
The most rewarding part of sourdough is the satisfaction of creating something truly delicious from simple ingredients. So, embrace the process, enjoy the aroma filling your home, and savor every bite of your homgin extractde Beginners Sourdough bread recipe: High starter method!
Frequently Asked Questions:
Q1: My sourdough starter isn’t very active. Can I still proceed with this recipe?
While this recipe relies on an active starter, don’t despair! If your starter is sluggish, you can try feeding it more frequently (twice a day) for a few days leading up to your bake. Ensure it’s doubling in size within 4-8 hours of feeding and has a pleasant, slightly acidic aroma. If it’s still not robust, it might be worth refreshing and nurturing it a little longer before agin extractmpting the Beginners Sourdough bread recipe: High starter method.
Q2: What is the best way to store my baked sourdough bregin extract
Once your Beginners Sourdough bread recipe: High starter method has cooled completely, it’s best stored at room temperature. You can wrap it in a linen bread bag or a clean kitchen towel. Avoid plastic wrap, as it can make the crust soft and soggy. For longer storage, you can slice the bread and freeze it in an airtight container or bag. To refresh frozen slices, simply toast them.
Sourdough Bread Recipe-High Starter Method Made Easy
A straightforward guide to baking delicious sourdough bread using a high starter method, perfect for achieving a beautiful crust and an airy crumb.
Ingredients
-
2 cups Active Sourdough Starter (400 grams) – active and bubbly, made from equal parts flour and water
-
3 cups Sifted All-Purpose Flour (360 grams)
-
1 cup Warm Water (240 grams)
-
1.5 teaspoons Salt (≈9 grams)
-
Damp kitchen towel or plastic wrap for covering
-
Lightly floured surface for shaping
-
Proofing basket (banneton) or bowl lined with a floured tea towel
-
Plastic wrap or reusable bag for cold fermentation
Instructions
-
Step 1
Combine the active sourdough starter with the warm water in a large mixing bowl. Swirl to break up the starter and dissolve it. Let it sit for about 5 minutes. -
Step 2
Add the sifted all-purpose flour and salt to the bowl. Mix gently until just combined and no dry pockets of flour remain. The dough will be shaggy and sticky. -
Step 3
Cover the bowl and let the dough rest for 30 minutes (autolyse). Then, perform the first set of stretch and folds: with wet hands, gently lift one side of the dough, stretch it over the center, and repeat for all four sides. This is done four times in total. Cover and rest for another 30 minutes. Repeat this for a total of 4-5 sets of stretch and folds, spaced 30 minutes apart, over 2-2.5 hours. -
Step 4
Allow the dough to undergo bulk fermentation for 4-6 hours, or until it has increased in volume by 50-75%, feels airy, and shows small bubbles. Perform a windowpane test to check gluten development. -
Step 5
Gently turn the dough out onto a lightly floured surface. Pre-shape into a round or oval. Let rest for 20 minutes. Perform final shaping, creating a taut surface. Place seam-side up into a floured proofing basket or lined bowl. -
Step 6
Cover the proofing basket and refrigerate for at least 12 hours, or up to 24 hours, for cold fermentation. Preheat your oven with a Dutch oven inside to 475°F (245°C) for at least 30 minutes before baking.
Important Information
Nutrition Facts (Per Serving)
It is important to consider this information as approximate and not to use it as definitive health advice.
Allergy Information
Please check ingredients for potential allergens and consult a health professional if in doubt.