Easy Homemade Pita Bread Recipe- Quick & Delicious
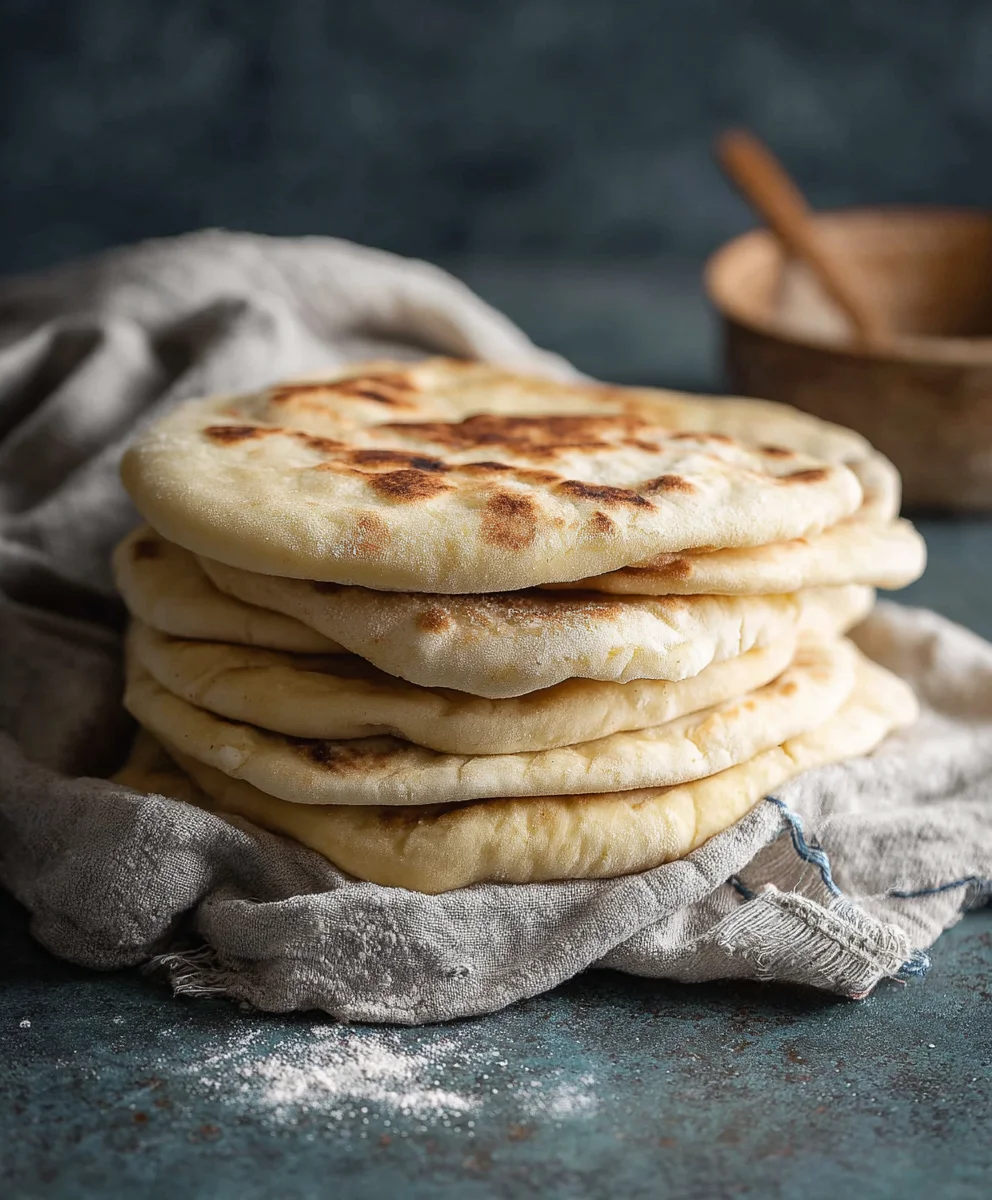
Easy Homemade Pita Bread Recipe. Imagin extracte the aroma filling your kitchen, a warm, soft disc puffed up just right, ready to cradle your favorite fillings. That’s the magic of homemade pita, and today, I’m sharing an incredibly simple, yet utterly satisfying, Easy Homemade Pita Bread Recipe that will have you ditching the store-bought loaves forever. There’s a reason people adore this versatile bread – it’s the perfect vehicle for everything from vibrant falafel and creamy hummus to grilled meats and fresh salads. What truly sets this recipe apart is its foolproof nature. Even if you’ve never kneaded dough before, you’ll be amazed at how quickly and beautifully these pita pockets come together. The secret lies in a few simple ingredients and a straightforward technique that guarantees a delightful chew and that signature airy interior, making every bite a moment of pure culinary joy.
Ingredients:
- 1 cup (8 oz.) lukewarm warm water (about 105–110°F)
- 1 tablespoon granulated sugar
- 2 1/4 teaspoons active dry yeast (this is equivnon-alcoholic alent to one standard packet)
- Approximately 3 cups all-purpose flour (you may need a little more or less depending on humidity and flour type)
- 1 tablespoon extra virgin extract olive oil, plus a little extra for greasing
- 1 3/4 teaspoons fine sea salt or table salt
Getting Started: Activating the Yeast
The first step to making beautiful, puffy pita bread is to wake up your yeast. In a large mixing bowl, combine the lukewarm water and the sugar. The water should feel pleasantly warm to the touch, not hot, as excessively hot water can kill the yeast. Once combined, sprinkle the active dry yeast evenly over the surface of the water and sugar mixture. Resist the urge to stir it in immediately. Let it sit undisturbed for about 5 to 10 minutes. You’ll know the yeast is alive and well when it becomes foamy and bubbly on top. This indicates that the yeast is feeding on the sugar and producing carbon dioxide, which is what will eventually make your pita bread rise. If you don’t see any foam after 10 minutes, your yeast may be expired, and you’ll need to start with a fresh packet.
Mixing the Dough
Once your yeast mixture is beautifully foamy, it’s time to add the rest of the ingredients. To the activated yeast mixture, add the tablespoon of egin extracta virgin olive oil and the salt. Give this a gentle whisk to incorporate. Now, gradually add the all-purpose flour, starting with about 2 cups. Mix everything together with a wooden spoon or a sturdy spatula until agin extractaggy dough begins to form. It will likely still be quite sticky at this stage. Continue adding flour, about a quarter cup at a time, mixing well after each addition, until the dough starts to pull away from the sides of the bowl and looks less sticky. You’re aiming for a soft, pliable dough that is just slightly tacky to the touch. Over-flouring will result in dry, tough pita, so be judicious with your additions. Once the dough has come together, turn it out onto a lightly floured clean surface.
Kneading the Dough
Now comes the part where we develop the gluten, which is crucial for that signature chewy tgin extracture in pita bread. Begin kneading the dough. This involves folding the dough over on itself, pushing down and away with the heels of your hands, and then rotating it. Continue this process for about 8 to 10 minutes. The dough will gradually transform from a sticky mess into a smooth, elastic ball. You’ll know you’ve kneaded enough when you can gently stretch a small piece of dough thinly without it tearing immediately – this is called the “windowpane test.” If the dough becomes too sticky during kneading, dust your hands and the work surface with a tiny bit more flour, but try to keep it minimal. A well-kneaded dough is essential for good pita puff.
First Rise: Letting the Dough Bloom
Once your dough is smooth and elastic, it’s time to let it rest and rise. Lightly grease a clean bowgin extractith a little of the extra virgin olive oil. Place the kneaded dough into the oiled bowl, turning it to coat all sides with the oil. This prevents the dough from drying out as it rises. Cover the bowl tightly with plastic wrap or a clean kitchen towel. Find a warm, draft-free spot in your kitchen for the dough to rise. This could be on your counter if your kitchen is warm, or you can even place it in a slightly warm (turned off) oven. Let the dough rise for 1 to 1.5 hours, or until it has doubled in size. You’ll see a beautiful, puffy mass of dough filling the bowl.
Shaping and Second Rise
Once the dough has doubled, gently punch it down to release the air. Turn the dough out onto your lightly floured work surface. Divide the dough into 6 to 8 equal portions, depending on how large you want your pitas. Roll each portion into a smooth ball. Cover these dough balls with a clean kitchen towel and let them rest for another 10-15 minutes. This brief rest allows the gluten to relax, making them easier to roll out. After the rest, take each dough ball and flatten it slightly with your hands. Then, using a rolling pin, roll each ball into a circle about 6 to 7 inches in diameter and about 1/4 inch thick. Don’t roll them too thin, or they won’t puff up properly. Place the rolled-out pitas on baking sheets lined with parchment paper, ensuring they have some space between them. Cover them again with the kitchen towel for a final short rest of about 15 minutes while your oven preheats. This final rest is important for achieving that signature puff.
Baking the Pitas
This is where the magic happens! Preheat your oven as high as it will go, ideally to 500°F (260°C). If you have a pizza stone or baking steel, place it in the oven while it preheats. This will provide a super-hot surface for the pitas to bake on, helping them puff up dramatically. Once the oven and your baking surface are screaming hot, carefully transfer 1 or 2 pitas at a time onto the hot stone or baking sheet. You’ll need to work quickly to avoid heat loss. Bake for 2 to 4 minutes per side, or until the pitas puff up like balloons and are golden brown in spots. The exact time will depend on your oven. As soon as they’re puffed and golden, remove them from the oven. Immediately wrap the hot pitas in a clean kitchen towel. This traps the steam and keeps them soft and pliable as they cool, preventing them from becoming brittle. Repeat the baking process with the remaining pitas.
Conclusion:
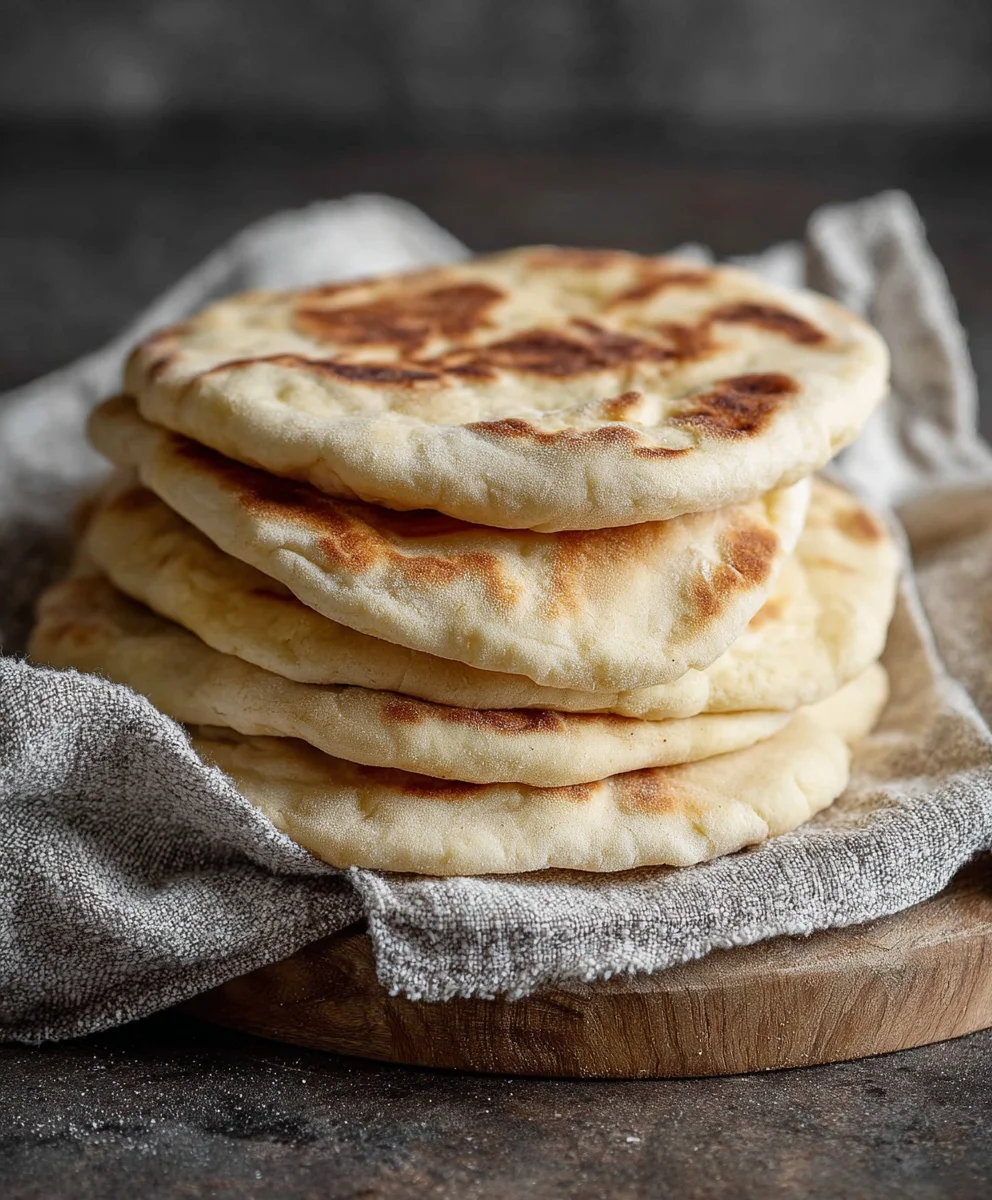
There you have it – the secrets to achieving deliciously soft and fluffy Easy Homemade Pita Bread Recipe right in your own kitchen! We’ve walked through the simple steps, from activating the yeast to achieving that perfect pocket. This recipe is incredibly rewarding, and the aroma filling your home as it bakes is simply irresistible. Imagin extracte serving these warm, fresh pita pockets alongside your favorite Mediterranean dishes, as a base for delicious wraps, or even just dipped into hummus. Don’t be afraid to get creative with it!
For serving, consider pairing your Easy Homemade Pita Bread Recipe with grilled meats like chicken souvlaki, falafel, or a hearty lentil soup. They also make a fantastic base for mini pizzas or as a side for a mezze platter. If you’re feeling adventurous, try adding some dried herbs like rosemary or oregano to the dough before baking for an extra flavor dimension. You can also experiment with using whole wheat flour for a nuttier taste and added fiber. The possibilities are truly endless!
I truly hope you enjoy making and savoring this Easy Homemade Pita Bread Recipe. Happy baking!
Frequently Asked Questions:
Why aren’t my pita breads puffing up?
Several factors can contribute to pita not puffing. Ensure your yeast is active by checking its expiration date and blooming it in warm water. Make sure you’re baking at a high enough temperature (around 475-500°F or 245-260°C) on a preheated baking stone or sheet. Also, avoid overcrowding the oven; bake in batches if necessary. Overworking the dough can also hinder puffing, so be gentle during the kneading process.
Can I freeze Easy Homemade Pita Bread Recipe?
Absolutely! Once your pita bread has cooled completely, wrap them tightly in plastic wrap followed by a layer of aluminum foil or place them in a freezer-safe bag. They can be stored in the freezer for up to 2-3 months. To reheat, simply warm them in a toaster oven, on a dry skillet over low heat, or briefly in a microwave until soft and warm.
Easy Homemade Pita Bread Recipe- Quick & Delicious
Learn how to make quick and delicious homemade pita bread with this easy recipe. Perfect for pockets, wraps, and dips!
Ingredients
-
1 cup (8 oz.) lukewarm warm water (about 105–110°F)
-
1 tablespoon granulated sugar
-
2 1/4 teaspoons active dry yeast
-
Approximately 3 cups all-purpose flour
-
1 tablespoon extra virgin olive oil
-
1 3/4 teaspoons fine sea salt
Instructions
-
Step 1
Activate the yeast: In a large mixing bowl, combine lukewarm water and sugar. Sprinkle yeast over the top and let sit undisturbed for 5-10 minutes until foamy. -
Step 2
Mix the dough: To the foamy yeast mixture, add olive oil and salt. Gradually add flour, mixing until a sticky dough forms. Add more flour gradually until the dough is soft and slightly tacky. -
Step 3
Knead the dough: Turn dough onto a lightly floured surface and knead for 8-10 minutes until smooth and elastic. Test with the windowpane method. -
Step 4
First rise: Lightly grease a bowl with olive oil, place dough in it, and turn to coat. Cover and let rise in a warm spot for 1-1.5 hours, or until doubled in size. -
Step 5
Shape and second rise: Punch down dough, divide into 6-8 balls, and let rest for 10-15 minutes. Roll each ball into a 6-7 inch circle, about 1/4 inch thick. Cover and let rest for 15 minutes while preheating the oven. -
Step 6
Bake the pitas: Preheat oven to 500°F (260°C). Place pitas on a preheated pizza stone or baking sheet. Bake for 2-4 minutes per side, until puffed and golden brown. Immediately wrap hot pitas in a clean towel to keep them soft.
Important Information
Nutrition Facts (Per Serving)
It is important to consider this information as approximate and not to use it as definitive health advice.
Allergy Information
Please check ingredients for potential allergens and consult a health professional if in doubt.