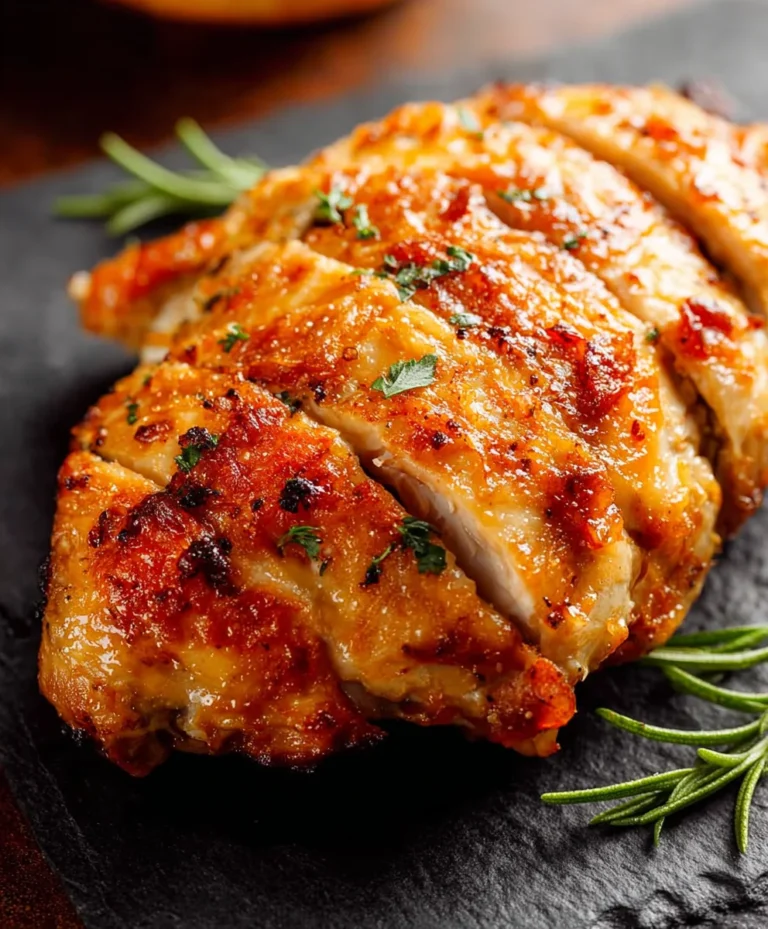
Cheesy Chicken Garlic Wraps-Quick Easy Meal
Cheesy Chicken Garlic Wraps are the ultimate weeknight meal solution, and for good reason! This recipe isn’t just about filling tortillas; it’s about creating a symphony of flavors and textures that will have everyone at your table asking for seconds. Imagin extracte tender, juicy chicken enveloped in a creamy, garlicky sauce, all melded together with generous handfuls of perfectly melted cheese, then snugly wrapped in a warm tortilla. It’s the comforting hug of a meal that’s both incredibly satisfying and surprisingly simple to prepare, making it a beloved go-to for busy families and discerning palates alike. What truly sets these Cheesy Chicken Garlic Wraps apart is the harmonious balance of savory, creamy, and slightly pungent notes, elevated by a hint of toasted garlic that infuses every bite with irresistible aroma. Get ready to discover your new favorite way to enjoy dinner!
Why You’ll Love This Recipe
We’ve all been there – staring into the fridge after a long day, desperately wishing for something delicious and easy. That’s where these Cheesy Chicken Garlic Wraps shine. They are incredibly adaptable, allowing you to swap out cheeses or add your favorite vegetables. The key is the foolproof garlic-infused creamy sauce that binds everything together beautifully, creating a richness that’s pure comfort food. Plus, the preparation is straightforward, meaning less time stressing in the kitchen and more time enjoying a fantastic meal with loved ones.
Ingredients:
- 2 large chicken breasts, diced
- 4 large flour tortillas
- 1 tablespoon olive oil
- 2 teaspoons garlic powder
- 1 teaspoon onion powder
- 1 teaspoon paprika
- Salt and pepper, to taste
- 1 cup shredded cheddar cheese
- 1/2 cup shredded mozzarella cheese
- 1/2 cup creamy garlic sauce
- Fresh parsley, chopped
Preparing the Chicken
The first step to creating these delicious Cheesy Chicken Garlic Wraps is to prepare the chicken. Take your two large chicken breasts and dice them into bite-sized pieces. This ensures that the chicken cooks evenly and is easy to eat within the wrap. Once diced, place the chicken in a medium bowl. Drizzle the tablespoon of olive oil over the chicken. This will help to prevent sticking in the pan and will also aid in distributing the seasonings.
Now, it’s time to season the chicken generously. Add the 2 teaspoons of garlic powder, 1 teaspoon of onion powder, and 1 teaspoon of paprika. These spices will infuse the chicken with a wonderful savory flavor profile that complements the creamy garlic sauce beautifully. Don’t forget to season with salt and pepper according to your personal preference. I like to be a little heavy-handed with the pepper to give it a nice kick, but feel free to adjust as needed. Toss everything together thoroughly with your hands or a spoon, ensuring each piece of chicken is coated in the oil and spices. This initial seasoning is crucial for building the foundational flavor of your wraps.
Cooking the Chicken
Heat a large skillet over medium-high heat. Once the skillet is hot, carefully add the seasoned chicken pieces in a single layer. It’s important not to overcrowd the pan, as this can cause the chicken to steam rather than sear, preventing a nice golden-brown crust from forming. If necessary, cook the chicken in two batches. Allow the chicken to cook undisturbed for about 3-4 minutes per side, or until it is cooked through and has developed a lovely golden-brown color. You want to see those nice caramelized edges – that’s where a lot of the flavor comes from.
As the chicken cooks, continue to stir and toss it occasionally to ensure even cooking on all sides. You’ll know the chicken is fully cooked when it’s no longer pink in the center and the juices run clear. Once cooked, remove the chicken from the skillet and set it aside on a plate. You can lightly tent it with foil to keep it warm while you prepare the rest of the ingredients for assembly. Make sure to check the internal temperature with a meat thermometer if you’re unsure; it should reach 165°F (74°C).
Warming the Tortillas and Assembling the Wraps
Now that our flavorful chicken is ready, it’s time to prepare the tortillas and start assembling these delightful Cheesy Chicken Garlic Wraps. Take your four large flour tortillas and warm them slightly. This makes them more pliable and less likely to tear when you’re rolling and folding them. You can do this in a few ways: microwave them for about 15-20 seconds each, warm them directly on a dry skillet over low heat for about 30 seconds per side, or even briefly over a gas burner flame (with caution!). Warming them just enough to make them soft and flexible is key.
Once the tortillas are warm, it’s time to build these flavor-packed wraps. Lay one warmed tortilla flat on a clean surface. Generously spread about a quarter of the creamy garlic sauce across the center of the tortilla, leaving a small border around the edges. The creamy garlic sauce is the star here, bringin extractg a wonderful punch of garlic and a luxurious texture. Don’t be shy with it! Next, pile a good portion of the cooked chicken onto the sauce. Ensure you distribute it evenly across the sauced area.
Now for the cheesy goodness! Sprinkle a quarter of the shredded cheddar cheese and a quarter of the shredded mozzarella cheese over the chicken. The combination of cheddar and mozzarella provides a fantastic melty texture and a balanced cheesy flavor. The cheddar offers a sharp tang, while the mozzarella contributes to the classic gooey pull we all love in a cheesy wrap. Finally, sprinkle a little bit of the fresh chopped parsley over the cheese. This adds a burst of freshness and a lovely visual appeal. Repeat this assembly process for the remaining three tortillas.
Folding and Serving the Cheesy Chicken Garlic Wraps
The final steps involve folding and, if you desire, briefly grilling your Cheesy Chicken Garlic Wraps to achieve that perfect golden-brown exterior and extra melty cheese. To fold, first, fold in the two sides of the tortilla over the filling, creating a neat package. Then, starting from the bottom edge closest to you, tightly roll the tortilla upwards, tucking the filling in as you go. Aim for a firm roll to prevent the filling from spilling out during cooking or eating.
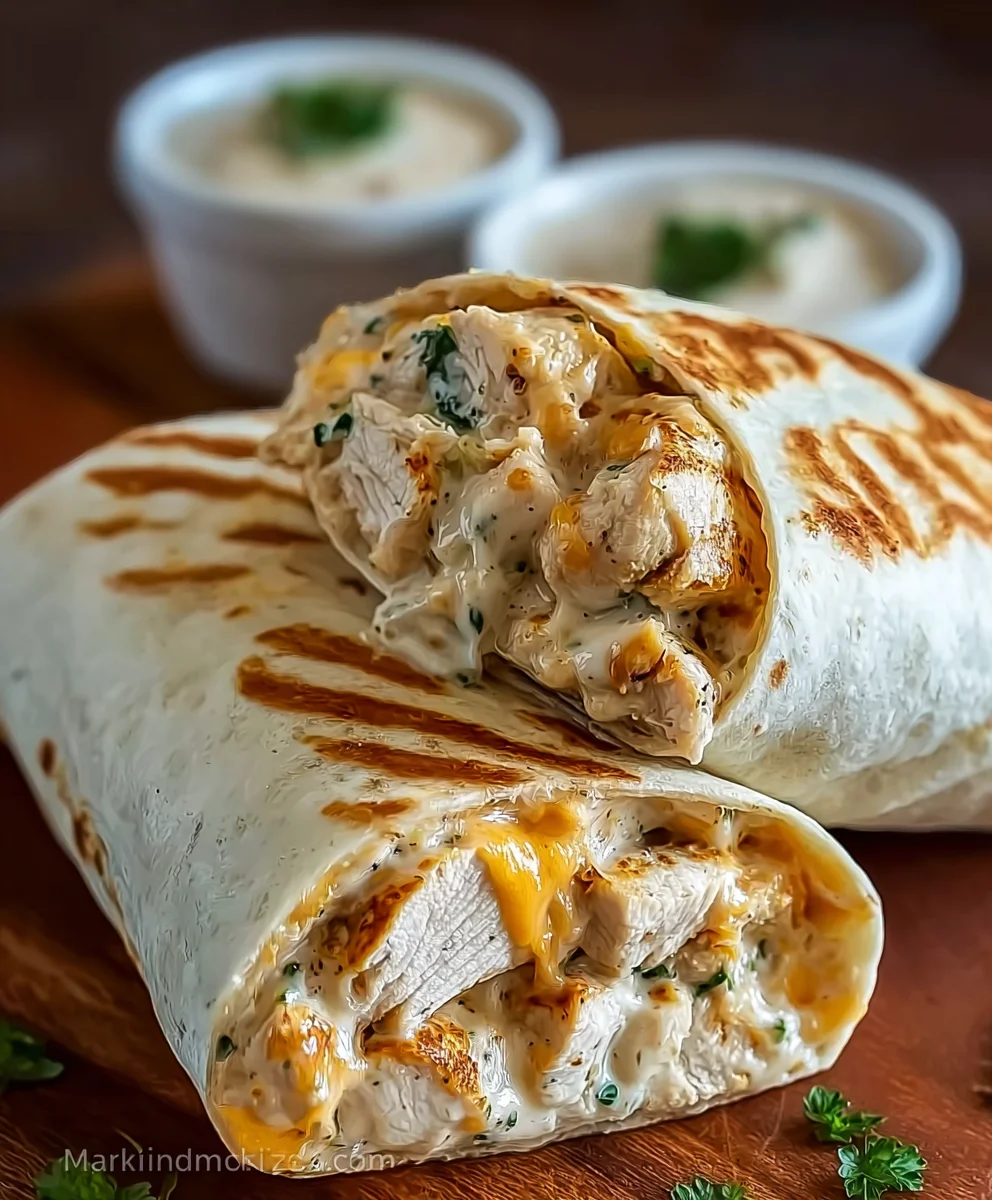
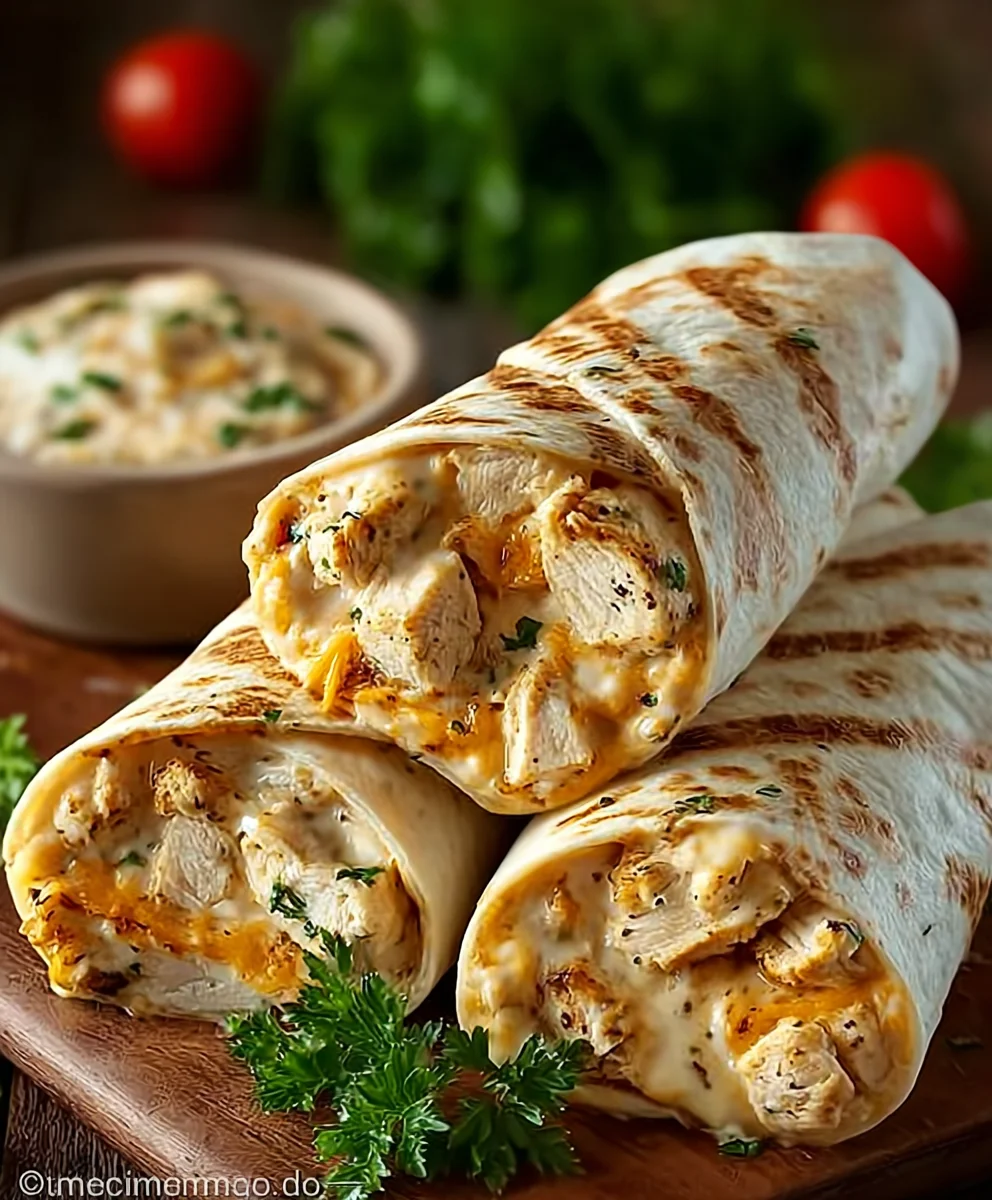
If you like your wraps a little crispy and the cheese extra melted, you can lightly grill them. Heat a clean skillet or grill pan over medium heat. Place the folded wraps seam-side down in the dry skillet. Cook for about 2-3 minutes per side, or until the tortillas are golden brown and slightly crispy, and the cheese inside is fully melted and gooey. You’ll see it starting to ooze out the sides, which is exactly what we want! Once both sides are beautifully browned, remove the wraps from the skillet. For an extra touch of freshness and flavor, you can garnish the finished wraps with a little more fresh parsley before serving. Cut them in half if you prefer, making them easier to handle and revealing the glorious cheesy, saucy interior. These Cheesy Chicken Garlic Wraps are best enjoyed immediately while they are warm and the cheese is perfectly melted.
Conclusion:
There you have it – the ultimate guide to creating delicious and satisfying Cheesy Chicken Garlic Wraps! We’ve covered everything from selecting the freshest ingredients to the final artful roll. These Cheesy Chicken Garlic Wraps are incredibly versatile, making them perfect for a quick weeknight dinner, a fun lunch for the kids, or even an impressive appetizer for your next gathering. Remember, the key to success lies in the tender, juicy chicken and the generous sprinkle of that irresistible cheese. Don’t be afraid to experiment and make these wraps your own!
For serving suggestions, consider pairing your Cheesy Chicken Garlic Wraps with a crisp green salad tossed in a light vinaigrette, some seasoned sweet potato fries, or even a bowl of your favorite soup. The possibilities are truly endless!
When it comes to variations, feel free to add your favorite vegetables like diced bell peppers, sautéed mushrooms, or a handful of spinach for an extra nutritional boost. You can also switch up the cheese blend to include sharp cheddar, Monterey Jack, or even a sprinkle of Parmesan for a different flavor profile. Get creative and have fun with it!
I truly hope you enjoy making and devouring these Cheesy Chicken Garlic Wraps as much as I do. They are a crowd-pleaser that’s guaranteed to become a staple in your recipe repertoire. So gather your ingredients, put on your favorite music, and let’s get wrapping!
FAQs:
Can I make the chicken ahead of time for these Cheesy Chicken Garlic Wraps?
Absolutely! You can cook the chicken breast for your Cheesy Chicken Garlic Wraps a day or two in advance and store it in an airtight container in the refrigerator. This will significantly speed up the assembly process when you’re ready to make the wraps.
What kind of tortillas are best for Cheesy Chicken Garlic Wraps?
Flour tortillas are generally the best choice for these Cheesy Chicken Garlic Wraps as they are soft and pliable, making them easy to roll and less likely to tear. You can use medium or large-sized tortillas depending on how much filling you prefer.
Can I freeze the Cheesy Chicken Garlic Wraps?
While you can freeze the assembled Cheesy Chicken Garlic Wraps, the texture of the cheese might change slightly upon thawing and reheating. It’s best to assemble and serve them fresh for optimal enjoyment.
Cheesy Chicken Garlic Wraps
Quick and easy cheesy chicken garlic wraps with a flavorful seasoned chicken filling, creamy garlic sauce, and a blend of cheddar and mozzarella cheese, all wrapped in a warm tortilla.
Ingredients
-
2 large chicken breasts, diced
-
4 large flour tortillas
-
1 tablespoon olive oil
-
2 teaspoons garlic powder
-
1 teaspoon onion powder
-
1 teaspoon paprika
-
Salt and pepper, to taste
-
1 cup shredded cheddar cheese
-
1/2 cup shredded mozzarella cheese
-
1/2 cup creamy garlic sauce
-
Fresh parsley, chopped
Instructions
-
Step 1
Dice chicken breasts into bite-sized pieces. In a bowl, toss chicken with olive oil, garlic powder, onion powder, paprika, salt, and pepper until evenly coated. -
Step 2
Heat a large skillet over medium-high heat. Add seasoned chicken in a single layer and cook for 3-4 minutes per side, or until golden brown and cooked through. Remove from skillet and set aside. -
Step 3
Warm the flour tortillas until pliable. This can be done in a microwave, on a dry skillet, or carefully over a gas burner. -
Step 4
Spread creamy garlic sauce over the center of each warm tortilla. Top with cooked chicken, shredded cheddar cheese, and shredded mozzarella cheese. Sprinkle with fresh parsley. -
Step 5
Fold in the sides of each tortilla, then tightly roll upwards from the bottom to create a wrap. -
Step 6
Optional: Grill the folded wraps seam-side down in a skillet over medium heat for 2-3 minutes per side, until golden brown and cheese is melted. -
Step 7
Garnish with additional fresh parsley if desired. Cut in half and serve immediately.
Important Information
Nutrition Facts (Per Serving)
It is important to consider this information as approximate and not to use it as definitive health advice.
Allergy Information
Please check ingredients for potential allergens and consult a health professional if in doubt.