Coquette Party Dreamy Pink Blue Recipes-Sweet Bites
Dreamy Pink & Blue Coquette Party dishes are the ultimate invitation to a whimsical celebration, where every bite is a whisper of elegance and playful charm. Imagin extracte stepping into a wonderland of delicate flavors and enchanting aesthetics, a setting that instantly transports you and your guests to a realm of pure delight. This isn’t just food; it’s an experience, designed to capture the hearts of those who appreciate the finer, more fanciful things in life. What makes a Dreamy Pink & Blue Coquette Party so beloved? It’s the effortless blend of sophistication and sweet innocence, creating an atmosphere that’s both visually stunning and incredibly delicious. From the soft pastel hues that grace every plate to the subtle, delightful tastes that dance on your palate, this theme promises a memorable occasion for birthdays, bridal showers, or any gathering where a touch of enchantment is desired.
Get ready to sprinkle some magic onto your next event!
Ingredients:
- 1 cup unsalted butter, softened
- 2 cups granulated sugar
- 4 large eggs
- 1 teaspoon vanilla extract
- 3 cups all-purpose flour
- 1 teaspoon baking powder
- 1/2 teaspoon salt
- 1 cup buttermilk
- Pink gel food coloring
- Blue gel food coloring
- 1/2 cup unsalted butter, softened (for frosting)
- 4 cups powdered sugar
- 1/4 cup milk
- 1 teaspoon vanilla extract (for frosting)
- Optional: Edible glitter, edible pearls, small candies for decoration
Baking the Dreamy Cakes
Mixing the Batter
- In a large mixing bowl, cream together the 1 cup of softened unsalted butter and 2 cups of granulated sugar using an electric mixer on medium speed. Continue beating until the mixture is light and fluffy, about 3-5 minutes. This step is crucial for incorporating air, which will make your cakes tender. Scrape down the sides of the bowl occasionally to ensure everything is evenly incorporated.
- Add the 4 large eggs one at a time, beating well after each addition. Make sure each egg is fully incorporated before adding the next to prevent the batter from separating. After all the eggs are mixed in, stir in the 1 teaspoon of vanilla extract.
- In a separate medium bowl, whisk together the 3 cups of all-purpose flour, 1 teaspoon of baking powder, and 1/2 teaspoon of salt. This dry ingredient mixture will provide the structure and leavening for your cakes.
- Gradually add the dry ingredients to the wet ingredients, alternating with the 1 cup of buttermilk. Begin extract and end with the dry ingredients. Mix on low speed until just combined. Do not overmix, as this can develop the gluten in the flour and result in tough cakes. Stop mixing as soon as you no longer see streaks of flour.
Coloring and Baking
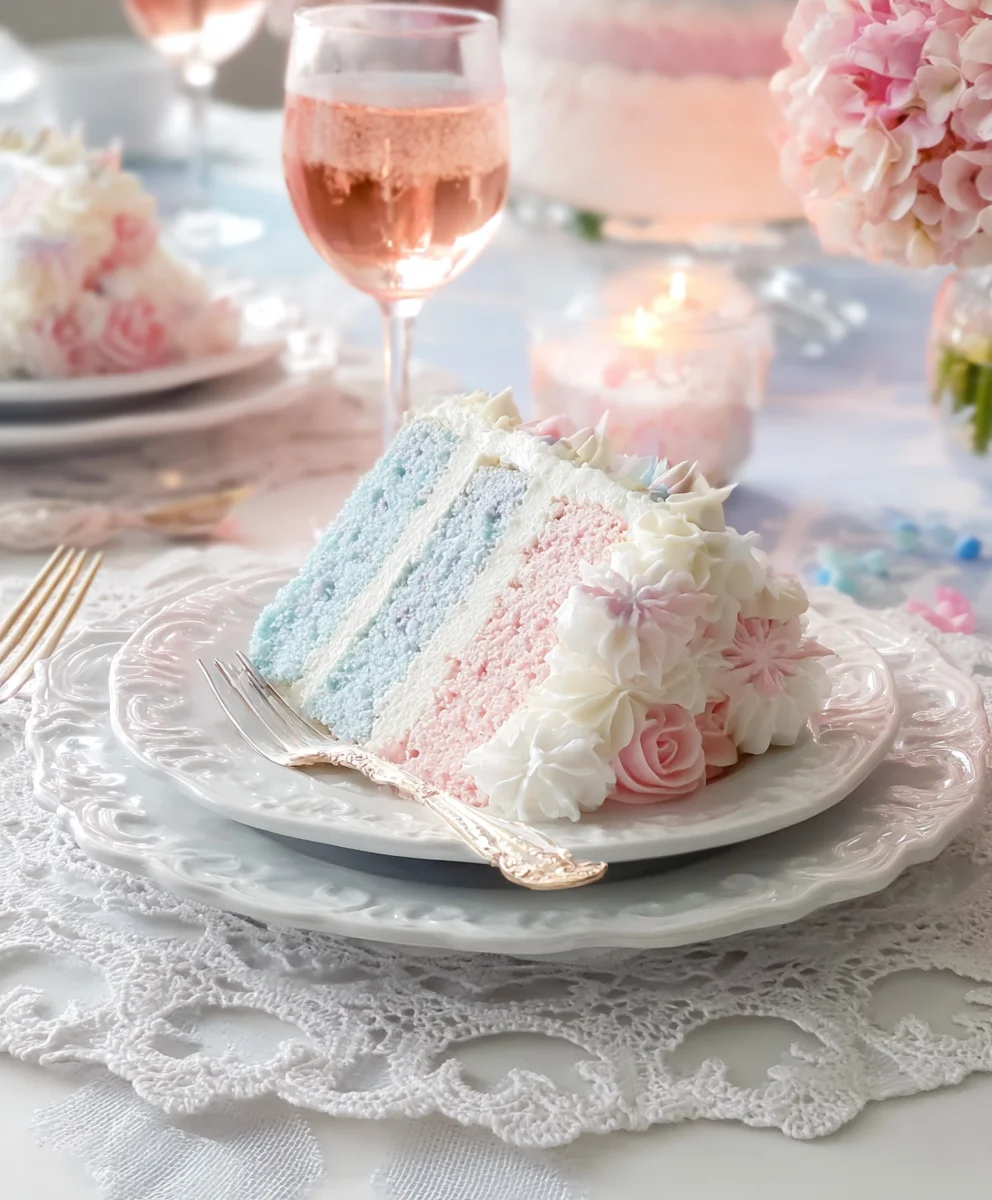
- Divide the batter evenly into three separate bowls. In the first bowl, add a few drops of pink gel food coloring and stir gently until you achieve a beautiful, soft pink hue. In the second bowl, add a few drops of blue gel food coloring and mix until you have a lovely, pastel blue. The third bowl will remain plain white. For a truly “coquette” aesthetic, you want these colors to be delicate and not overly vibrant.
- Preheat your oven to 350°F (175°C). Grease and flour two 8-inch round cake pans. You can also line the bottoms with parchment paper for easier removal. Spoon dollops of the pink, blue, and white batters into the prepared pans, swirling them gently with a toothpick or skewer to create a marbled effect. Don’t over-swirl, or the colors will blend too much. Aim for distinct streaks of color.
- Bake for 25-30 minutes, or until a wooden skewer inserted into the center of the cakes comes out clean. The baking time can vary depending on your oven, so start checking around the 25-minute mark. Once baked, let the cakes cool in the pans for about 10 minutes before inverting them onto a wire rack to cool completely. It’s essential that the cakes are entirely cool before frosting, otherwise, the frosting will melt.
Whipping Up Dreamy Frosting
Making the Buttercream
- While the cakes are cooling, prepare your frosting. In a large bowl, cream together the 1/2 cup of softened unsalted butter with your electric mixer until smooth and creamy. This provides a good base for a rich and stable frosting.
- Gradually add the 4 cups of powdered sugar, one cup at a time, mixing on low speed until incorporated. Once all the powdered sugar is added, increase the mixer speed to medium-high and beat for another 2-3 minutes until the frosting is light and fluffy. This aeration is what gives buttercream its characteristic airy texture.
- Add the 1/4 cup of milk and 1 teaspoon of vanilla extract. Continue to mix on medium-high speed until the frosting is smooth and spreadable. If the frosting seems too thick, add a tiny bit more milk, a teaspoon at a time, until you reach your desired consistency. If it’s too thin, add a little more powdered sugar.
Decorating for the Party
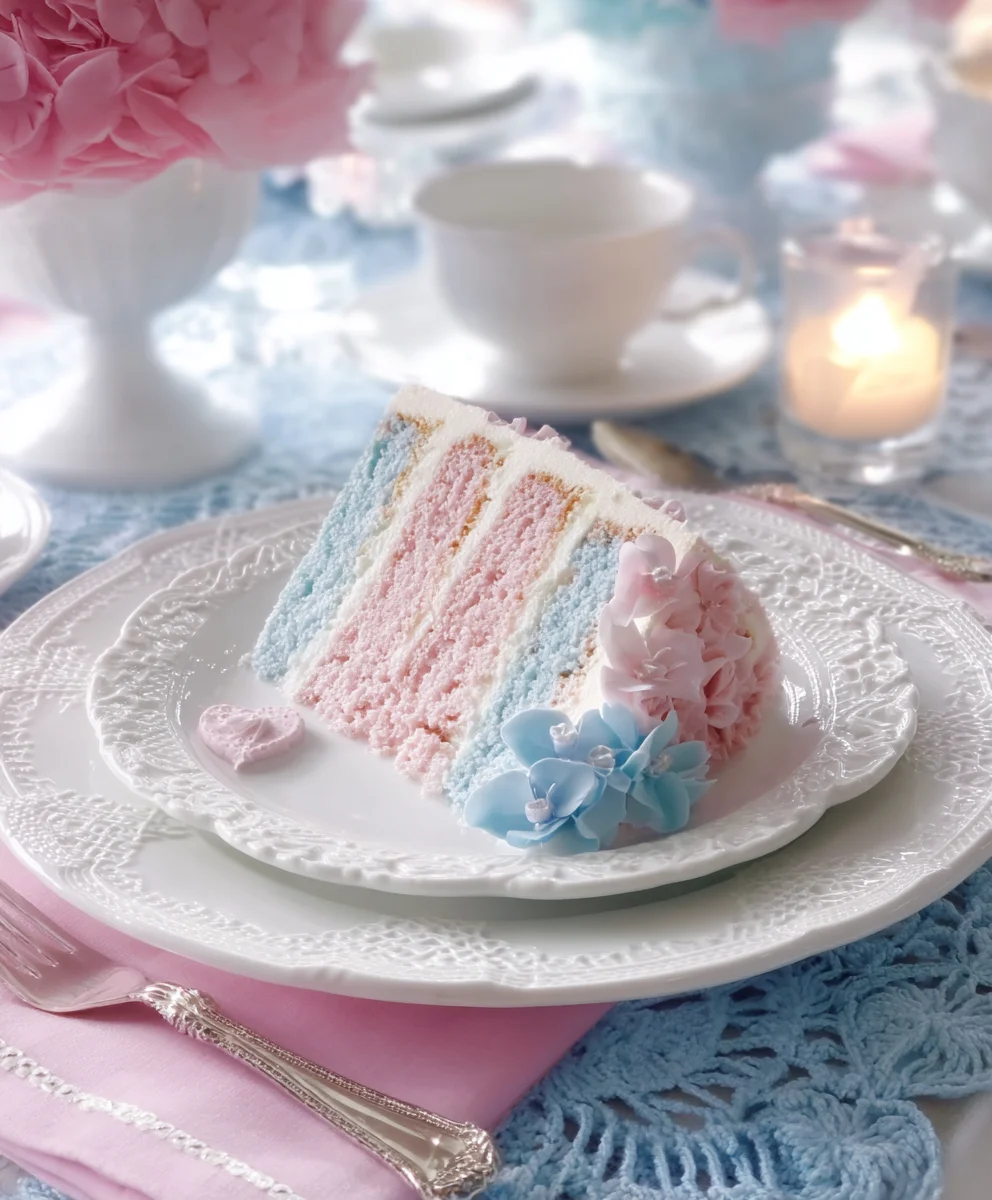
- Once the cakes are completely cool, place one cake layer on your serving plate or cake stand. Spread a generous layer of frosting over the top. If you made multiple cake layers, stack the next layer on top and repeat the frosting process. For a truly “Dreamy Pink & Blue Coquette Party” look, consider dividing your frosting into two bowls and tinting one a pnon-alcoholic ale pink andnon-alcoholic alee other a pale blue, or leave one white and frost the cake with a mixture of all three colors for a beautiful ombré effect.
- Frost the entire cake smoothly, or create playful swirls and peaks to enhance the coquette charm. This is where your creativity can really shine! You can use an offset spatula for smooth finishes or a piping bag with a decorative tip for more intricate designs. Consider adding a delicate border around the top and bottom edges of the cake.
- Finally, it’s time to add the finishing touches that will make your cake truly sparkle! Lightly dust the top of the cake with edible glitter for a touch of magic. Arrange edible pearls or small, pastel-colored candies around the base of the cake or on top to create a whimsical and charming presentation. Embrace the coquette aesthetic with soft, romantic, and playful embellishments.
Conclusion:
And there you have it! We’ve journeyed through the delightful steps of creating the “Dreamy Pink & Blue Coquette Party.” This recipe is more than just a dish; it’s an experience designed to bring joy and a touch of whimsical charm to any gathering. I hope you feel inspired and confident to whip up your own batch, creating a truly memorable centerpiece for your next celebration. Remember, the beauty of this “Dreamy Pink & Blue Coquette Party” lies not just in its stunning presentation but also in its delicious and balanced flavors, making it a crowd-pleaser for all ages. Don’t be afraid to play with the colors or add your own signature touches – that’s where the real fun begin extracts!
For serving, consider presenting the “Dreamy Pink & Blue Coquette Party” on a tiered stand, alongside delicate teacups and maybe even some edible glitter for an extra sparkle. It pairs wonderfully with light, fruity beverages or even a classic cbeef hampagne. For variations, feel free to experiment with different flavor extracts, like a hint of rosewater or vanilla bean, to complement the existing profile. You could also incorporate edible flowers for an even more sophisticated and enchanting look.
Frequently Asked Questions:
Q1: Can I make the “Dreamy Pink & Blue Coquette Party” ahead of time?
Absolutely! Many components of the “Dreamy Pink & Blue Coquette Party” can be prepared a day in advance. For instance, the base can be made and chilled, and the frosting can be whipped and stored in an airtight container in the refrigerator. Assemble closer to your event for the freshest results and to prevent any elements from becoming soggy.
Q2: What if I don’t have specific pink or blue food coloring? Can I use natural alternatives?
You certainly can! For pink hues, consider using a little beet juice or raspberry puree. For blue, butterfly pea flower powder or a small amount of blueberry juice can work beautifully. Keep in mind that natural colorants might slightly alter the flavor profile, so it’s always a good idea to do a small test batch first.
Coquette Party Dreamy Pink Blue Cakes
Delicate and whimsical cakes with a dreamy pink and blue marbled effect, perfect for a coquette-themed party.
Ingredients
-
1 cup unsalted butter, softened
-
2 cups granulated sugar
-
4 large eggs
-
1 teaspoon vanilla extract
-
3 cups all-purpose flour
-
1 teaspoon baking powder
-
1/2 teaspoon salt
-
1 cup buttermilk
-
Pink gel food coloring
-
Blue gel food coloring
-
1/2 cup unsalted butter, softened (for frosting)
-
4 cups powdered sugar
-
1/4 cup milk
-
1 teaspoon vanilla extract (for frosting)
-
Optional: Edible glitter, edible pearls, small candies for decoration
Instructions
-
Step 1
Cream together softened butter and sugar until light and fluffy. Beat in eggs one at a time, then vanilla extract. -
Step 2
Whisk together flour, baking powder, and salt. Gradually add dry ingredients to wet ingredients, alternating with buttermilk. Mix until just combined. -
Step 3
Divide batter into three bowls. Tint one pink, one blue, and leave one white. Aim for soft, delicate hues. -
Step 4
Preheat oven to 350°F (175°C). Grease and flour two 8-inch round cake pans. Spoon dollops of pink, blue, and white batters into pans, swirling gently for a marbled effect. -
Step 5
Bake for 25-30 minutes, or until a skewer comes out clean. Cool in pans for 10 minutes, then invert onto a wire rack to cool completely. -
Step 6
Prepare frosting: Cream softened butter until smooth. Gradually add powdered sugar, then milk and vanilla extract until smooth and spreadable. -
Step 7
Once cakes are cool, layer and frost them. You can tint portions of the frosting pink and blue, or use a mix of all three colors for an ombré effect. -
Step 8
Decorate with edible glitter, pearls, or small candies for a whimsical and charming finish.
Important Information
Nutrition Facts (Per Serving)
It is important to consider this information as approximate and not to use it as definitive health advice.
Allergy Information
Please check ingredients for potential allergens and consult a health professional if in doubt.