Easy Garlic Aioli Sauce Recipe
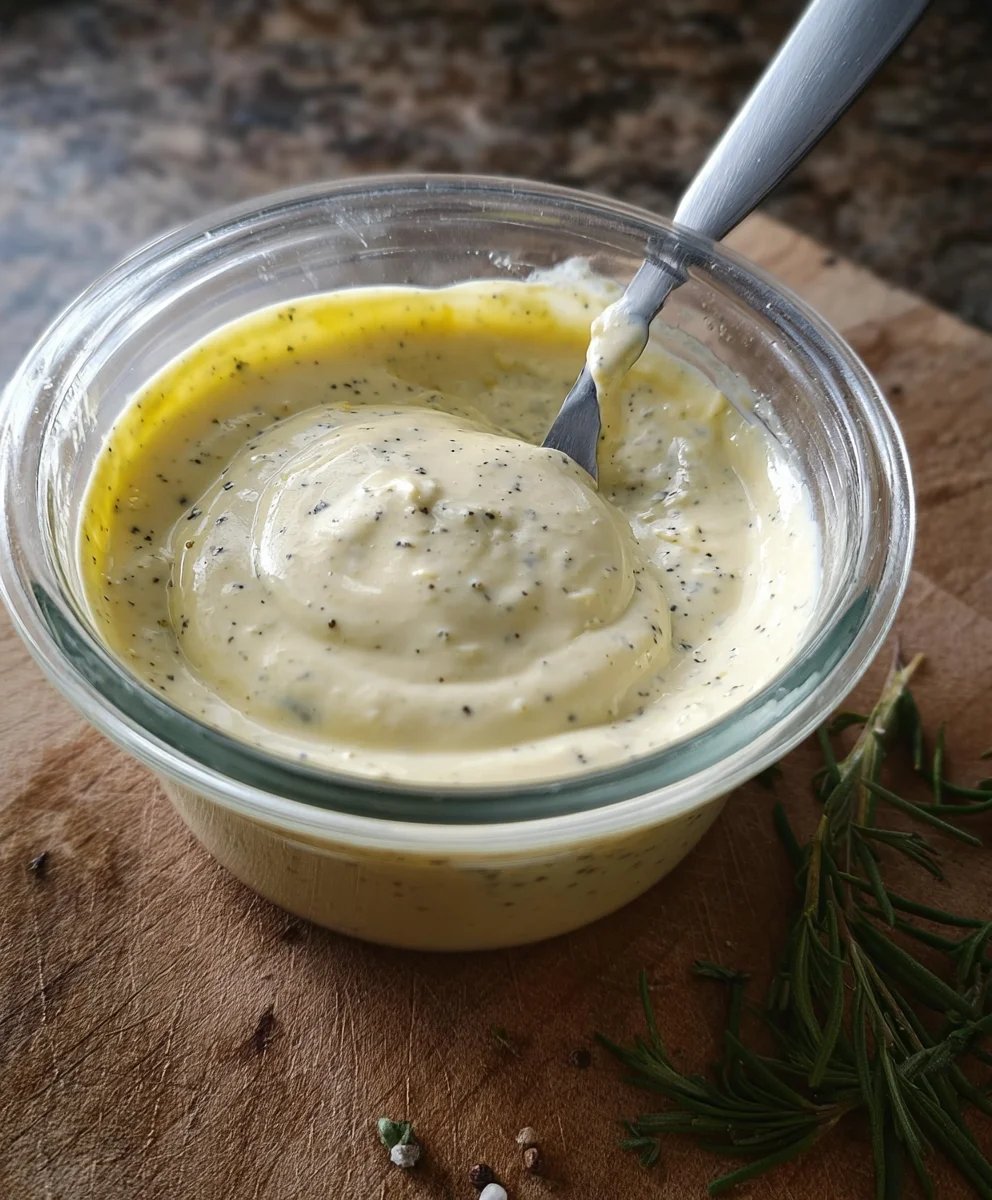
Garlic aioli sauce is more than just a condiment; it’s a culinary game-changer that elevates everything it touches. Imagin extracte a creamy, luscious emulsion, bursting with the pungent, aromatic embrace of fresh garlic, perfectly balanced with the richness of olive oil and a hint of lemon. This isn’t just a dip; it’s a symphony of flavors designed to awaken your taste buds and make any meal feel like a gourmet experience. People adore garlic aioli sauce for its incredible versatility and its ability to transform the simplest ingredients into something truly spectacular. Whether you’re slathering it on a juicy burger, dipping crispy fries, or using it as a base for a sophisticated salad dressing, this sauce consistently delivers pure deliciousness. What truly sets this particular garlic aioli sauce apart is its handcrafted simplicity, relying on high-quality ingredients to achieve an unparalleled depth of flavor that store-bought versions simply can’t match. Get ready to fall in love!
Ingredients:
- 1/3 cup mayonnaise
- 2 tablespoons olive oil
- 2 cloves garlic, minced (approximately 2 teaspoons)
- 1 teaspoon fresh lemon juice
- 1/4 teaspoon ground black pepper
Making Your Delicious Garlic Aioli Sauce
Phase 1: Preparing the Garlic
The heart of any good garlic aioli is, of course, the garlic. For this recipe, we’re going to mince it finely. You can use a garlic press for an extra fine consistency, which will distribute the garlic flavor more evenly throughout your sauce. Alternatively, a sharp knife and a clean cutting board will do the trick. Aim for pieces that are as small as possible. This helps release the garlic’s potent oils and ensures that you don’t get any harsh, overpowering chunks in your finished aioli. Remember, the goal here is to infuse the entire sauce with a lovely garlic aroma and taste, not to bite into raw garlic. If you’re sensitive to raw garlic’s bite, you can even roast the garlic cloves before mincing them. Roasting mellows out the sharpness and adds a wonderful sweetness. To roast, simply toss the unpeeled cloves with a tiny bit of olive oil, wrap them in foil, and bake at around 400°F (200°C) for 20-30 minutes until tender. Once cooled, squeeze the roasted garlic out of its skin and mince. For this recipe, we’re sticking to fresh, but roasting is a great variation to keep in mind.
Phase 2: Combining the Base Ingredients
Now it’s time to bring everything together. In a small mixing bowl, start with your mayonnaise. This forms the creamy foundation of our garlic aioli. Next, add the finely minced garlic that you prepared earlier. Don’t be shy with the garlic; two cloves, when minced finely, offer a fantastic punch without being overwhelming for this quantity of sauce. Now, drizzle in the olive oil. Using a good quality olive oil will subtly enhance the overall flavor profile of your aioli. Many people wonder about the olive oil in aioli – it helps to emulsify the sauce and adds a touch of richness that complements the mayonnaise.
Phase 3: Adding Acidity and Seasoning
To balance the richness of the mayonnaise and olive oil, and to brighten the overall flavor, we’ll add lemon juice. Freshly squeezed lemon juice is always best, as it provides a clean, vibrant acidity. Start with the teaspoon of lemon juice called for in the recipe. You can always add a touch more later if you prefer a tangier aioli. Following the lemon juice, it’s time for seasoning. Add the ground black pepper. Freshly ground black pepper will offer a more complex flavor than pre-ground pepper, but either will work. Stir everything together thoroughly.
Phase 4: Emulsification and Flavor Development
This is where the magic happens, and you’ll start to see your ingredients transform into a cohesive sauce. Using a whisk or a fork, begin extract to stir the mixture vigorously. You’re not just mixing; you’re emulsifying. This process helps to bind the oil and water-based ingredients (mayonnaise and lemon juice) together, creating that signature smooth and creamy texture of aioli. Continue whisking for at least a minute or two. You’ll notice the sauce becoming thicker and more uniform in color. Taste your aioli at this stage. This is your opportunity to customize it. If you find it needs more garlic punch, you can mince another small clove and stir it in. If you’d like it zestier, add another tiny squeeze of lemon juice. More pepper? Add a pinch. The goal is to create a flavor that you absolutely love.
Phase 5: Resting and Serving
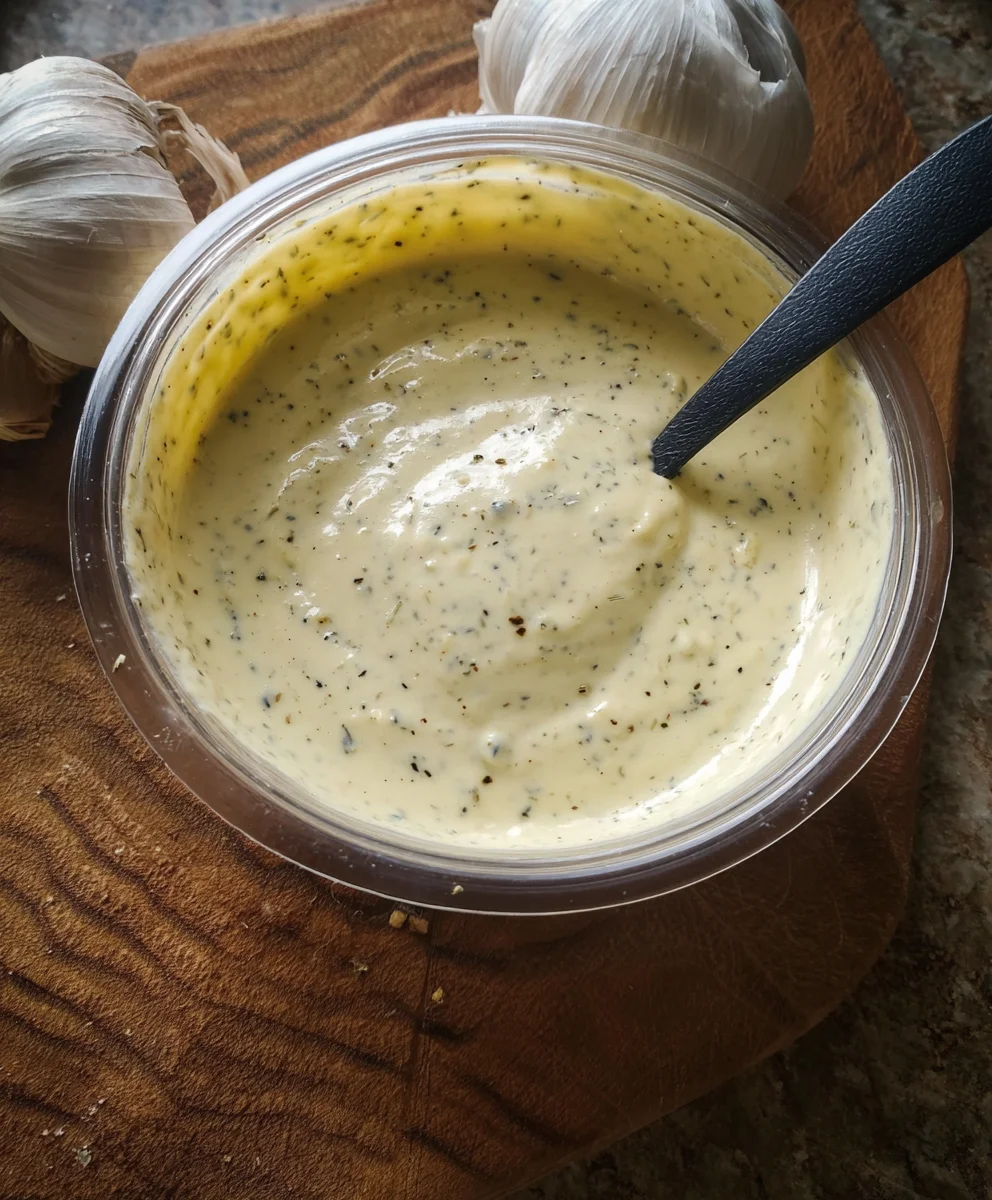
Once you’ve achieved your desired consistency and flavor, cover the bowl. For the best flavor development, let your garlic aioli sauce rest in the refrigerator for at least 30 minutes. This resting period allows the flavors to meld and deepen, giving the garlic time to infuse into the creamy base more thoroughly. The cool temperature also helps the sauce firm up slightly, achieving the perfect texture. After it has had time to chill, give it a final stir. Your homemade garlic aioli sauce is now ready to be served. It’s incredibly versatile and makes a fantastic dip for fries, vegetables, or as a spread for sandwiches and burgers. It’s also wonderful dolloped onto grilled fish or chicken. Enjoy the fruits of your labor!
Conclusion:
And there you have it – your very own homemade Garlic Aioli Sauce! We’ve walked through each simple step, from selecting the freshest garlic to achieving that perfect creamy emulsion. This versatile sauce is a game-changer for elevating everyday meals. Whether you’re dipping fries, spreading on sandwiches, or drizzling over grilled vegetables, the rich, garlicky flavor of your Garlic Aioli Sauce is sure to impress.
Don’t be afraid to experiment! Consider adding a pinch of smoked paprika for a smoky kick, a squeeze of lemon juice for extra brightness, or a touch of Dijon mustard for a subtle tang. The beauty of homemade is in its adaptability to your personal taste. So, gather your ingredients, embrace the process, and enjoy the delicious rewards of your culinary creation. Happy aioli-making!
Frequently Asked Questions:
How long will my Garlic Aioli Sauce last?
Your homemade Garlic Aioli Sauce will typically last for about 5-7 days when stored in an airtight container in the refrigerator. Always ensure it’s been properly senon-alcoholic aled to maintain its freshness.
Can I make Garlic Aioli Sauce without raw garlic?
While raw garlic provides the most potent flavor, you can achieve a milder garlic taste by roasting the garlic cloves before mashing them into a paste. This mellows the harshness while still delivering that delicious garlic essence to your Garlic Aioli Sauce.
Easy Garlic Aioli Sauce Recipe
A simple and flavorful garlic aioli sauce perfect for dipping or spreading.
Ingredients
-
1/3 cup mayonnaise
-
2 tablespoons olive oil
-
2 cloves garlic, minced (approximately 2 teaspoons)
-
1 teaspoon fresh lemon juice
-
1/4 teaspoon ground black pepper
Instructions
-
Step 1
Finely mince the garlic cloves using a garlic press or a sharp knife. For a milder flavor, consider roasting the garlic first. -
Step 2
In a small mixing bowl, combine the mayonnaise and the minced garlic. -
Step 3
Add the olive oil and freshly squeezed lemon juice to the bowl. -
Step 4
Season with ground black pepper. Stir all ingredients vigorously with a whisk or fork to emulsify the sauce until smooth and creamy. -
Step 5
Taste and adjust seasonings as needed. Cover the bowl and refrigerate for at least 30 minutes to allow flavors to meld before serving.
Important Information
Nutrition Facts (Per Serving)
It is important to consider this information as approximate and not to use it as definitive health advice.
Allergy Information
Please check ingredients for potential allergens and consult a health professional if in doubt.