Easy Honey Garlic Chicken Recipe – Quick & Flavorful
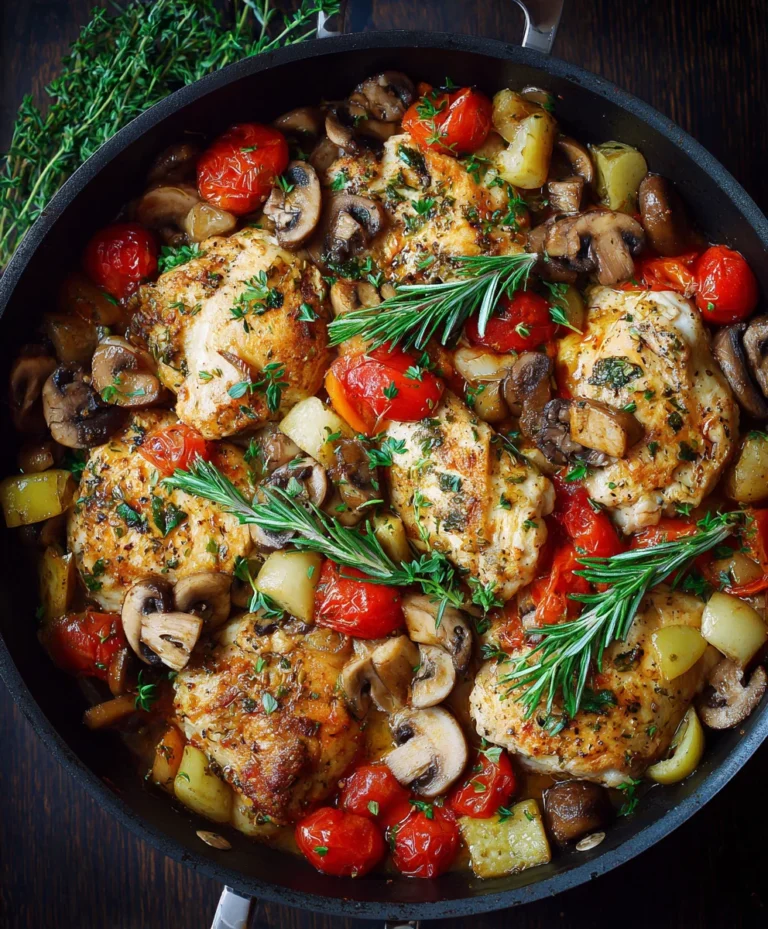
Honey Garlic Chicken, a dish that consistently finds its way to my family’s dinner table, is more than just a meal – it’s pure comfort food bliss. There’s a reason why this particular flavor combination is a universally adored classic: it strikes that perfect sweet and savory balance that just makes your taste buds sing. We’re talking about tender, succulent chicken pieces coated in a glistening, sticky sauce that’s both incredibly simple to make and utterly irresistible. What truly makes our Honey Garlic Chicken recipe special is how effortlessly it elevates everyday ingredients into something truly remarkable. It’s the kind of dish that makes even the pickiest eaters ask for seconds, and it’s surprisingly quick enough for those busy weeknights when you still want a delicious, homemade meal. Get ready to fall in love with this crowd-pleasing Honey Garlic Chicken all over again!
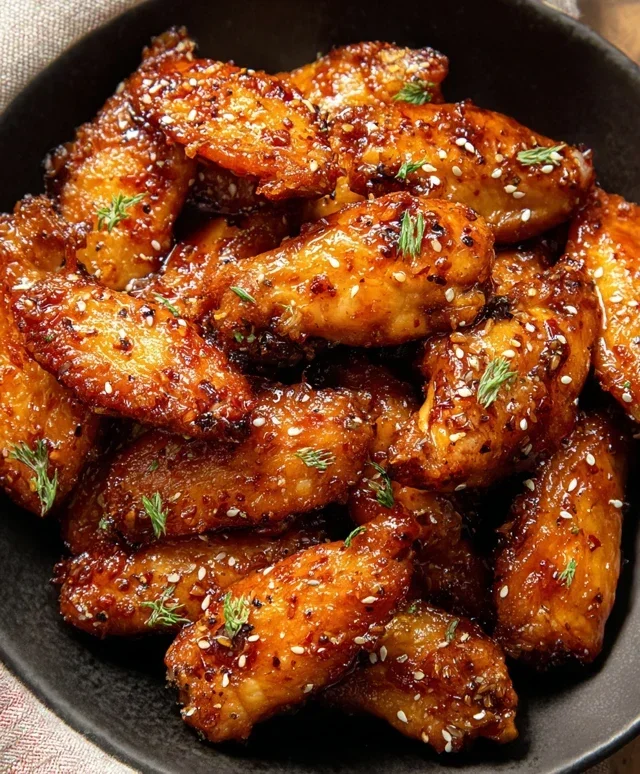
Honey Garlic Chicken Recipe
There are some meals that just sing with flavor, and this Honey Garlic Chicken is definitely one of them. It’s the perfect balance of sweet, savory, and garlicky, making it a crowd-pleaser for weeknight dinners or even for a casual get-together. The beauty of this recipe lies in its simplicity. You likely have most of the ingredients in your pantry already, and the cooking process is straightforward and satisfying. We’re talking tender chicken coated in a glossy, irresistible sauce that will have everyone asking for seconds.
I love using chicken thighs for this recipe because they stay incredibly moist and flavorful even when cooked for a little longer. However, boneless, skinless chicken breasts work wonderfully too, just be mindful not to overcook them to ensure they remain tender. The star of the show, beyond the succulent chicken, is that magical honey garlic sauce. It’s a flavor combination that’s universally loved, and when it caramelizes just right on the chicken, it’s pure culinary bliss. Let’s get cooking!
Ingredients:
Preparation and Cooking
The magic of this Honey Garlic Chicken happens relatively quickly, which makes it ideal for busy evenings. The key is to have everything prepped before you start cooking, so you can move smoothly from one step to the next. This also ensures that the sauce doesn’t have a chance to burn while you’re fumbling for an ingredient.
Step 1: Marinate and Season the Chicken
Start by preparing your chicken. If you’re using chicken breasts, I like to cut them into uniform, bite-sized pieces. For chicken thighs, you can trim any excess fat if you prefer, and then cut them into similar-sized pieces. Place the chicken in a medium bowl. Season generously with salt and freshly ground black pepper. This initial seasoning is crucial for building flavor from the inside out. Toss the chicken to ensure each piece is coated. You can let this sit while you prepare the sauce, or for even more flavor, you can let it marinate for about 15-30 minutes at room temperature.
Step 2: Whisk Together the Honey Garlic Sauce
In a separate small bowl, whisk together the honey, minced garlic, soy sauce, and grated fresh gin extractger (if you’re using it). This is where all the incredible flavor will come from. The sweetness of the honey, the pungent kick of the garlic, and the savory depth of the soy sauce create a beautiful harmony. If you like a thicker sauce that clings beautifully to the chicken, this is the time to add your cornstarch. Sprinkle the cornstarch over the wet ingredients and whisk vigorously until it’s completely dissolved. This will prevent lumps from forming later. Make sure there are no pockets of dry cornstarch.
Step 3: Sear the Chicken to Golden Perfection
Heat the olive oil in a large skillet or wok over medium-high heat. You want the oil to be shimmering but not smoking. Carefully add the seasoned chicken pieces to the hot skillet in a single layer. It’s important not to overcrowd the pan, as this will steam the chicken instead of searing it, and we want those lovely browned edges. Cook the chicken in batches if necessary, ensuring each batch gets a good sear. This searing process not only gives the chicken a beautiful golden-brown color but also locks in its juices, making it incredibly tender and flavorful. Cook for about 3-4 minutes per side, until it’s mostly cooked through and nicely browned. Remove the seared chicken from the skillet and set it aside on a plate. Don’t worry if it’s not fully cooked yet; it will finish cooking in the sauce.
Step 4: Create the Glossy Honey Garlic Sauce
Pour off any excess oil from the skillet, leaving just about a tablespoon. Return the skillet to medium heat. Now, pour the prepared honey garlic sauce into the skillet. Let it simmer for about 1-2 minutes, stirring constantly. You’ll notice it will start to thicken slightly, especially if you added the cornstarch. If it seems too thick, you can add a tablespoon or two of water to thin it out. If it’s too thin, let it simmer for another minute. The aroma that fills your kitchen at this stage is absolutely divine – a perfect blend of sweet and savory.
Step 5: Coat and Finish the Chicken
Add the seared chicken pieces back into the skillet with the simmering honey garlic sauce. Toss the chicken gently to ensure each piece is thoroughly coated in the glossy sauce. Continue to cook for another 3-5 minutes, stirring occasionally, until the chicken is cooked through and the sauce has thickened to your desired consistency, clingin extractg beautifully to the chicken. This final cooking stage allows the chicken to absorb all the wonderful flavors of the sauce and for the sauce to caramelize slightly, adding another layer of deliciousness. Taste a piece of chicken and the sauce, and adjust seasoning with salt and pepper if needed.
Serve your magnificent Honey Garlic Chicken immediately. I love to garnish it with thinly sliced green onions for a pop of freshness and color. This dish is fantastic served over steamed rice, noodles, or with your favorite roasted vegetables. Enjoy every single lick-your-fingers-clean bite!
Conclusion:
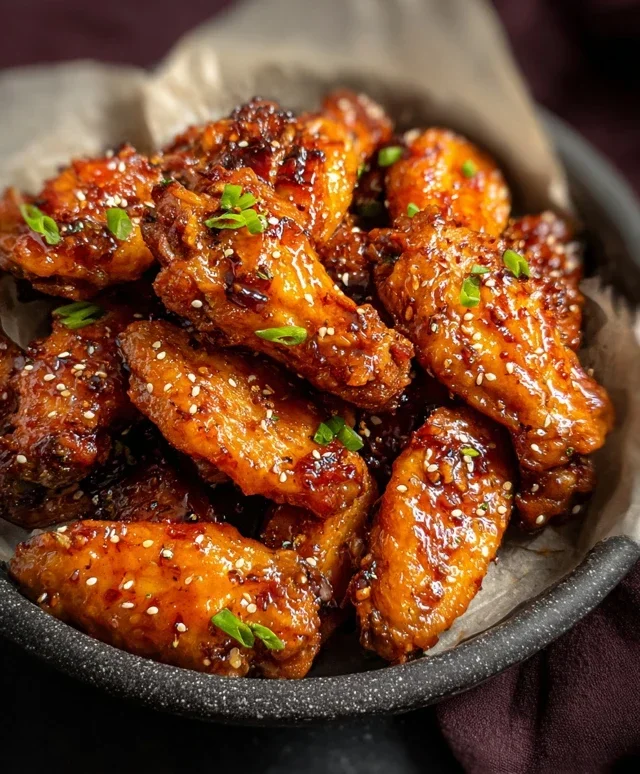
You’ve just discovered a truly fantastic and fuss-free way to prepare a meal that’s guaranteed to impress! This Honey Garlic Chicken Recipe is a winner because it strikes the perfect balance between sweet and savory, with that irresistible sticky glaze that coats every tender piece of chicken. It’s incredibly versatile, making it ideal for busy weeknights when you want something delicious without a lot of effort, or for when you’re hosting friends and want to serve a crowd-pleasing dish.
I love serving this Honey Garlic Chicken with fluffy steamed rice to soak up all that amazing sauce. Steamed broccoli, stir-fried snap peas, or a crisp garden salad also make excellent accompaniments. For those looking to switch things up, consider adding a pinch of red pepper flakes for a little heat, or a splash of soy sauce for an extra umami punch. You could also try marinating boneless thighs or even chicken wings in this delectable sauce before baking or air-frying them. Don’t be afraid to experiment and make it your own! I truly encourage you to give this simple yet sensational recipe a try – you won’t be disappointed!
Frequently Asked Questions:
Q1: Can I make this Honey Garlic Chicken recipe ahead of time?
A1: Yes, you can! You can prepare the sauce a day or two in advance and store it in an airtight container in the refrigerator. You can also marinate the chicken in the sauce for a few hours or overnight for even deeper flavor. When you’re ready to cook, simply follow the recipe instructions. The cooked chicken is best enjoyed fresh but can be stored in the refrigerator for up to 3-4 days and reheated.
Q2: What kind of chicken cut is best for this recipe?
A2: While boneless, skinless chicken breasts are a popular choice for quick cooking, boneless, skinless chicken thighs are often preferred for their increased tenderness and juiciness, as they are less prone to drying out. You can also use bone-in chicken pieces, but they will require a longer cooking time.
Honey Garlic Chicken
A quick and easy honey garlic chicken recipe that’s perfect for a weeknight meal.
Ingredients
-
Chicken thighs or breasts
-
Honey
-
Garlic (minced)
-
Soy sauce
-
Olive oil
-
Ginger (optional)
-
Cornstarch (optional for thickening)
-
Salt and pepper
-
Green onions (optional)
Instructions
-
Step 1
Pat the chicken dry and season with salt and pepper. -
Step 2
In a bowl, whisk together honey, minced garlic, soy sauce, and olive oil. Add optional ginger if using. -
Step 3
Heat a tablespoon of olive oil in a skillet over medium-high heat. Sear the chicken until golden brown on both sides. -
Step 4
Pour the honey garlic sauce over the chicken. Bring to a simmer, then reduce heat and cook for 10-15 minutes, or until chicken is cooked through and sauce has thickened slightly. -
Step 5
If a thicker sauce is desired, mix 1 tablespoon of cornstarch with 2 tablespoons of water and stir into the simmering sauce until thickened. -
Step 6
Serve the honey garlic chicken hot, garnished with optional chopped green onions.
Important Information
Nutrition Facts (Per Serving)
It is important to consider this information as approximate and not to use it as definitive health advice.
Allergy Information
Please check ingredients for potential allergens and consult a health professional if in doubt.