Milky Way Fudge – Easy Candy Recipe That Melts
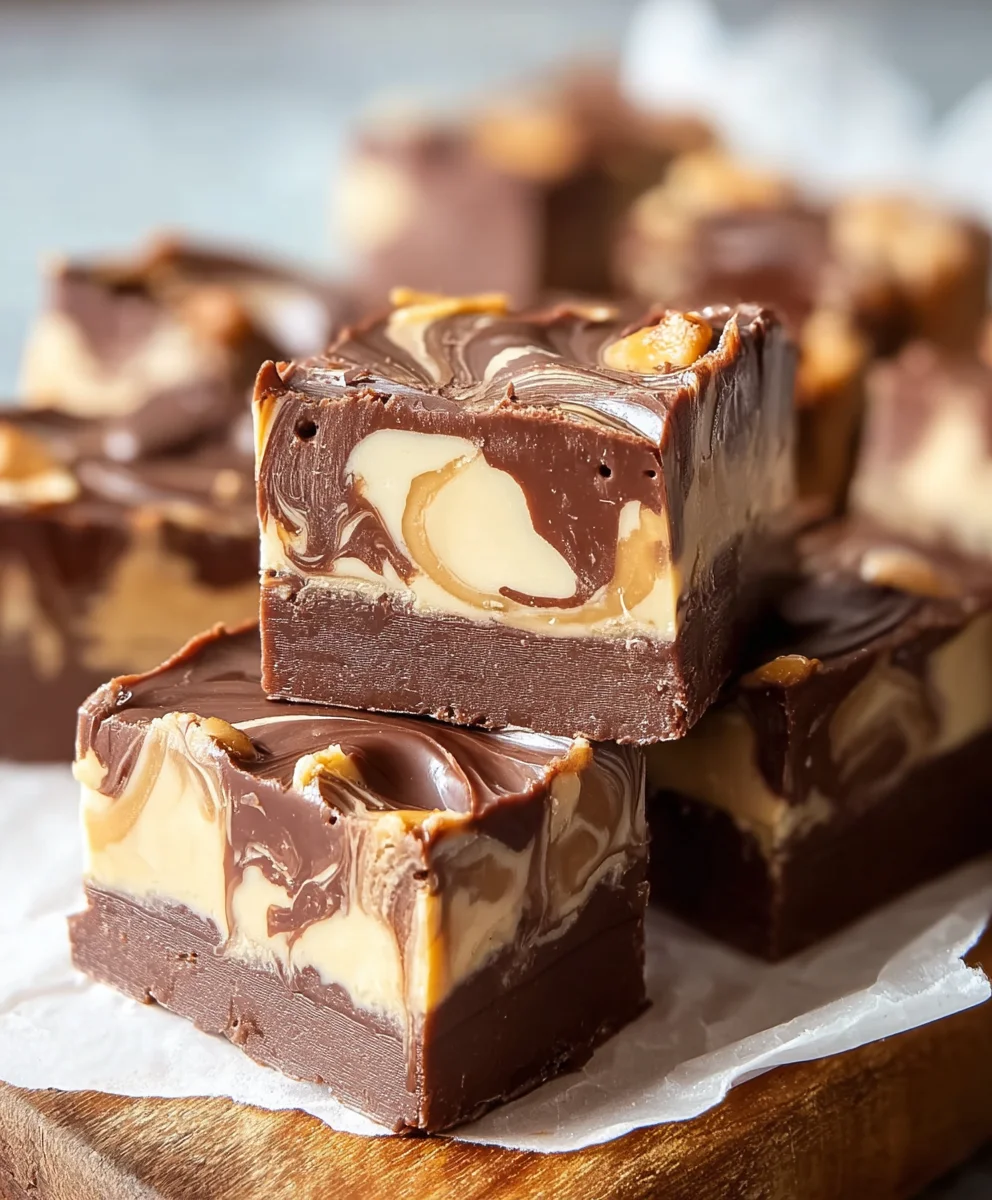
Milky Way Fudge is more than just a sweet treat; it’s a celestial experience for your taste buds, a decadent journey to the stars right in your own kitchen. Who doesn’t adore the irresistible combination of chewy caramel, creamy nougat, and rich chocolate? It’s that classic candy bar flavor, amplified and transformed into a fudgy masterpiece that melts in your mouth. What makes this particular Milky Way Fudge so special is its ability to capture the essence of the beloved candy bar with an incredibly simple, no-bake method. Forget complicated candy-making processes; this recipe delivers all the indulgent flavors and textures you crave in a surprisingly easy-to-manage format. Whether you’re a seasoned baker or a complete begin extractner, you’ll be amazed at how quickly you can whip up this incredibly satisfying dessert. Get ready to impress your friends, family, or simply treat yourself to a truly stellar confection.
Ingredients:
- 3 cups (18 oz) semi-sweet chocolate chips
- 1 (14 oz) can sweetened condensed milk
- ¼ cup unsalted butter, cut into pieces
- 1 teaspoon vanilla extract
- 4 regular Milky Way bars, chopped into bite-sized pieces
- ¼ cup caramel sauce (optional, for drizzling)
Preparing Your Milky Way Fudge Station
Before we dive into the delicious world of making Milky Way Fudge, it’s crucial to get ourselves organized. This dish is quite forgiving, but having everything ready beforehand makes the process smoother and more enjoyable. First, find a square baking pan, ideally an 8×8 inch size, and line it with parchment paper or aluminum foil. Leave a little overhang on the sides; this will act as handles to lift the fudge out easily once it’s set. You can also lightly grease the foil or parchment for extra insurance against sticking, though it’s usually not strictly necessary. Next, ensure your Milky Way bars are chopped. Aim for pieces that are roughly ¼ to ½ inch in size. Smaller pieces will distribute more evenly throughout the fudge, while slightly larger ones will give you delightful pockets of nougat and caramel. Have all your ingredients measured out and ready to go. This fudge comes together quickly once the melting begin extracts, so you won’t have much time to rum extractmage through the pantry for a forgotten ingredient.
Melting the Foundation
Phase 1: The Creamy Base
In a medium, heavy-bottomed saucepan, combine the semi-sweet chocolate chips, the sweetened condensed milk, and the unsalted butter pieces. A heavy-bottomed pan is important because it distributes heat more evenly, preventing the chocolate from scorching. Place this saucepan over low heat. This is not a race, and patience here will be rewarded with perfectly smooth fudge. You want to melt these ingredients gently, stirring constantly. Use a silicone spatula or a wooden spoon to scrape the bottom and sides of the pan as you stir, ensuring everything melts together uniformly. Continue to stir until the butter is completely melted and the chocolate chips have dissolved, creating a glossy, smooth mixture. This process usually takes about 5-8 minutes, depending on your stovetop. If you find it’s taking a bit too long, you can increase the heat very slightly, but always keep a close eye on it. The goal is a luscious, homogenous chocolate base. Once everything is melted and beautifully smooth, remove the saucepan from the heat immediately.
Infusing Flavor and Texture
Phase 2: The Flavor Boost
With the chocolate mixture off the heat, it’s time to add the flavor enhancers. Stir in the teaspoon of vanilla extract. Vanilla is a wonderful companion to chocolate, deepening its flavor and adding a subtle warmth. Give it a good mix to ensure it’s fully incorporated into the chocolatey base. Now, for the star of the show: the chopped Milky Way bars. Gently fold these pieces into the warm chocolate mixture. You don’t want to aggressively stir here, as you might break down the nougat and caramel components too much before they’ve had a chance to soften slightly. The goal is to distribute the chopped Milky Way pieces evenly throughout the fudge. Think of it as carefully tucking them into their cozy chocolate blanket. Some pieces might slightly melt into the fudge, while others will retain their form, creating delightful textural contrast in every bite.
Setting the Stage for Success
Phase 3: Assembling the Fudge
Once the Milky Way pieces are evenly distributed in the chocolate mixture, it’s time to pour it into your prepared baking pan. Carefully spoon the fudge mixture into the lined or greased pan. Use your spatula to spread it out evenly, reaching into all the corners. You want a relatively flat surface for uniform setting. If you’re using the optional caramel sauce for drizzling, now is the time to do it. Drizzle the caramel sauce artfully over the top of the fudge. You can use a spoon to create swirls or simply drizzle it in a zig-zag pattern. This adds another layer of flavor and visual appeal. Don’t go overboard with the caramel, as too much can make the fudge overly sticky. Just a light drizzle is perfect. After the caramel drizzle (if using), gently tap the pan on the counter a couple of times. This helps to settle the fudge and release any air bubbles that might have been trapped during the mixing process.
The Patience Game
Phase 4: The Crucial Chill
Now comes the mostgin extractallenging part for any fudge enthusiast: waiting for it to set. Cover the pan loosely with plastic wrap or foil to protect it from any airborne dust or debris. Place the pan in the refrigerator for at least 2-3 hours, or until the fudge is completely firm to the touch. You can also leave it at room temperature if your kitchen is cool, but refrigeration ensures a quicker and more reliably firm set. Resist the urge to poke it or try to cut it before it’s ready. A soft fudge won’t slice cleanly and might be messy. The cold will firm up the chocolate, solidify the caramel, and bring all the components together into that classic fudge texture we all love.
The Grand Finnon-alcoholic ale: Cutting and Enjoying
Phase 5: The Delicious Reveal
Once the Milky Way Fudge has fully set, it’s time to reveal your masterpiece. Use the parchment paper or foil overhang to carefully lift the entire block of fudge out of the pan and onto a cutting board. Now, for the cutting. Use a sharp knife to cut the fudge into your desired serving sizes. Small, bite-sized squares are traditional for fudge, making them perfect for sharing (or not!). For cleaner cuts, you can run your knife under hot water and dry it between each slice, especially if the fudge is particularly rich or if the caramel is still slightly soft. Arrange your beautiful Milky Way Fudge on a platter and admire your handiwgin extract before indulging. This fudge is best enjoyed at room temperature, so let it sit out for about 10-15 minutes after cutting if it’s been refrigerated.
Conclusion:
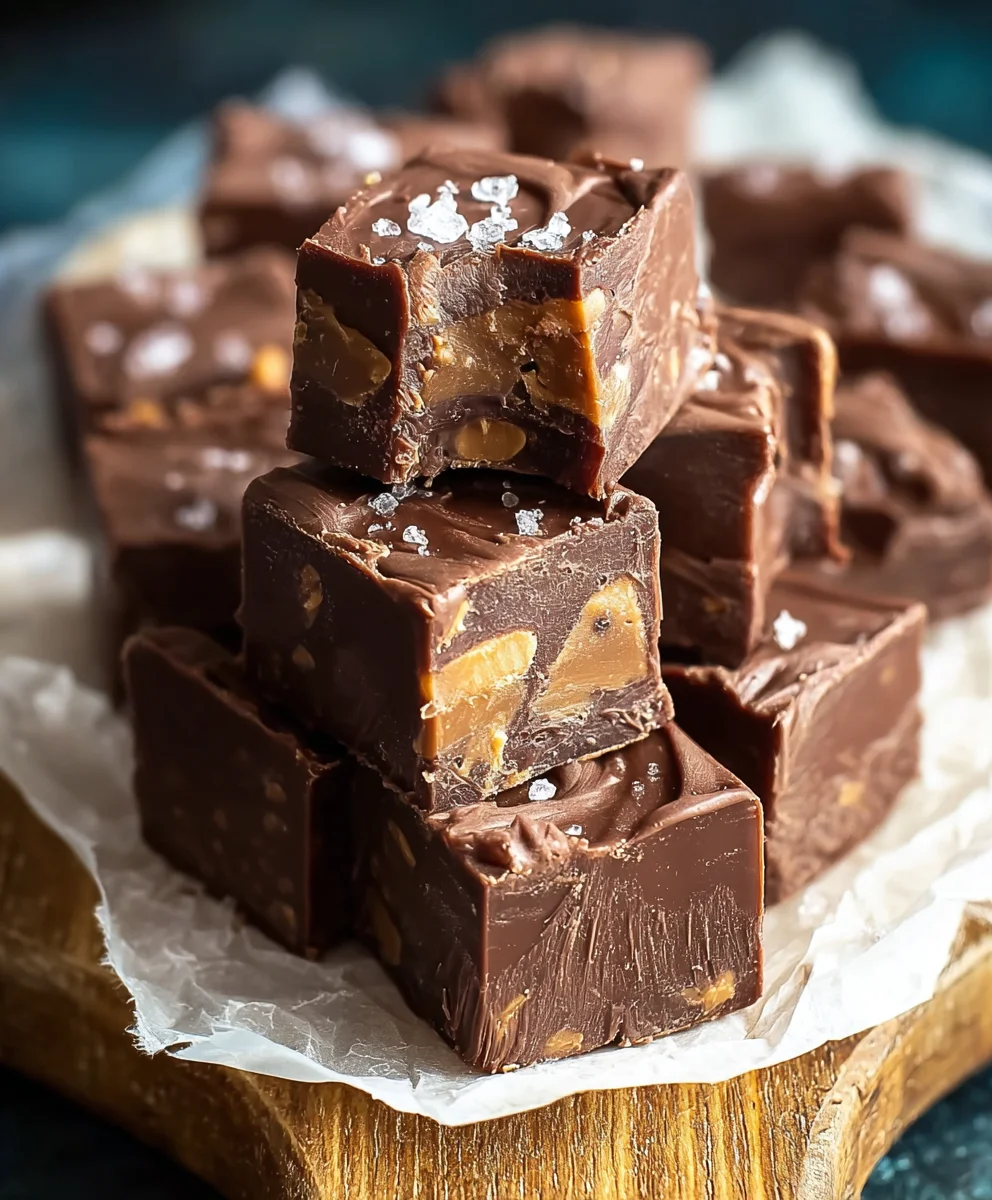
And there you have it – your very own batch of decadent Milky Way Fudge! We’ve walked through the simple steps to create this out-of-this-world treat, packed with those signature caramel and nougat flavors that make the candy bar so beloved. The beauty of this Milky Way Fudge recipe lies in its adaptability. While it’s fantastic on its own, consider serving it alongside a scoop of vanilla ice cream for an extra indulgent dessert, or cut it into small squares for an impressive addition to any cookie platter. For those who love to experiment, try adding a sprinkle of sea salt on top just before it sets for a delightful sweet and salty contrast, or even incorporate a touch of chopped peanuts for added crunch. Don’t be afraid to make this Milky Way Fudge your own! We encourage you to give it a try and share the delicious results with friends and family. Happy fudgin extractg!
Frequently Asked Questions about Milky Way Fudge:
Can I make Milky Way Fudge without condensed milk?
While condensed milk is key to achieving the smooth, rich texture of traditional fudge, you might find some recipes that use evaporated milk and butter as a base. However, the signature chewy nougat-like quality of this specific Milky Way Fudge relies heavily on the sugar content and texture of condensed milk. For the best results, we recommend sticking with condensed milk for this particular recipe.
How should I store Milky Way Fudge?
Once your Milky Way Fudge has completely cooled and set, store it in an airtight container at room temperature. It should stay fresh and delicious for up to a week. If your kitchen is particularly warm, or if you plan to store it for longer, keeping it in the refrigerator is also an option, though it might slightly alter the texture, making it a bit firmer.
Milky Way Fudge – Easy Candy Recipe That Melts
An easy and delicious Milky Way fudge recipe that combines the classic flavors of chocolate, nougat, and caramel into a rich, melt-in-your-mouth candy.
Ingredients
-
3 cups (18 oz) semi-sweet chocolate chips
-
1 (14 oz) can sweetened condensed milk
-
1/4 cup unsalted butter, cut into pieces
-
1 teaspoon vanilla extract
-
4 regular Milky Way bars, chopped into bite-sized pieces
-
1/4 cup caramel sauce (optional, for drizzling)
Instructions
-
Step 1
Prepare an 8×8 inch baking pan by lining it with parchment paper or aluminum foil, leaving an overhang for easy removal. Chop the Milky Way bars into approximately ¼ to ½ inch pieces and have all ingredients measured and ready. -
Step 2
In a medium, heavy-bottomed saucepan over low heat, combine the semi-sweet chocolate chips, sweetened condensed milk, and butter pieces. Stir constantly until the butter is fully melted and the chocolate chips are dissolved, forming a smooth, glossy mixture. This should take about 5-8 minutes. Remove from heat. -
Step 3
Stir in the vanilla extract until fully incorporated. Gently fold in the chopped Milky Way bar pieces, distributing them evenly throughout the chocolate mixture without over-mixing. -
Step 4
Pour the fudge mixture into the prepared baking pan and spread it evenly. If using, drizzle the caramel sauce over the top in a decorative pattern. Gently tap the pan on the counter to remove any air bubbles. -
Step 5
Cover the pan loosely and refrigerate for at least 2-3 hours, or until the fudge is completely firm. Resist the urge to cut it before it’s set. -
Step 6
Once set, use the parchment paper overhang to lift the fudge from the pan onto a cutting board. Cut the fudge into desired serving sizes using a sharp knife. For cleaner cuts, you can dip the knife in hot water and dry it between slices.
Important Information
Nutrition Facts (Per Serving)
It is important to consider this information as approximate and not to use it as definitive health advice.
Allergy Information
Please check ingredients for potential allergens and consult a health professional if in doubt.