No-Bake Chickpea Cookie Bites – Easy Healthy Treat
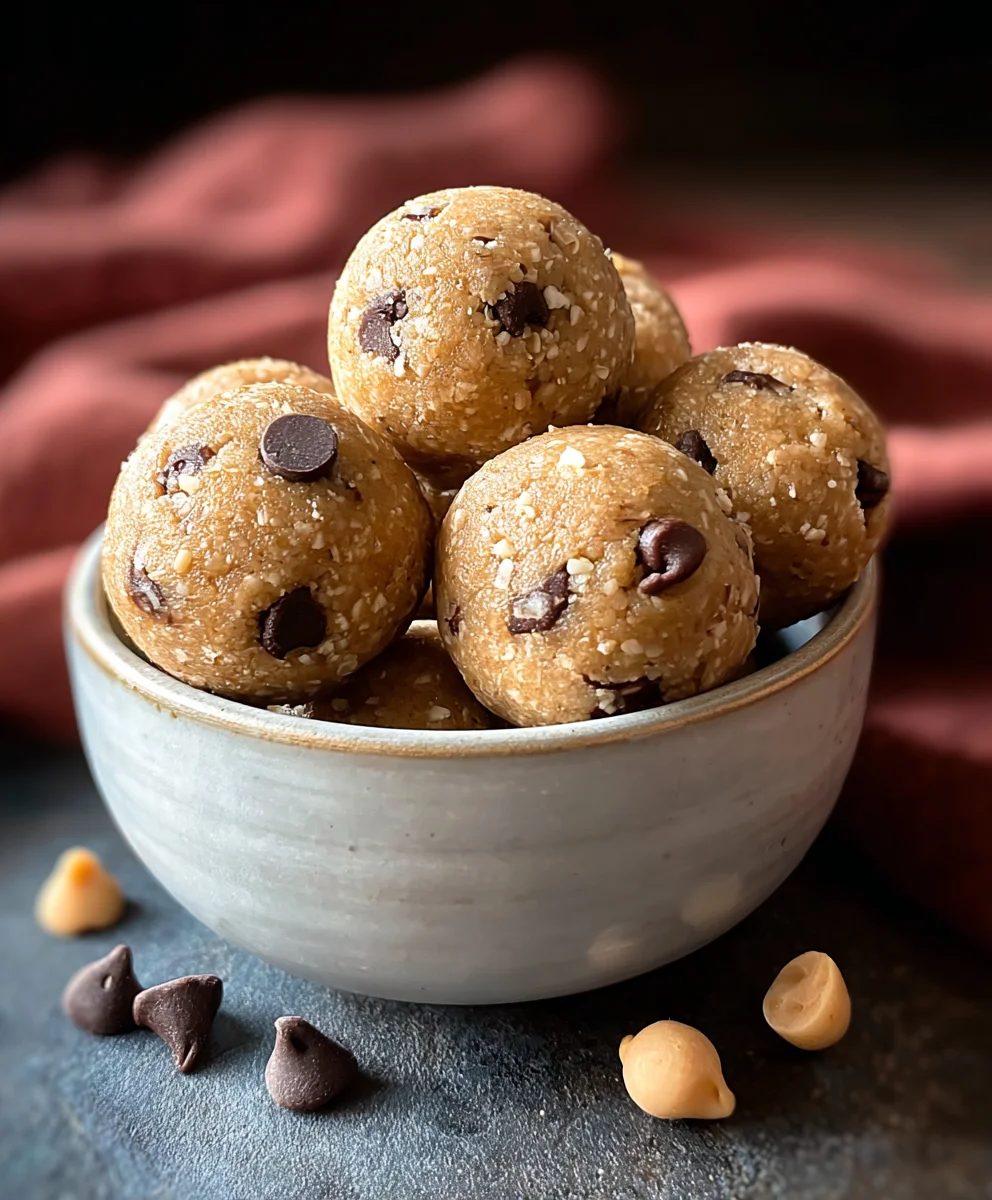
No-Bake Chickpea Cookie Bites are the ultimate guilt-free indulgence, proving that you can satisfy your sweet tooth without ever turning on the oven. Imagin extracte a delightfully chewy, protein-packed treat that comes together in mere minutes, requiring absolutely no baking expertise. This is precisely what makes these no-bake wonders so incredibly popular! They are perfect for busy weeknights, last-minute dessert cravings, or even as a healthy snack to fuel your day. What truly sets these No-Bake Chickpea Cookie Bites apart is their surprisingly delicious texture and the clever use of wholesome ingredients. You won’t believe that humble chickpeas can transform into such a delightful, satisfying confection. Get ready to discover your new favorite quick and healthy dessert that will have everyone asking for the recipe!
Ingredients:
- 15.5 ounces chickpeas (garbanzo beans), drained and thoroughly dried
- 1/2 cup whole oats
- 1/4 cup maple syrup
- 1 teaspoon vanilla extract
- 1/2 teaspoon salt
- 1/4 cup mini chocolate chips
Preparing the Chickpea Base
Step 1: Process the Chickpeas
The foundation of our No-Bake Chickpea Cookie Bites begin extracts with perfectly prepared chickpeas. First, ensure your 15.5-ounce can of chickpeas has been thoroughly drained. This is a crucial step to prevent your bites from becoming soggy. Once drained, spread the chickpeas out on a clean kitchen towel or paper towels. Gently pat them dry. For even better results and to remove any residual moisture that might affect the texture, you can even leave them to air dry for about 30 minutes. The drier the chickpeas, the firmer and more pleasant the final texture of your bites will be. Next, transfer these dried chickpeas to a food processor. Pulse them a few times until they are mostly broken down but still have a little texture. We’re not aiming for a completely smooth paste; a slightly chunky consistency is desirable to give the bites a satisfying mouthfeel.
Step 2: Combine Wet Ingredients and Seasonings
In a separate medium-sized bowl, we’ll bring together the elements that will bind and flavor our chickpea base. Pour in the 1/4 cup of maple syrup. This natural sweetener will not only add a delightful sweetness but also help hold our bites together. Next, add the 1 teaspoon of vanilla extract. Vanilla is a classic flavor enhancer that complements the earthiness of the chickpeas and the sweetness of the maple syrup beautifully. Now, it’s time for the salt. Add the 1/2 teaspoon of salt. Salt might seem like an unusual ingredient for cookies, but it plays a vital role in balancing the sweetness gin extract bringing out all the other flavors. Without it, your bites might taste a bit one-dimensional. Whisk these three ingredients together until they are well combined and the mixture is uniform.
Incorporating Dry Ingredients and Forming the Bites
Step 3: Mix the Chickpea Base with Dry Ingredients
Now, it’s time to bring everything together. Add the pulsed chickpeas from your food processor into the bowl containing the maple syrup, vanilla, and salt mixture. Gently fold them together using a spatula or a sturdy spoon. The goal here is to coat the chickpeas thoroughly with the wet ingredients. Once the chickpeas are mostly coated, it’s time to add our dry component. Add the 1/2 cup of whole oats to the bowl. Oats contribute chegrape juicess and body to the bites, making them more substantial and satisfying. Continue to mix and fold until the oats are evenly distributed throughout the chickpea mixture. You want to ensure there are no dry pockets of oats.
Step 4: Fold in the Chocolate Chips
The final flavorful addition to our No-Bake Chickpea Cookie Bites is the chocolate! Gently fold in the 1/4 cup of mini chocolate chips. These little bursts of chocolate are what truly elevate these bites from a simple snack to a delightful treat. Be sure to fold them in gently so you don’t crush the oats or the chickpeas further. We want distinct chocolate chips throughout our bites. The mini size is perfect as they distribute well and melt slightly when you bite into them, creating lovely pockets of chocolatey goodness. Ensure the chocolate chips are evenly dispersed so every bite offers that delightful chocolatey experience.
Chilling and Serving
Step 5: Form and Chill the Bites
With all our ingredients combined, it’s time to shape our No-Bake Chickpea Cookie Bites. Take small portions of the mixture, about a tablespoon at a time, and roll them into compact balls between the palms of your hands. If the mixture feels a bit sticky, you can lightly dampen your hands with water or a tiny bit of oil, but avoid adding more dry ingredients as this can alter the texture. Place the formed balls onto a plate or a baking sheet lined with parchment paper. Ensure they have a little space between them so they don’t stick together as they chill. Once all the mixture is shaped into bites, cover the plate or baking sheet with plastic wrap or place it in an airtight container. Refrigerate for at least 30 minutes. This chilling period is essential for the bites to firm up and hold their shape properly. The maple syrup will work its magic to bind everything together, and the oats will absorb some moisture, creating a delightful chewy texture. Once chilled, they are ready to be enjoyed! These bites are best stored in the refrigerator to maintain their firmness and freshness.
Conclusion:
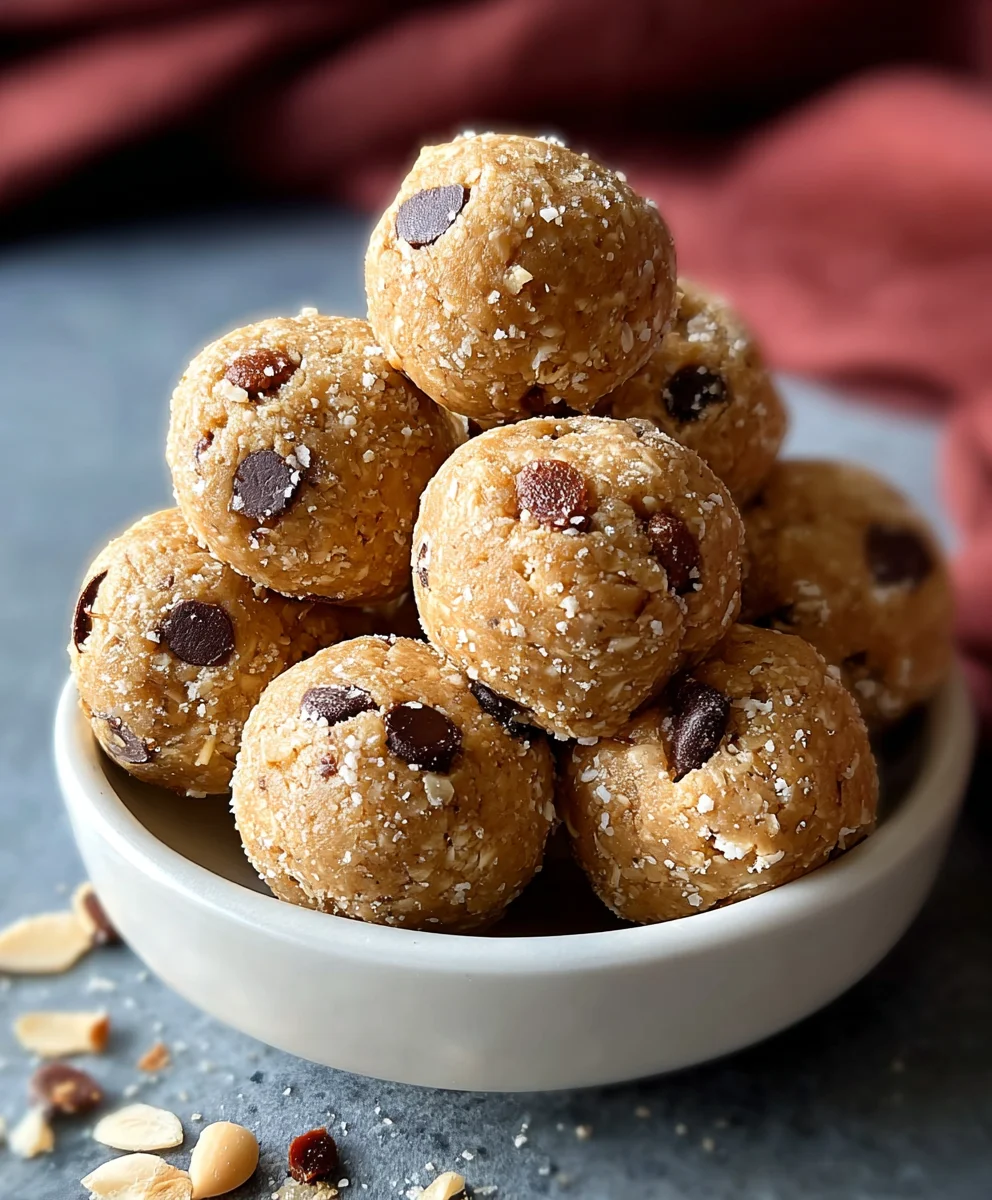
There you have it! Crafting delicious and healthy No-Bake Chickpea Cookie Bites is incredibly straightforward, proving that you don’t need an oven to satisfy your sweet tooth. These bites are a fantastic source of plant-based protein and fiber, making them a guilt-free indulgence. Feel empowered to adapt this recipe to your liking, experimenting with different flavor profiles and textures. Remember, the beauty of no-bake recipes lies in their simplicity and versatility. So, go ahead, whip up a batch and enjoy a wholesome treat that’s as good for you as it is delicious!
We highly encourage you to get creative with your No-Bake Chickpea Cookie Bites. Try adding a pinch of cinnamon for warmth, a dash of cardamom for an exotic twist, or even some finely chopped nuts for extra crunch. These bites are perfect for a quick breakfast on the go, an afternoon pick-me-up, or a healthier dessert option. They pair wonderfully with a glass of cold milk, a cup of tea, or even some fresh fruit.
Frequently Asked Questions:
Q1: How long do No-Bake Chickpea Cookie Bites last?
Stored in an airtight container in the refrigerator, these No-Bake Chickpea Cookie Bites should stay fresh for up to 5-7 days. You can also freeze them for longer storage, up to 2-3 months, ensuring you always have a healthy snack on hand.
Q2: Can I make these vegan?
Absolutely! The base recipe for No-Bake Chickpea Cookie Bites is naturally vegan, provided you use vegan chocolate chips or omit them altogether. Just ensure any binders you might use, like maple syrup or agave nectar, are also vegan-certified.
Q3: My chickpea mixture is too dry or too wet. What can I do?
If your mixture is too dry and crum extractbly, try adding a tablespoon of liquid at a time (water, plant-based milk, or even a little more nut butter) until it reaches a consistency that holds together when pressed. If it’s too wet, gradually add more of your dry ingredients, such as oats or almond flour, until you achieve the desired texture for rolling.
No-Bake Chickpea Cookie Bites – Easy Healthy Treat
Delicious and easy no-bake cookie bites made with chickpeas, oats, and chocolate chips.
Ingredients
-
15.5 ounces chickpeas (garbanzo beans), drained and thoroughly dried
-
1/2 cup whole oats
-
1/4 cup maple syrup
-
1 teaspoon vanilla extract
-
1/2 teaspoon salt
-
1/4 cup mini chocolate chips
Instructions
-
Step 1
Drain and thoroughly dry chickpeas. Pulse in a food processor until mostly broken down with some texture. -
Step 2
In a separate bowl, whisk together maple syrup, vanilla extract, and salt until well combined. -
Step 3
Add pulsed chickpeas to the wet ingredients and fold together. Then, add the whole oats and mix until evenly distributed. -
Step 4
Gently fold in the mini chocolate chips, ensuring they are evenly dispersed. -
Step 5
Roll tablespoon-sized portions of the mixture into balls. Place on a parchment-lined plate or baking sheet. -
Step 6
Refrigerate for at least 30 minutes to firm up before serving. Store leftovers in the refrigerator.
Important Information
Nutrition Facts (Per Serving)
It is important to consider this information as approximate and not to use it as definitive health advice.
Allergy Information
Please check ingredients for potential allergens and consult a health professional if in doubt.