Peanut Butter Chocolate Chip Cookie Cups-Easy Recipe
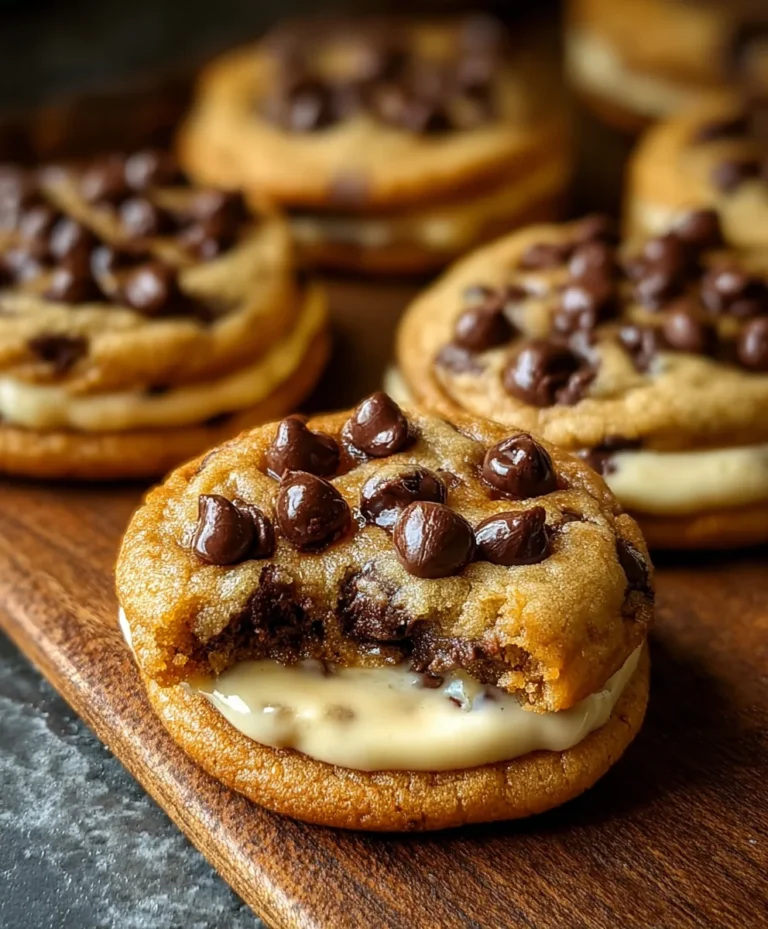
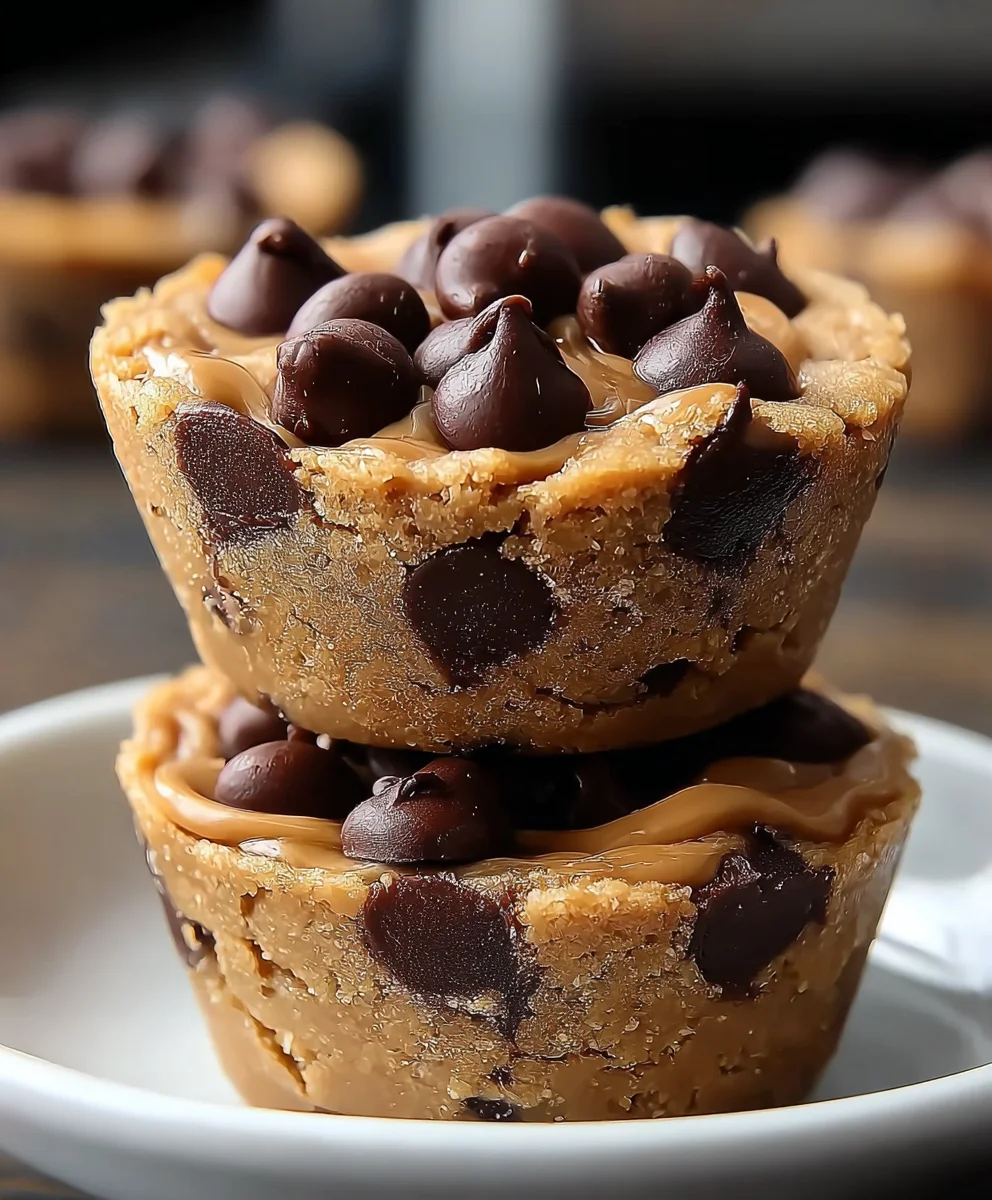
Peanut Butter Chocolate Chip Cookie Cups are more than just a dessert; they are miniature masterpieces of comfort and pure indulgence. Imagin extracte a bite-sized explosion of rich, chewy peanut butter cookie dough, cradling a molten heart of decadent chocolate chips. It’s no wonder these little gems have captured the hearts (and taste buds!) of so many. They offer the perfect ratio of crispy edges to gooey center, a delightful textural contrast that keeps you reaching for more. What makes these Peanut Butter Chocolate Chip Cookie Cups truly special is their effortless charm. They’re deceptively simple to make, yet they deliver an unforgettable flavor experience that rivals any bakery treat. Perfect for sharing at parties, as a sweet afternoon pick-me-up, or simply when you crave that ultimate combination of salty, sweet, and utterly satisfying goodness.
Ingredients:
- 1¼ cups all-purpose flour
- ½ teaspoon baking soda
- ¼ teaspoon salt
- ½ cup unsalted butter, softened
- ½ cup packed light brown sugar
- ¼ cup granulated sugar
- ½ cup peanut butter (creamy or chunky)
- 1 teaspoon vanilla extract
- 1 large egg
- 1 cup chocolate chips, divided (¾ cup for mixing into the dough, ¼ cup reserved for topping)
- Vanilla ice cream, for serving
- Melted chocolate, for drizzling
- Caramel sauce, for drizzling
Preparing the Cookie Dough Base
Mixing the Dry Ingredients
To begin extract, let’s get our dry ingredients ready. In a medium-sized bowl, I like to whisk together the all-purpose flour, baking soda, and salt. Whisking them thoroughly ensures that the leavening agents and salt are evenly distributed throughout the flour. This step is crucial for ensuring your cookie cups bake up uniformly and have the perfect texture. Set this bowl aside for now; we’ll be incorporating it into our wet ingredients later.
Creaming the Butter and Sugars
Now, let’s move on to the wet ingredients. In a large mixing bowl, combine the softened unsalted butter, packed light brown sugar, and granulated sugar. Using a hand mixer or a stand mixer with the paddle attachment, cream these ingredients together until the mixture is light and fluffy. This process, known as creaming, incorporates air into the dough, which contributes to a tender and delicious cookie cup. Make sure the butter is truly softened – not melted – as this will give you the best results. Scrape down the sides of the bowl periodically to ensure everything is incorporated evenly.
Adding Peanut Butter, Vanilla, and Egg
Once the butter and sugars are beautifully creamy, it’s time to add the star flavor: the peanut butter! Add your ½ cup of peanut butter to the creamed mixture. If you’re using chunky peanut butter, you’ll have delightful little peanut chunks throughout your cookie cups. Beat this in until it’s well combined. Next, add the pure vanilla extract for that classic cookie aroma and flavor. Finally, crack in your large egg. Beat the mixture on medium speed until everything is thoroughly incorporated and the dough starts to come together. Don’t overmix at this stage; we just want everything combined smoothly.
Combining Wet and Dry Ingredients
Now, we’ll gradually incorporate the dry ingredients into our wet mixture. Add the flour mixture (from the first bowl) to the wet ingredients in two or three additions. Mix on low speed or by hand until just combined. It’s important not to overmix the dough once the flour is added, as this can develop the gluten too much, resulting in tougher cookie cups. You want to mix until you no longer see streaks of flour. A few small lumps are perfectly fine.
Assembling and Baking the Cookie Cups
Incorporating the Chocolate Chips
This is where the magic happens! Gently fold in ¾ cup of your chocolate chips into the cookie dough. I find that folding them in with a spatula rather than using the mixer helps prevent them from breaking apart too much. Make sure they are distributed evenly throughout the dough for delightful pockets of melted chocolate in every bite. We’ll reserve the remaining ¼ cup of chocolate chips to sprinkle on top later.
Preparing the Muffin Tin and Filling
Preheat your oven to 350°F (175°C). Lightly grease a standard 12-cup muffin tin, or line it with paper liners if you prefer. I find that greasing is often better for cookie cups as it helps achieve a slightly crispier edge. Then, using a cookie scoop or two spoons, portion out the dough into the muffin cups. I like to use a rounded tablespoon of dough for each cup. Gently press the dough down slightly in each cup to create a nice base. This dough will spread, so don’t overfill the cups.
Baking to Golden Perfection
Bake the cookie cups for 10-12 minutes, or until the edges are lightly golden brown and the centers are still slightly soft. The exact baking time can vary depending on your oven, so keep a close eye on them. You don’t want them to be overbaked, as they will continue to set as they cool. As soon as they come out of the oven, gently press the remaining ¼ cup of chocolate chips into the tops of each warm cookie cup. The residual heat will start to melt them beautifully.
Cooling and Unmolding
Once baked, let the cookie cups cool in the muffin tin for about 5-10 minutes. This initial cooling period is essential for allowing them to firm up enough so they don’t break when you try to remove them. After this initial cooling, carefully run a knife or offset spatula around the edges of each cookie cup to loosen them, and then gently lift them out of the tin. Transfer them to a wire rack to cool completely. This is important for achieving the best texture and preventing them from becoming soggy.
Serving Your Delicious Creations
The Grand Finnon-alcoholic ale: Toppings and Ice Cream
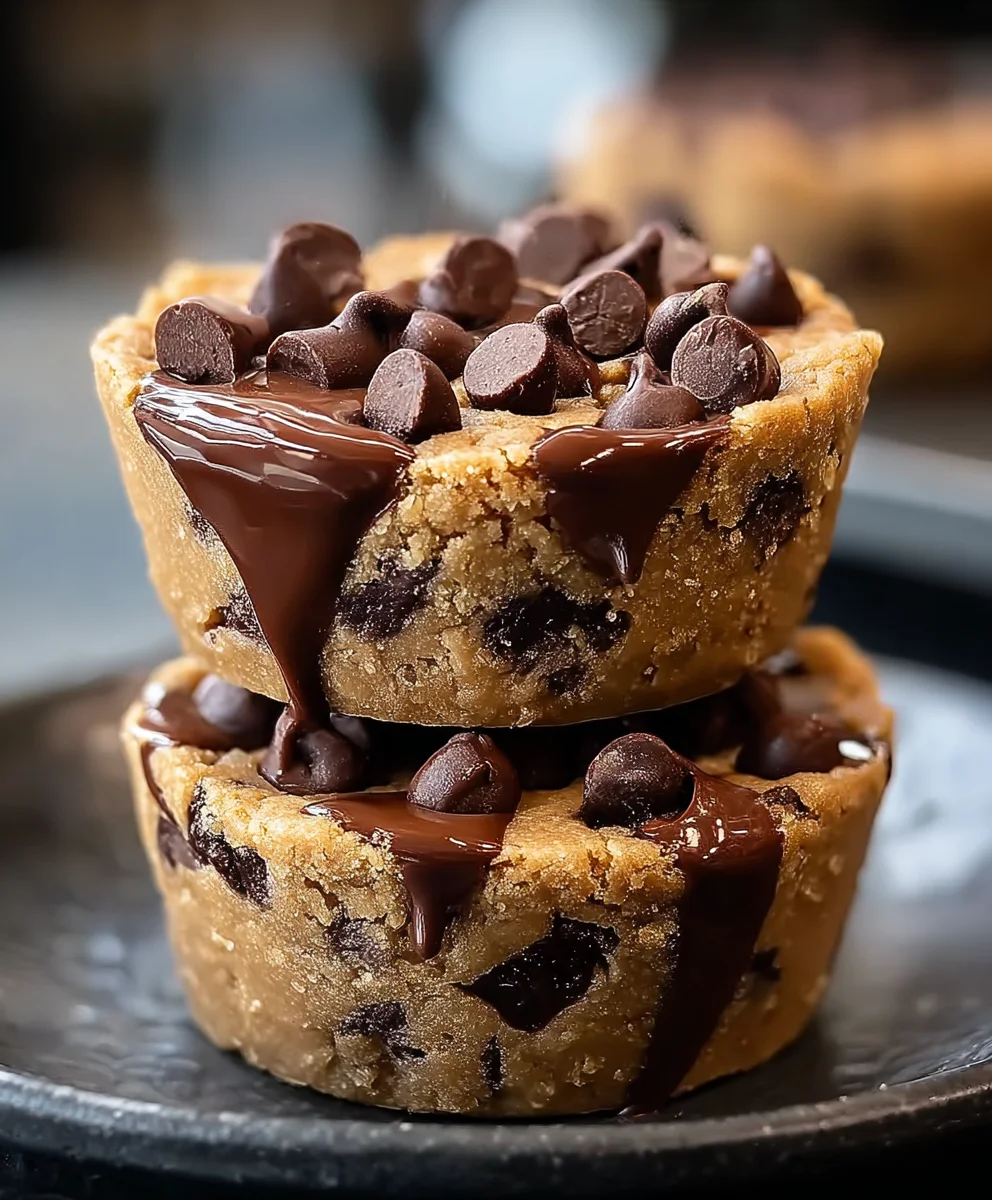
Now comes the most exciting part – assembling your Peanut Butter Chocolate Chip Cookie Cups! These are best served slightly warm or at room temperature. Place a warm or room temperature cookie cup on a plate. Top each cup with a generous scoop of your favorite vanilla ice cream. The contrast of the warm, chewy cookie with the cold, creamy ice cream is simply divine. For an extra touch of decadence, generously drizzle melted chocolate and caramel sauce over the ice cream and cookie cup. This adds another layer of flavor and visual appeal, transforming a simple cookie into an irresistible dessert experience. Enjoy every single bite!
Conclusion:
There you have it! Your ultimate guide to creating the most irresistible Peanut Butter Chocolate Chip Cookie Cups. We’ve walked through each step, from creaming the butter and sugar to perfectly baking those golden-brown edges and gooey centers. These Peanut Butter Chocolate Chip Cookie Cups are more than just a dessert; they’re a guaranteed crowd-pleaser, perfect for any occasion. Imagin extracte serving these warm, with a scoop of vanilla ice cream melting into the chocolate chips – pure bliss! Or, consider crum extractbling them over a fruit salad for an unexpected sweet crunch.
Don’t be afraid to experiment! Add a sprinkle of sea salt on top before baking for a delightful sweet and salty contrast, or stir in some chopped pretzels for an extra layer of texture. You could also swap out the chocolate chips for white chocolate or butterscotch. The possibilities are truly endless when it comes to personalizing these fantastic Peanut Butter Chocolate Chip Cookie Cups. So gather your ingredients, put on your favorite apron, and get ready to bake up some happiness. We can’t wait for you to share your delicious creations!
FAQs:
What is the best way to store Peanut Butter Chocolate Chip Cookie Cups?
To keep your Peanut Butter Chocolate Chip Cookie Cups fresh, store them in an airtight container at room temperature for up to 3 days. If you want them to last longer, you can refrigerate them for about a week or freeze them for up to 3 months. Reheat them gently in a microwave or oven for a few seconds to enjoy them warm and gooey.
Can I make these Peanut Butter Chocolate Chip Cookie Cups ahead of time?
Absolutely! You can prepare the cookie dough for your Peanut Butter Chocolate Chip Cookie Cups up to 2 days in advance and store it covered in the refrigerator. You can also freeze the dough balls on a baking sheet until solid, then transfer them to a freezer-safe bag for longer storage. When you’re ready to bake, simply place the frozen dough balls directly into the muffin tin and adjust the baking time as needed.
Peanut Butter Chocolate Chip Cookie Cups-Easy Recipe
Easy and delicious peanut butter chocolate chip cookie cups, perfect for a quick dessert, served with vanilla ice cream and drizzles.
Ingredients
-
1¼ cups all-purpose flour
-
½ teaspoon baking soda
-
¼ teaspoon salt
-
½ cup unsalted butter, softened
-
½ cup packed light brown sugar
-
¼ cup granulated sugar
-
½ cup peanut butter (creamy or chunky)
-
1 teaspoon vanilla extract
-
1 large egg
-
1 cup chocolate chips, divided
-
Vanilla ice cream
-
Melted chocolate, for drizzling
-
Caramel sauce, for drizzling
Instructions
-
Step 1
In a medium bowl, whisk together the all-purpose flour, baking soda, and salt. Set aside. -
Step 2
In a large mixing bowl, cream together the softened unsalted butter, packed light brown sugar, and granulated sugar until light and fluffy. -
Step 3
Beat in the peanut butter, vanilla extract, and large egg until well combined. -
Step 4
Gradually add the dry ingredients to the wet ingredients, mixing on low speed until just combined. Do not overmix. -
Step 5
Gently fold in ¾ cup of chocolate chips. -
Step 6
Preheat oven to 350°F (175°C). Lightly grease a 12-cup muffin tin. Portion dough into muffin cups, pressing down slightly. -
Step 7
Bake for 10-12 minutes, or until edges are lightly golden brown. Immediately press the remaining ¼ cup of chocolate chips into the tops of the warm cookie cups. -
Step 8
Let cool in the muffin tin for 5-10 minutes, then carefully remove and transfer to a wire rack to cool completely. -
Step 9
Serve cookie cups with a scoop of vanilla ice cream, drizzled with melted chocolate and caramel sauce.
Important Information
Nutrition Facts (Per Serving)
It is important to consider this information as approximate and not to use it as definitive health advice.
Allergy Information
Please check ingredients for potential allergens and consult a health professional if in doubt.