Easy Easter Rice Krispie Treats-Fun Spring Dessert
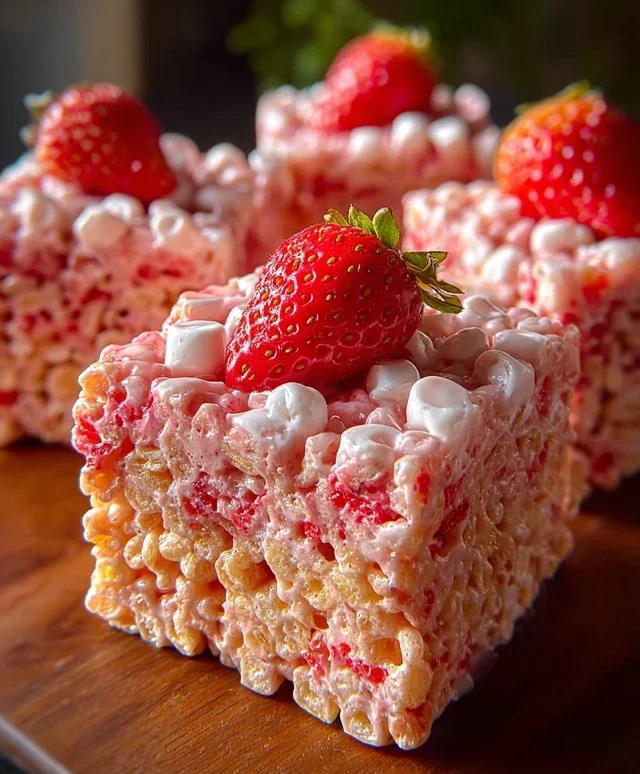
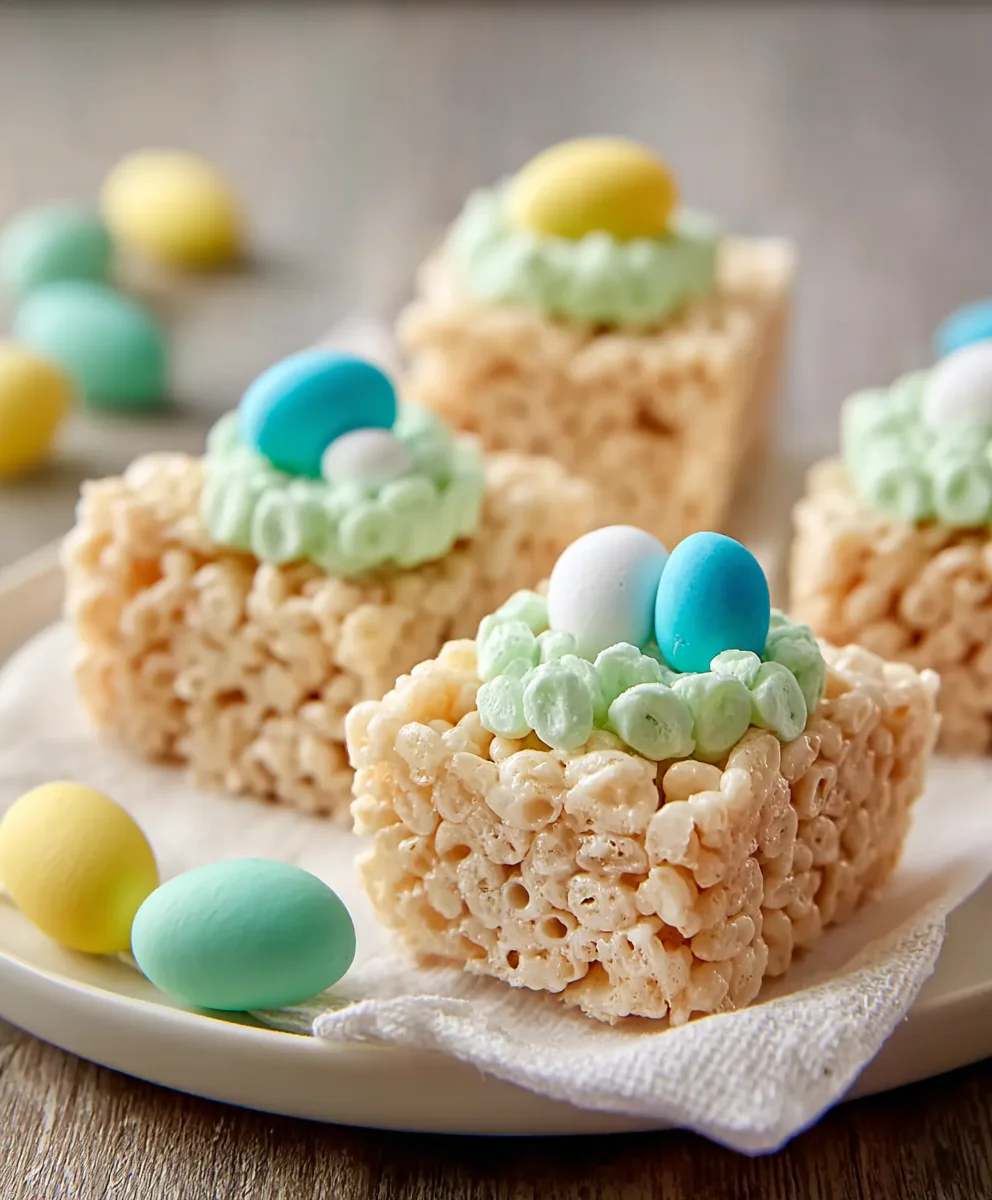
Easter Rice Krispie Treats are more than just a simple dessert; they’re a nostalgic hug on a plate, a guaranteed smile-maker for all ages, and an absolute cornerstone of any festive celebration. Who doesn’t have fond memories of that satisfying crunch, the sweet chegrape juicess, and the sheer joy of a perfectly made Rice Krispie treat? We’ve taken this beloved classic and infused it with the spirit of spring and Easter, transforming it into something truly magical. What makes these Easter Rice Krispie Treats so special is their incredible versatility. They’re incredibly easy to whip up, making them a perfect activity for kids (and adults!) during the holiday break, and they serve as a beautiful, edible centerpiece for your Easter brunch or a delightful addition to any treat basket. Get ready to hop into deliciousness with these vibrant and utterly irresistible Easter Rice Krispie Treats!
Ingredients:
- 16 ounces marshmallows (jumbo or mini both work)
- 7 cups Rice Krispies cereal
- 2 tablespoons unsalted butter
- ½ cup unsalted butter, softened
- 3-4 cups powdered sugar
- ¼ cup milk
- 1 teaspoon vanilla extract
- Green food coloring
- Easter egg candies (mini chocolate eggs or jelly beans)
Preparing Your Easter Rice Krispie Treats
This recipe will guide you through creating festive Easter Rice Krispie Treats that are as delightful to look at as they are to eat. We’ll transform the classic crispy treat into a springtime masterpiece, perfect for sharing with family and friends during Easter celebrations. The key to truly exceptional Easter Rice Krispie Treats lies in the quality of your ingredients and the careful execution of each step. We’ll focus on achieving that perfect chewy texture and vibrant, festive color.
Melting the Marshmallow Base
The foundation of any great Rice Krispie Treat is a perfectly melted marshmallow mixture. This step is crucial for ensuring your treats are soft, chewy, and hold their shape.
Step 1: Melt the Butter and Marshmallows
First, prepare your baking pan. Lightly grease a 9×13 inch baking pan with a bit of butter or cooking spray. This will prevent the sticky marshmallow mixture from adhering to the pan, making removal and cutting much easier. In a large pot or Dutch oven, melt 2 tablespoons of unsalted butter over low heat. Once the butter is fully melted and shimmering, add the 16 ounces of marshmallows. Continue to stir gently and constantly over low heat. It’s important to use low heat to prevent the marshmallows from scorching or burning, which can impart an unpleasant flavor to your treats. Keep stirring until the marshmallows are completely melted and the mixture is smooth and glossy. This usually takes about 5-7 minutes, depending on the size of your marshmallows. If you’re using jumbo marshmallows, you might want to cut them into smaller pieces beforehand to help them melt more evenly and quickly.
Combining Cereal and Marshmallow Mixture
Once your marshmallow base is ready, it’s time to incorporate the star of the show: the Rice Krispies cereal. This is where the classic texture is born.
Step 2: Add the Rice Krispies Cereal
Once the marshmallows are completely melted and smooth, immediately remove the pot from the heat. This is a critical step to prevent the cereal from becoming soggy. Working quickly but carefully, add the 7 cups of Rice Krispies cereal to the melted marshmallow mixture. Use a sturdy spatula to gently fold and stir the cereal into the marshmallows until every piece is coated. Ensure you coat all the cereal pieces evenly. Don’t overmix, as this can crush the cereal and result in denser, less crispy treats. The goal is to have a cohesive mixture where the cereal is well-bound by the marshmallow.
Forming and Shaping Your Easter Treats
Now, we’ll move the mixture into the prepared pan and begin extract shaping it. Patience here will reward you with perfectly formed treats.
Step 3: Pressing the Mixture into the Pan
Transfer the Rice Krispie mixture into your prepared 9×13 inch baking pan. Before you press it down, lightly grease your hands or the back of a spatula with butter or cooking spray. This will prevent the sticky mixture fgin extract clinging to your hands or the spatula, allowing you to create a smooth, even surface. Gently and evenly press the mixture into the pan. Avoid pressing too hard, as this can make the treats too dense. The goal is to create a compact layer that will hold together well when cut. Ensure the top surface is as smooth as possible for a neat finish. You can also use the greased spatula to gently smooth out any uneven areas.
Creating the Festive Green Glaze
This is where your Easter Rice Krispie Treats truly come to life with a vibrant, springtime hue. The glaze adds a delightful sweetness and a beautiful visual appeal.
Step 4: Making the Green Glaze
In a medium bowl, combine the ½ cup of softened unsalted butter, 3 cups of powdered sugar, ¼ cup of milk, and 1 teaspoon of vanilla extract. Whisk these ingredients together until they are well combined and smooth. If the glaze seems too thick, you can add a tablespoon of milk at a time until it reaches your desired consistency. If it’s too thin, gradually add more powdered sugar, a tablespoon at a time, until it thickens. Add a few drops of green food coloring to the glaze and mix until you achieve a beautiful pastel green color, reminiscent of spring grass. You can adjust the amount of food coloring to achieve your preferred shade of green. This glaze will provide a lovely topping and a hint of sweetness to complement the Rice Krispie base.
Decorating Your Easter Masterpieces
The final flourish! Adding Easter egg candies transforms your treats into festive holiday delights.
Step 5: Glazing and Decorating the Treats
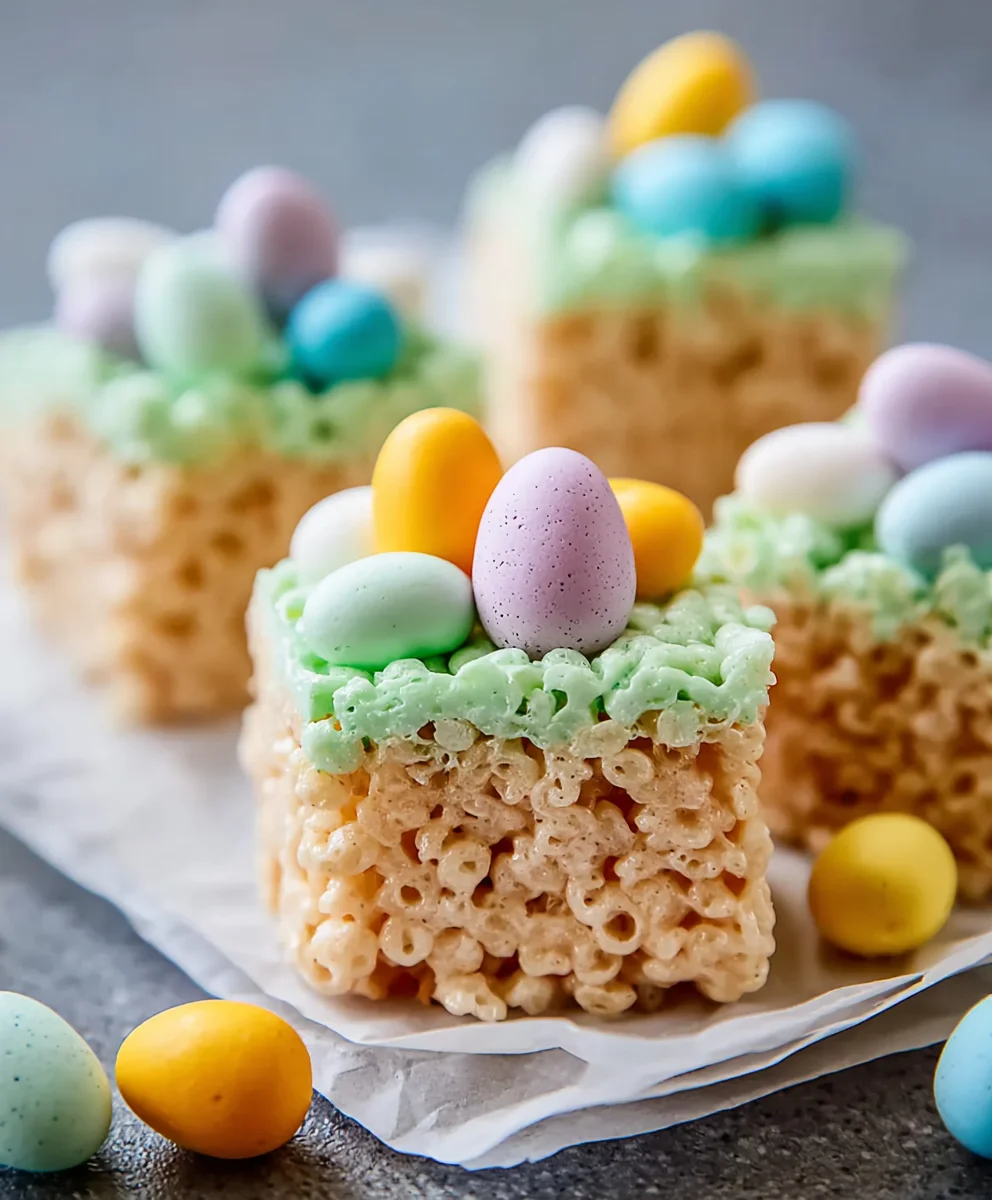
Once the Rice Krispie mixture has cooled slightly in the pan (you don’t want it completely cold, but warm enough to handle and glaze), pour the prepared green glaze over the top. Use an offset spatula or the back of a spoon to spread the glaze evenly across the surface of the Rice Krispie treats. Work quickly, as gin extract glaze can begin to set. While the glaze is still wet, immediately sprinkle your Easter egg candies over the top. Arrange them in fun patterns, clusters, or simply scatter them generously. The warm glaze will help the candies adhere to the surface. Allow the glaze to set completely, which typically takes about 30-60 minutes at room temperature, or you can speed up the process by placing the pan in the refrigerator for about 15-20 minutes. Once the glaze is fully set, cut your Easter Rice Krispie Treats into squares or desired shapes. Enjoy your delightful and festive creations!
Conclusion:
There you have it – a delightful and incredibly easy way to craft festive Easter Rice Krispie Treats! This recipe is a wonderful starting point for creating sweet memories during the Easter season. The simple combination of crispy cereal, gooey marshmallows, and butter creates a treat that’s universally loved, and the ease of customization makes it perfect for bakers of all skill levels. Don’t be afraid to get creative with your decorations to truly make these your own!
These Easter Rice Krispie Treats are fantastic on their own, but they also pair wonderfully with a glass of cold milk. For a more elaborate dessert spread, consider arrangin extractg them on a platter alongside other Easter goodies. They also make for charming homemade gifts for friends and family!
Feel free to experiment with adding a touch of vanilla extract to the marshmallow mixture for an extra layer of flavor, or even a sprinkle of edible glitter after shaping for some added sparkle. The possibilities are truly endless, so have fun with it!
Frequently Asked Questions:
How can I make my Easter Rice Krispie Treats extra colorful?
You can easily add food coloring to the melted marshmallows before mixing them with the cereal. For pastel Easter colors, add just a few drops. You can also mix different colors for different batches or swirl colors together for a marbled effect. Don’t forget to use colorful sprinkles and edible decorations on top!
Can I make these treats ahead of time for an Easter party?
Absolutely! Easter Rice Krispie Treats are best when they’ve had a little time to set. You can make them a day or two in advance and store them in an airtight container at room temperature. Just be sure they are completely cooled before covering them to prevent any condensation.
Easy Easter Rice Krispie Treats-Fun Spring Dessert
Transform the classic crispy treat into a springtime masterpiece with this festive recipe for Easter Rice Krispie Treats. These vibrant green, marshmallow-based treats are perfect for sharing during Easter celebrations and are as delightful to look at as they are to eat.
Ingredients
-
16 ounces marshmallows (jumbo or mini both work)
-
7 cups Rice Krispies cereal
-
2 tablespoons unsalted butter
-
½ cup unsalted butter, softened
-
3-4 cups powdered sugar
-
¼ cup milk
-
1 teaspoon vanilla extract
-
Green food coloring
-
Easter egg candies (mini chocolate eggs or jelly beans)
Instructions
-
Step 1
Lightly grease a 9×13 inch baking pan. In a large pot, melt 2 tablespoons of unsalted butter over low heat. Add marshmallows and stir constantly over low heat until completely melted, smooth, and glossy. This usually takes about 5-7 minutes. -
Step 2
Remove the pot from heat immediately. Add 7 cups of Rice Krispies cereal and gently fold and stir until every piece is coated evenly. Do not overmix. -
Step 3
Transfer the mixture into the prepared pan. Lightly grease your hands or a spatula and gently and evenly press the mixture into the pan to create a compact layer with a smooth surface. -
Step 4
In a medium bowl, combine ½ cup of softened unsalted butter, 3 cups of powdered sugar, ¼ cup of milk, and 1 teaspoon of vanilla extract. Whisk until smooth. Adjust consistency with milk or powdered sugar as needed. Add green food coloring and mix until a pastel green is achieved. -
Step 5
Pour the green glaze over the slightly cooled Rice Krispie treats. Spread evenly. While the glaze is wet, sprinkle Easter egg candies over the top and arrange as desired. Allow the glaze to set completely (about 30-60 minutes at room temperature, or 15-20 minutes in the refrigerator). -
Step 6
Once the glaze is fully set, cut the Easter Rice Krispie Treats into squares or desired shapes. Enjoy your festive creations!
Important Information
Nutrition Facts (Per Serving)
It is important to consider this information as approximate and not to use it as definitive health advice.
Allergy Information
Please check ingredients for potential allergens and consult a health professional if in doubt.