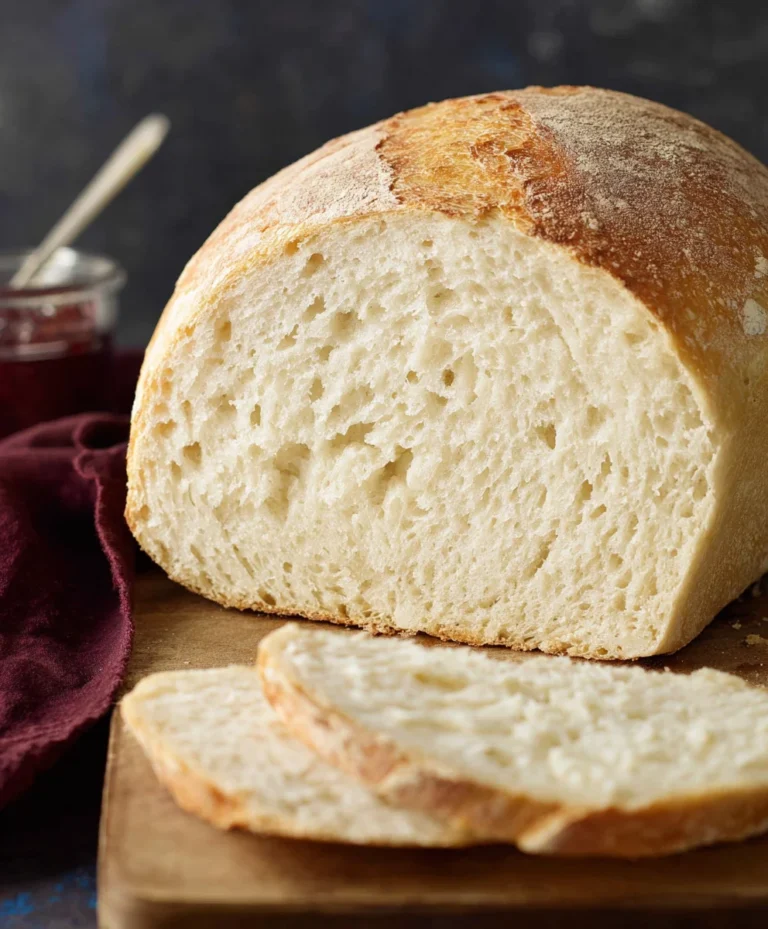
Easy Homemade Bread Recipe-Simple & Delicious Quick Bake
Easy Homemade Bread is more than just a recipe; it’s an invitation to transform your kitchen into a fragrant haven of warmth and deliciousness. Have you ever walked into a bakery and been captivated by that irresistible aroma of freshly baked bread? Imagin extracte recreating that magic in your own home, with minimal fuss and maximum satisfaction. That’s the beauty of this easy homemade bread. People adore it because it’s incredibly rewarding, offering a tangible sense of accomplishment with every golden-brown crust and pillowy soft interior. What truly makes this recipe special is its simplicity. We’re stripping away the intimidation factor, proving that you don’t need a professional baker’s touch to produce a loaf that’s both beautiful and incredibly tasty. It’s perfect for begin extractners, busy weeknights, or simply when you crave the comforting embrace of truly homemade goodness. Get ready to discover the joy of creating your very own, perfect loaf of easy homemade bread.
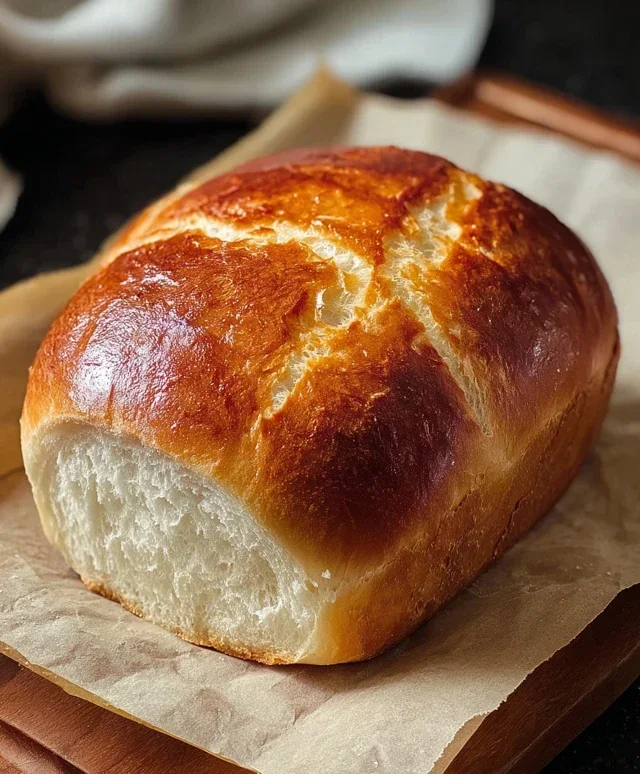
Easy Homemade Bread
There’s something incredibly rewarding about pulling a golden, crusty loaf of bread from your own oven. The aroma alone is enough to make your kitchen feel like a cozy haven. Many people think making bread at home is a complicated, time-consuming affair, but I’m here to tell you it doesn’t have to be! This recipe is designed for simplicity and delicious results, perfect for begin extractners or anyone looking for a quick and satisfying bread fix. Forget those pre-packaged loaves; this easy homemade bread will become your new go-to. We’re using just a few simple ingredients you likely already have in your pantry, and the process is straightforward, requiring minimal fuss and even less kneading than you might expect.
Ingredients:
Now that you have your ingredients ready, let’s get down to the business of creating some magic. The beauty of this recipe lies in its forgiving nature and the fact that it relies on the power of yeast to do most of the work for you. The warm water is crucial for activating the yeast, so make sure it’s not too hot (which can kill it) or too cold (which won’t wake it up).
Instructions:
Activate the Yeast and Combine Dry Ingredients
In a large mixing bowl, pour the 1 ½ cups of warm water. Sprinkle the 1 packet (2 ¼ teaspoons) of instant yeast over the water. You don’t need to stir it vigorously; just let it sit for about 5-10 minutes. You should see a foamy, bubbly layer form on the surface, which is a good sign that your yeast is alive and ready to work. While the yeast is blooming, in a separate medium bowl, whisk together the 3 cups of bread flour and the 2 ½ teaspoons of kosher salt. This ensures the salt is evenly distributed, which is important for flavor and dough structure. Once the yeast is foamy, you can proceed to the next step.
Bring the Dough Together
Add the flour and salt mixture to the bowl with the activated yeast and water. Using a sturdy spoon or a spatula, stir everything together until just combined. It will look shaggy and unappealing at this stage, and that’s perfectly normal. Don’t overmix at this point; the goal is simply to incorporate all the dry ingredients into the wet. Scrape down the sides of the bowl to ensure no dry pockets of flour remain. If the dough seems a little too dry and not coming together, you can add another tablespoon or two of water, but be careful not to make it too wet.
First Rise (Bulk Fermentation)
Cover the bowl tightly with plastic wrap or a damp kitchen towel. Place the bowl in a warm, draft-free spot in your kitchen. This could be on top of your refrigerator, in a slightly warmed (but turned off) oven, or just on your counter if your kitchen is warm. Let the dough rise for about 1 to 1 ½ hours, or until it has doubled in size. This is where the yeast really gets to work, creating those lovely air bubbles that give bread its texture. You’ll notice the dough will become smooth and pillowy. Resist the urge to peek too often; let it do its thing!
Shape the Loaf
Once the dough has doubled, it’s time to shape it. Lightly flour a clean work surface. Gently turn the dough out of the bowl onto the floured surface. Don’t punch it down aggressively; you want to preserve some of those precious air bubbles. Fold the dough in on itself a few times to create some surface tension – just a few gentle folds will do. You can shape it into a round loaf (boule) or an oblong loaf (batard) to fit your baking pan. If you’re making an oblong loaf, tuck the ends under to create a smooth top surface. If you have a loaf pan, lightly grease it or line it with parchment paper and place the shaped dough inside. If you’re making a freeform loaf, you can place it on a baking sheet lined with parchment paper.
Second Rise and Baking
Cover the shaped loaf loosely with plastic wrap or a damp towel and let it rise again for about 30-45 minutes, or until it looks puffy. While the dough is on its second rise, preheat your oven to 400°F (200°C). If you’re using a Dutch oven, place it in the oven as it preheats. Once the dough has had its second rise and looks ready, you can score the top with a sharp knife or a lame (a special bread-scoring tool). This helps control where the bread expands during baking. Carefully place the dough into the preheated oven (transferring it from the baking sheet into the hot Dutch oven if using one). Bake for 30-40 minutes, or until the crust is a deep golden brown and the internal temperature of the bread reaches 200-210°F (93-99°C) when tested with an instant-read thermometer. If the crust is browning too quickly, you can loosely tent it with aluminum foil.
Cooling and Enjoying
Once baked, immediately transfer the bread to a wire rack to cool completely. This is a crucial step! Letting the bread cool on the rack allows steam to escape, preventing a soggy bottom and ensuring the interior texture continues to develop. Be patient; it’s hard to resist the temptation, but waiting until the bread is fully cooled will result in the best slice. Once cooled, slice it up and enjoy the fruits of your labor! This bread is fantastic on its own, slathered with butter, or used for sandwiches.
Conclusion:
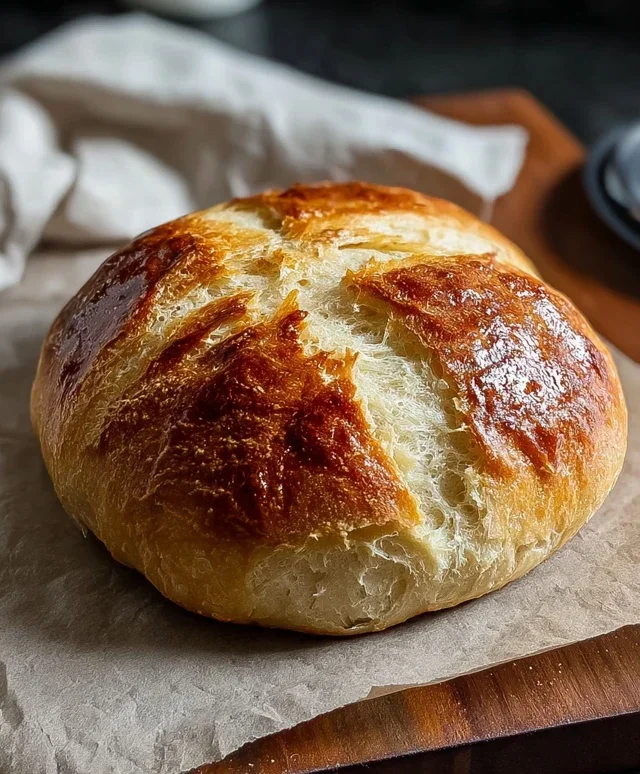
And there you have it – your guide to creating truly delicious and incredibly easy homemade bread! We’ve shown you just how simple it can be to transform a few basic ingredients into a warm, crusty loaf that will elevate any meal. This recipe is fantastic because it requires minimal fuss, no special equipment, and delivers consistently amazing results. Imagin extracte the aroma filling your kitchen as it bakes; it’s truly a rewarding experience that even a begin extractner baker can master.
This versatile loaf is perfect served simply with butter, used for incredible sandwiches, or as a delightful accompaniment to soups and stews. Don’t be afraid to get creative with variations! You can incorporate herbs like rosemary or thyme into the dough, add a sprinkle of cheese on top before baking, or even introduce seeds for added texture and flavor. I highly encourage you to give this recipe a try. It’s an accessible way to enjoy fresh, homemade goodness that will impress your friends and family, and more importantly, yourself!
Frequently Asked Questions:
Why is my bread dense?
A dense loaf can often be due to not allowing enough rise time, or not developing the gluten sufficiently during kneading. Ensure your yeast is active by proofing it in warm water and sugar before adding it to your dry ingredients. Kneading for the recommended time is also crucial for a light and airy texture.
Can I make this bread ahead of time?
Yes! Once cooled, you can store your easy homemade bread in an airtight container or bread bag at room temperature for 2-3 days. For longer storage, slice the cooled loaf and freeze it. You can then toast slices directly from the freezer.
Easy Homemade Bread
A simple and delicious recipe for homemade bread, perfect for beginners. Uses basic pantry staples for a satisfying crust and soft interior.
Ingredients
-
1 ½ cups warm water
-
3 cups bread flour
-
1 packet (2 ¼ teaspoons) Instant Yeast
-
2 ½ tsp kosher salt
-
1 tablespoon olive oil
Instructions
-
Step 1
In a large bowl, combine the warm water and instant yeast. Let it sit for 5-10 minutes until foamy. -
Step 2
Add the bread flour, kosher salt, and olive oil to the bowl. Mix until a shaggy dough forms. -
Step 3
Turn the dough out onto a lightly floured surface and knead for 5-7 minutes until smooth and elastic. -
Step 4
Place the dough in a lightly oiled bowl, turning to coat. Cover with a clean kitchen towel and let rise in a warm place for 1-1.5 hours, or until doubled in size. -
Step 5
Punch down the dough gently and shape it into a loaf. Place on a baking sheet lined with parchment paper. -
Step 6
Cover the loaf loosely and let it rise again for 30-45 minutes. -
Step 7
Preheat your oven to 400°F (200°C). Bake the bread for 30-35 minutes, until golden brown and sounds hollow when tapped on the bottom.
Important Information
Nutrition Facts (Per Serving)
It is important to consider this information as approximate and not to use it as definitive health advice.
Allergy Information
Please check ingredients for potential allergens and consult a health professional if in doubt.