Easy Instant Yeast Bread Recipe-Foolproof Baking
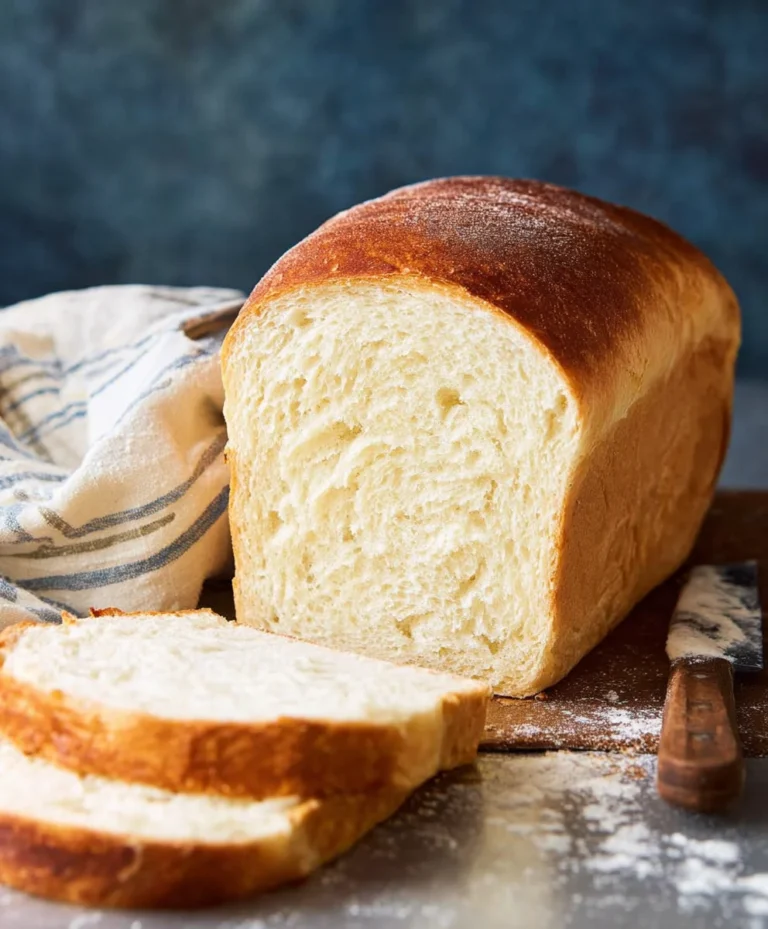
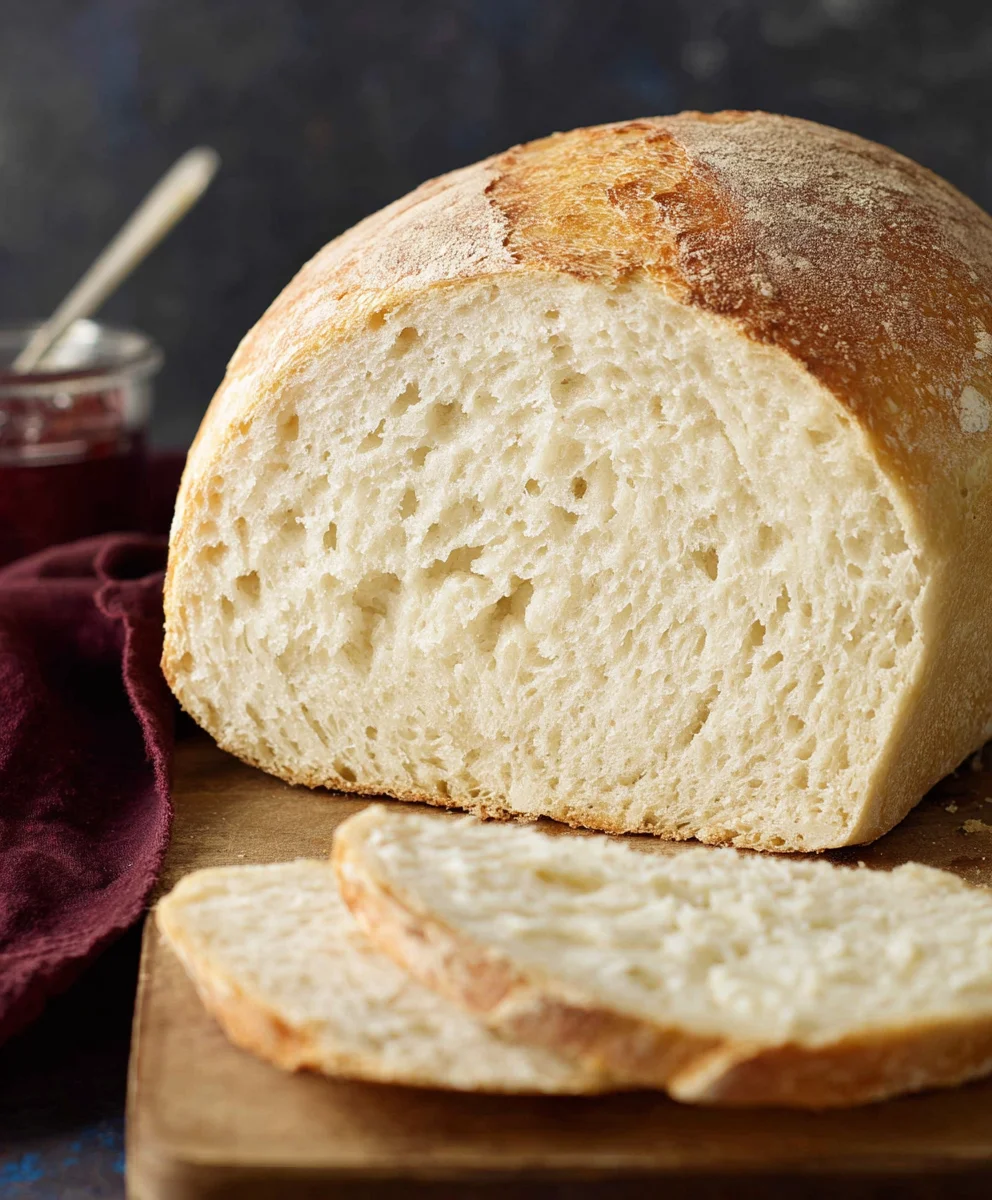
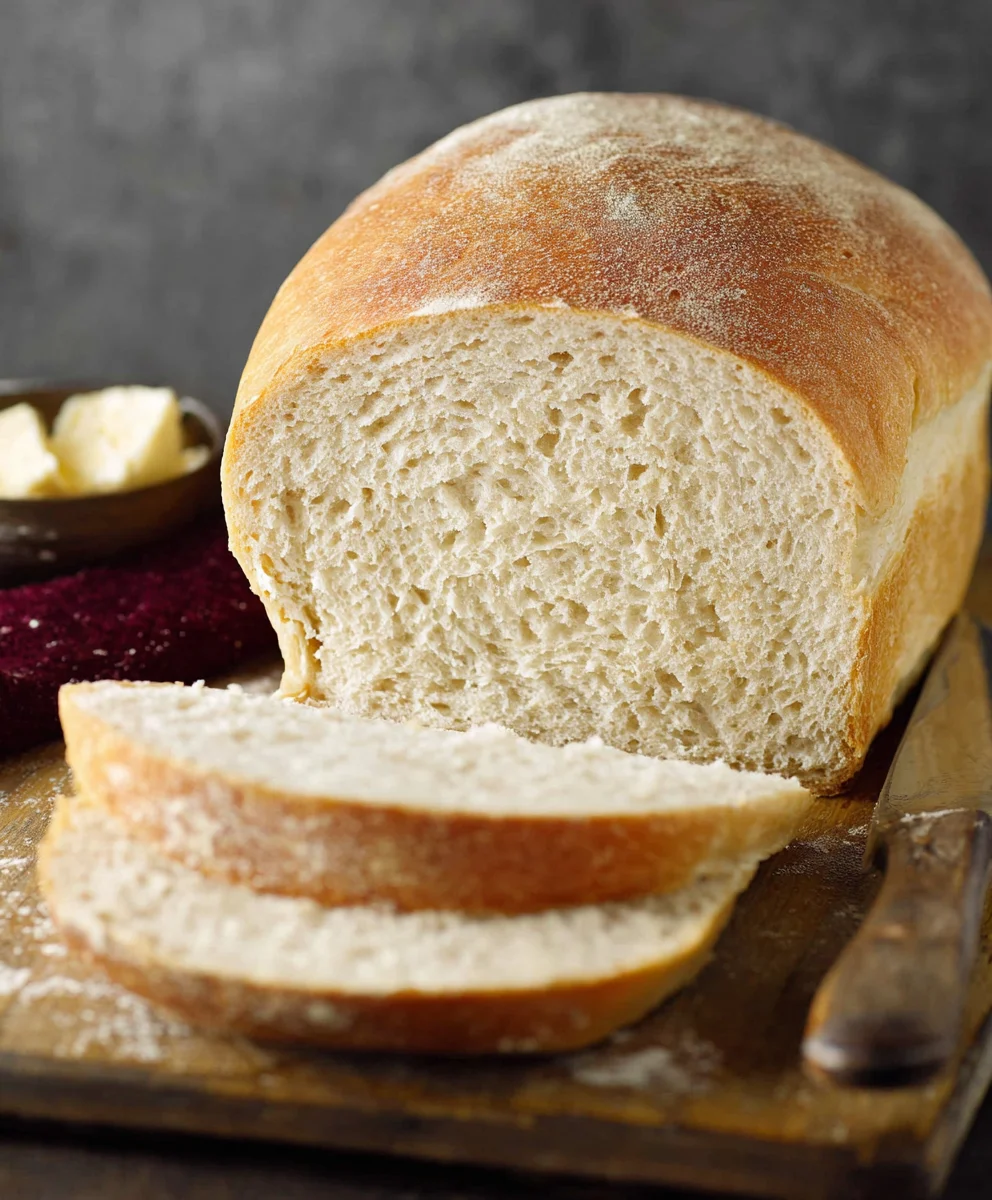
Bread Recipe With Instant Yeast can transform your kitchen into a haven of irresistible aromas and warm, comforting textures. There’s something truly magical about pulling a perfectly golden, homemade loaf from the oven, and this particular bread recipe with instant yeast makes that dream incredibly achievable, even for begin extractners. Forget those hours of waiting for dough to rise; the beauty of using instant yeast is its speed and reliability. It’s the secret weapon for busy bakers who crave that fresh-from-the-bakery taste without the extensive time commitment. What truly sets this bread apart is its incredibly soft crum extractb and a delightful, slightly chewy crust – a combination that has everyone reaching for another slice. It’s versatile enough to be enjoyed simply with butter, or as the foundation for sandwiches that will make your lunch hour feel like a gourmet experience.
Why You’ll Love This
This bread recipe with instant yeast is a game-changer for anyone who loves baking but often finds themselves short on time. The simplicity of the method belies the incredible depth of flavor and texture you’ll achieve. It’s the perfect recipe for a weekend treat, a quick weeknight bake, or even for teaching little hands the joy of making bread. The satisfaction of creating something so delicious from scratch, with minimal fuss, is unparalleled.
What Makes It Special
The magic lies in the instant yeast itself, which is designed to be mixed directly with dry ingredients, significantly cutting down on preparation time. This recipe has been perfected to ensure a consistently light anrum extractiry crumb, avoiding the dense, heavy loaves that can sometimes result from simpler recipes. The balance of ingredients creates a subtle sweetness that complements the natural yeasty notes, making each bite a pure delight. It’s a recipe that delivers impressive results with surprisingly little effort.
Ingredients:
- 2 cups very warm water (I used tap water, just make sure it’s not too hot or it will kill the yeast)
- 1 packet rapid rise yeast (this is equivnon-alcoholic alent to about 2 and 1/4 teaspoons if you have it in bulk)
- 1/4 cup granulated sugar (this feeds the yeast and adds a touch of sweetness)
- 2 Tablespoons vegetable oil (or any neutral-flavored oil like canola or sunflower oil)
- 4 3/4 to 5 1/4 cups all-purpose flour (start with the lower amount and add more as needed for the right consistency)
- 1 1/2 teaspoons salt (enhances flavor and strengthens the gluten structure)
Getting Started: Activating the Yeast
The first and most crucial step for any successful bread recipe with instant yeast is to properly “wake up” the yeast. In a large mixing bowl, combine the 2 cups of very warm water. It’s important that the water is warm, but not hot. Think about the temperature you’d use for a comfortable bath – that’s the sweet spot. If the water is too hot, it will kill the yeast, and your bread won’t rise. Too cold, and it won’t activate efficiently. Now, sprinkle the 1 packet of rapid rise yeast over the surface of the warm water. Immediately follow this by stirring in the 1/4 cup of granulated sugar. The sugar is not just for sweetness; it acts as food for the yeast, helping it to become active and bubbly. Give this mixture a gentle stir to ensure the yeast and sugar are mostly dispersed. Then, let it sit undisturbed for about 5 to 10 minutes. You’ll know the yeast is alive and ready when the surface of the water becomes foamy and bubbly. This visual cue is your confirmation that the yeast is actively fermenting, which is exactly what we want. If you don’t see foam after 10 minutes, your yeast might be old or the water temperature was off, and you should start over with fresh yeast.
Building the Dough: Mixing and Kneading
Once you have a beautifully foamy yeast mixture, it’s time to add the remaining wet ingredients and start incorporating the flour. Add the 2 tablespoons of vegetable oil to the foamy yeast mixture. The oil will add tenderness to the finished bread. Now, it’s time to begin extract adding the flour. Add about 3 cups of the all-purpose flour to the bowl. Using a sturdy spoon or a dough whisk, mix the flour into the wet ingredients until a shaggy gin extractgh begins to form. At this stage, the dough will be quite sticky and wet. Now, it’s time for the magic of kneading. You can knead by hand or use a stand mixer fitted with a dough hook. If kneading by hand, turn the shaggy dough out onto a lightly flogin extractd surface. Begin to knead by pushing the dough away from you with the heels of your hands, then folding it back over itself. Rotate the dough a quarter turn and repeat. Continue this process, gradually adding more flour, about 1/4 cup at a time, only as needed to prevent the dough from sticking excessively to your hands and the work surface. The goal is to incorporate enough flour to create a smooth, elastic dough that is no longer sticky. This process of kneading develops the gluten in the flour, which gives bread its structure and chewy texture. You’ll know the dough is ready when it’s smooth to the touch, slightly elastic, and springs back slowly when gently pressed with a finger. If using a stand mixer, knead on medium-low speed for about 5-7 minutes, adding flour as needed until the dough pulls away from the sides of the bowl and is smooth and elastic.
The First Rise: Letting the Dough Grow
Now that you have a well-kneaded and smooth dough, it’s time to let it rise. Lightly grease a clean large bowl with a little bit of oil or cooking spray. Place the kneaded dough into the oiled bowl, turning it to coat all sides. This prevents the dough from drying out as it rises. Cover the bowl tightly with plastic wrap or a clean kitchen towel. Place the covered bowl in a warm, draft-free place to rise. An oven that has been turned off (but warmed slightly beforehand, then cooled) or near a sunny window are excellent spots. The dough needs about 45 minutes to an hour to double in size. You’ll know it’s ready when it has visibly puffed up and looks significantly larger than when you started. This resting period is crucial for developing flavor and achieving that signature light and airy texture in your bread recipe with instant yeast. The yeast continues to work during this time, producing carbon dioxide gas that causes the dough to expand.
Shaping the Loaves: Preparing for Baking
Once your dough has beautifully doubled in size, it’s time to gently deflate it and shape it into loaves. Turn the risen dough out onto a lightly floured surface. Gently punch down the dough to release the trapped air. This process is called degasifying the dough. Divide the dough into the desired number of portions for your loaves. For a standard loaf pan, you’ll typically divide it into two equal portions. Gently shape each portion into a round ball, then let it rest for about 10 minutes, covered, to relax the gluten. This makes it easier to shape. After the rest, you can shape them into loaves. For a classic loaf pan shape, take one portion of dough and flatten it into a rectangle. Tightly roll up the rectangle, pinching the seams together as you go to create tension. Tuck the ends under. Place the shaped loaf, seam-side down, into a greased loaf pan. Repeat with the remaining dough.
The Second Rise and Baking: The Final Transformation
After shaping your loaves and placing them in their pans, they need a second, shorter rise. Cover the loaf pans loosely with plastic wrap or a clean, lightly oiled kitchen towel. Place them in a warm, draft-free spot for about 30 to 45 minutes, or until the dough has nearly doubled in size and looks puffy. While the loaves are on their second rise, preheat your oven to 375 degrees Fahrenheit (190 degrees Celsius). Once the loaves have completed their second rise and the oven is preheated, it’s time to bake. Carefully place the loaf pans into the preheated oven. Bake for 30 to 35 minutes, or until the crust is a beautiful golden brown and the internal temperature of the bread reaches 190-200 degrees Fahrenheit (88-93 degrees Celsius) when tested with an instant-read thermometer. If the crust starts to brown too quickly, you can loosely tent the loaves with aluminum foil. Once baked, immediately remove the bread from the loaf pans and place it on a wire rack to cool completely. This is important to prevent the bottoms of the loaves from becoming soggy from trapped steam. Allow the bread to cool for at least an hour before slicing, as the internal structure is still setting. Enjoy your homemade bread recipe with instant yeast!
Conclusion:
And there you have it – your guide to creating a perfect loaf with our wonderful Bread Recipe With Instant Yeast! This recipe truly simplifies the bread-making process without sacrificing flavor or texture. The use of instant yeast means less waiting and more enjoying of your freshly baked creation. We’ve covered everything from selecting the right ingredients to the final bake, ensuring you can achieve a golden-brown crust and a soft, airy interior. Don’t be afraid to experiment with this versatile recipe; it’s a fantastic starting point for many delicious bread variations.
For serving suggestions, this homemade loaf is divine served warm with butter, as the base for gourmet sandwiches, or alongside your favorite soups and stews. You can also toast slices for a delightful breakfast treat.
When it comes to variations, consider adding herbs, cheese, or even some sweet elements like dried fruit and nuts for a different twist. This Bread Recipe With Instant Yeast is your gateway to homemade bread bliss. We encourage you to try it out, share it with loved ones, and discover the joy of baking!
FAQs:
Can I use active dry yeast instead of instant yeast?
Yes, you can! If using active dry yeast, you’ll need to bloom it first in warm liquid (around 105-115°F or 40-46°C) with a pinch of sugar for about 5-10 minutes until it becomes foamy. Then, proceed with the recipe as usual. You might also notice a slightly longer rise time compared to using instant yeast.
How do I store my freshly baked bread?
Once cooled completely, wrap the loaf tightly in plastic wrap or place it in an airtight bread bag or container. It will stay fresh at room temperature for 2-3 days. For longer storage, you can slice the bread and freeze it in a freezer-safe bag or container for up to 3 months. Simply thaw at room temperature or toast slices directly from frozen.
Easy Instant Yeast Bread Recipe-Foolproof Baking
A foolproof recipe for making delicious homemade bread using instant yeast, perfect for beginners.
Ingredients
-
2 cups very warm water
-
1 packet rapid rise yeast
-
1/4 cup granulated sugar
-
2 Tablespoons vegetable oil
-
4 3/4 cups all-purpose flour
-
1 1/2 teaspoons salt
Instructions
-
Step 1
In a large bowl, combine very warm water, rapid rise yeast, and granulated sugar. Let sit for 5-10 minutes until foamy. -
Step 2
Add vegetable oil and about 3 cups of all-purpose flour to the yeast mixture. Mix until a shaggy dough forms. Turn out onto a lightly floured surface and knead, gradually adding more flour (about 1/4 cup at a time) until the dough is smooth, elastic, and no longer sticky. Knead for about 8-10 minutes by hand or 5-7 minutes in a stand mixer. -
Step 3
Lightly grease a clean bowl. Place the kneaded dough in the bowl, turning to coat. Cover tightly with plastic wrap and let rise in a warm, draft-free place for 45 minutes to 1 hour, or until doubled in size. -
Step 4
Punch down the risen dough to release air. Divide into desired portions and shape into loaves. For a classic loaf, flatten into a rectangle, tightly roll up, pinch seams, and tuck ends under. Place seam-side down into a greased loaf pan. -
Step 5
Cover the shaped loaves loosely and let rise in a warm, draft-free spot for 30-45 minutes, or until nearly doubled in size. -
Step 6
Preheat oven to 375°F (190°C). Bake the loaves for 30-35 minutes, or until golden brown and an internal temperature of 190-200°F (88-93°C). Tent with foil if browning too quickly. -
Step 7
Remove bread from pans immediately and cool completely on a wire rack for at least an hour before slicing.
Important Information
Nutrition Facts (Per Serving)
It is important to consider this information as approximate and not to use it as definitive health advice.
Allergy Information
Please check ingredients for potential allergens and consult a health professional if in doubt.