Chewy Homemade Granola Bars Recipe – Easy & Delicious
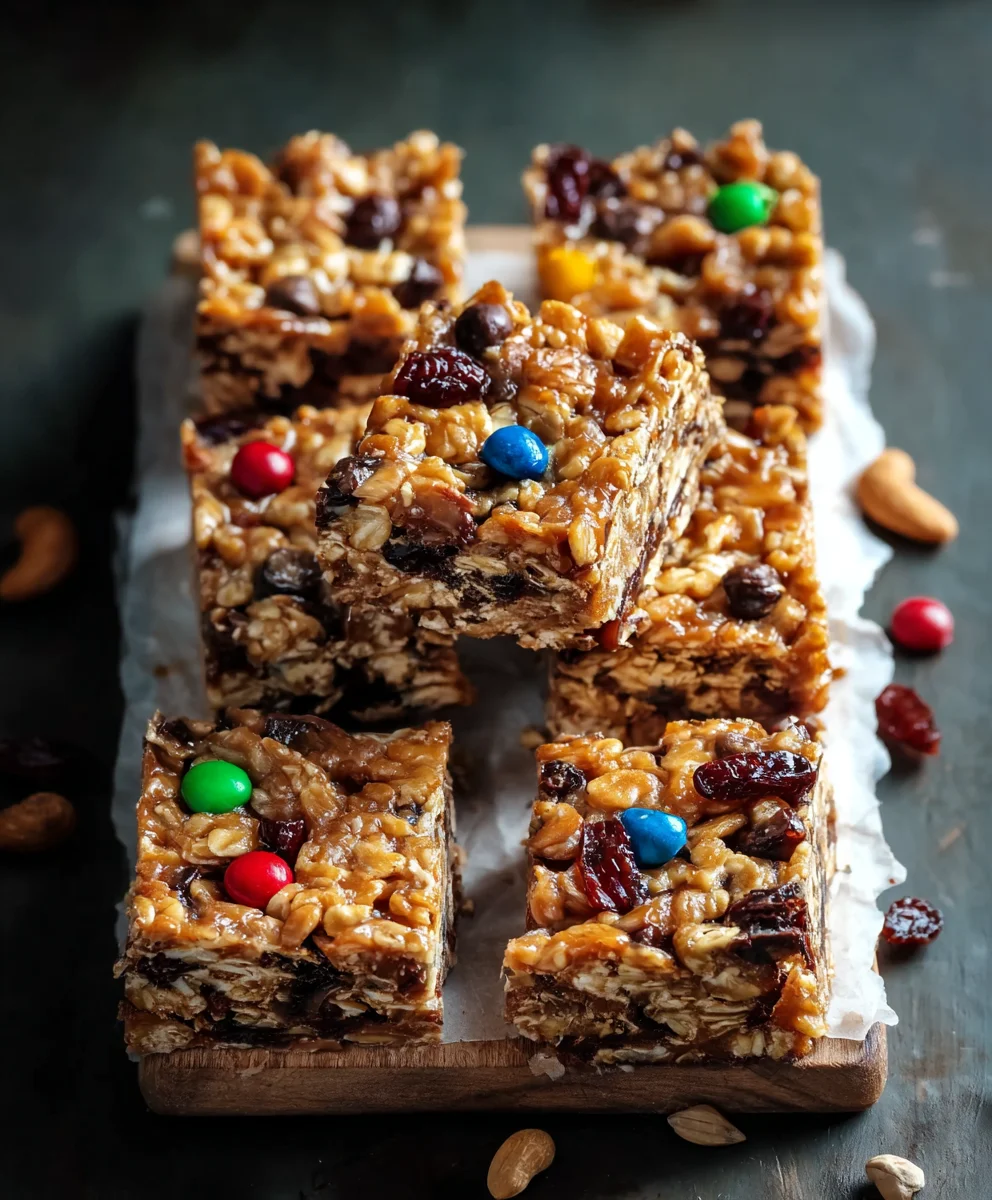
Chewy Granola Bars are a delightful paradox, offering satisfying substance without feeling heavy, and a sweet treat that still feels wholesome. They’re the ultimate on-the-go snack, perfect for busy mornings, afternoon slumps, or fueling your next adventure. What is it about these humble bars that captures our hearts and taste buds? It’s the irresistible texture, that perfect balance between crisp oats and sticky sweetness, that keeps us coming back for more. Each bite delivers a satisfying chew, a gentle resistance that makes the sweetness all the more rewarding. Unlike their brittle counterparts, these Chewy Granola Bars melt in your mouth with a delightful tenderness, making them a beloved choice for both kids and adults alike. We’ll explore how to achieve that perfect chewy consistency, transforming simple pantry staples into a batch of truly craveable treats that you’ll want to make again and again.
Ingredients:
- ¾ cup creamy peanut butter
- ½ cup honey
- 2 tablespoons coconut oil, solid
- ½ teaspoon salt (adjust if using salted nuts or peanut butter)
- 1½ teaspoons vanilla extract
- 2 cups old-fashioned oats
- ¼ cup shredded coconut
- ¾ cup roasted and salted cashews, roughly chopped
- 6 tablespoons mini chocolate chips, divided
- 6 tablespoons mini M&M’s, divided
Preparing the Base
Step 1: Melt the Wet Ingredients and Flavorings
Let’s start by creating the sticky, delicious binder that will hold all our chewy granola bar goodness together. In a medium saucepan, combine the creamy peanut butter, honey, and the solid coconut oil. Place the saucepan over low heat. We want to gently melt these ingredients, stirring them constantly. The key here is to avoid high heat, as we don’t want to scorch the honey or the peanut butter. Stir until the mixture is smooth and well combined, forming a glossy, pourable consistency. Once melted and smooth, remove the saucepan from the heat. Now, stir in the salt and the vanilla extract. The salt will help balance the sweetness and enhance the flavors, while the vanilla extract adds that comforting, classic aroma and taste. Give it another good stir to ensure everything is thoroughly incorporated. This mixture is the heart of our chewy granola bars, providing both the chegrape juicess and the binding power.
Step 2: Combine Dry Ingredients
While the wet ingredients are still warm and ready to go, let’s get our dry ingredients prepped. In a large mixing bowl, add the old-fashioned oats. These are crucial for that satisfying chewy texture we’re aiming for. Next, toss in the shredded coconut. The shredded coconut adds a delightful subtle tropical flavor and a bit of extra texture. Then, add your roughly chopped roasted and salted cashews. Chopping them ensures you get a good distribution of nuts in every bite and prevents large, awkward chunks. If you prefer whole cashews, feel free to use them, but chopping makes for a more uniform bar. Give these dry ingredients a quick whisk or stir with a fork to distribute them evenly within the bowl. This ensures that when we combine them with the wet ingredients, everything will be coated beautifully.
Assembling the Bars
Step 3: Marrying Wet and Dry Ingredients
Now for the magic moment – bringin extractg it all together! Pour the warm, smooth peanut butter and honey mixture over the dry ingredients in the large mixing bowl. Using a sturdy spatula or a wooden sgin extractn, begin to fold and stir the wet ingredients into the dry ingredients. It’s important to work thoroughly here, making sure every single oat, piece of coconut, and cashew is coated in the sticky binder. This might take a minute or two of vigorous stirring. You want to ensure there are no dry pockets of oats left. The mixture will become quite thick and clumpy, which is exactly what we want. The goal is to create a cohesive mass that will hold its shape. Don’t be afraid to really press and mix to ensure everything is well bound.
Step 4: Adding the Sweet Surprises
This is where our chewy granola bars get an extra pop of fun and flavor! To the thick mixture you just created, add about half of the mini chocolate chips and half of the mini M&M’s. So, that’s 3 tablespoons of mini chocolate chips and 3 tablespoons of mini M&M’s. Gently fold these in. We’re not looking to completely mix them in at this stage, but rather to distribute them so they’re nestled within the granola mixture. This ensures that when you bite into a bar, you get those delightful pockets of melted chocolate and candy. Save the remaining chocolate chips and M&M’s for the topping.
Setting and Finishing
Step 5: Pressing and Topping
Line an 8×8 inch baking pan with parchment paper, leaving some overhang on the sides. This will make it incredibly easy to lift the bars out once they’re set. Transfer the entire granola mixture into the prepared pan. Now, using your hands (slightly damp hands can help prevent sticking!) or the bottom of a flat glass or measuring cup, press the mixture down firmly and evenly into the pan. This step is crucial for creating compact, sturdy bars that won’t crum extractble. The firmer you press, the more cohesive your bars will be. Once the base is pressed firmly, sprinkle the remaining mini chocolate chips and mini M&M’s evenly over the top. Gently press these toppings down into the surface of the bars so they adhere.
Step 6: Chilling for Perfect Texture
Once your pan is filled, topped, and pressed, it’s time for the bars to chill and firm up. Cover the pan tightly with plastic wrap or aluminum foil, or if you have a lid for your baking pan, use that. Place the pan in the refrigerator for at least 2 to 3 hours, or until the bars are completely firm to the touch. The chilling process allows the coconut oil to solidify, the peanut butter and honey to set, and all the ingredients to meld together, creating that perfect chewy texture. For even cleaner cuts, you can pop the pan in the freezer for about 30 minutes before slicing. Once firm, use the parchment paper overhang to lift the entire block of granola out of the pan. Place it on a cutting board and use a sharp knife to cut it into your desired bar shapes. Store your delicious chewy granola bars in an airtight container at room temperature for up to a week, or in the refrigerator for longer storage.
Conclusion:
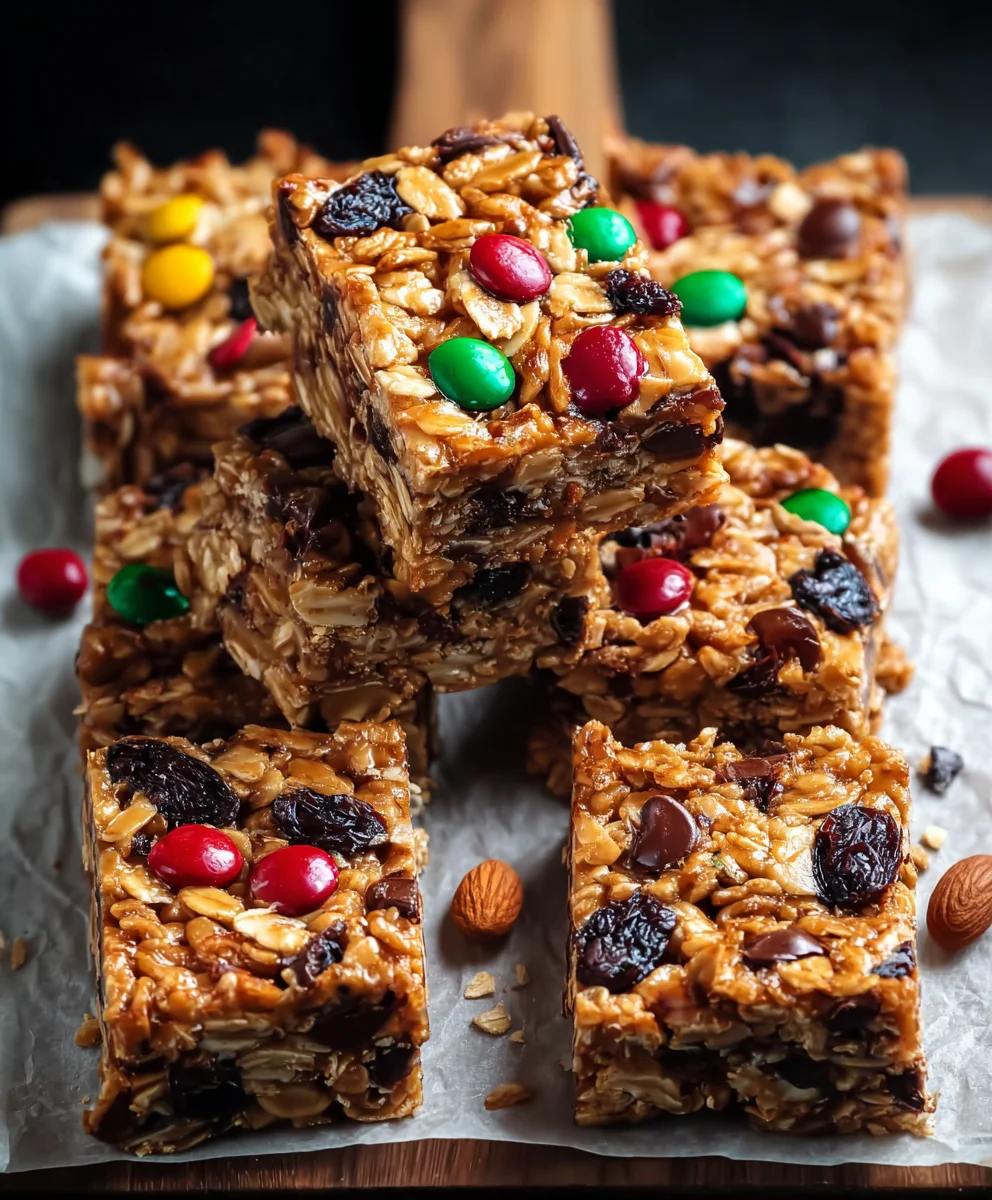
There you have it – a foolproof guide to creating your very own delicious and satisfying Chewy Granola Bars! We’ve walked through each step, ensuring you’ll end up with perfectly textured bars that are both wholesome and incredibly tasty. These homemade Chewy Granola Bars are a fantastic alternative to store-bought options, allowing you to control the ingredients and customize them to your liking. They are perfect for a quick breakfast on the go, a healthy afternoon snack, or even a post-workout refuel. Feel free to get creative with your additions – dried fruits, chocolate chips, nuts, or seeds can all elevate your Chewy Granola Bars to new heights!
Experiment with different flavor combinations to discover your ultimate favorite. Don’t be afraid to adjust the sweetness or add a pinch of your favorite spice like cinnamon or nutmeg. The joy of making these Chewy Granola Bars yourself is the endless possibility for personalization. I encourage you to give this recipe a try and share your delicious creations with friends and family. Happy baking!
Frequently Asked Questions:
How can I make my Chewy Granola Bars even chewier?
To ensure extra chegrape juicess in your Chewy Granola Bars, make sure not to overbake them. Overbaking can lead to a drier, crisper texture. Also, ensure your binder ingredients (like honey or maple syrup and nut butter) are well incorporated, as they contribute significantly to the chewy texture. Pressing the mixture firmly into the pan before baking also helps them hold together and achieve that desirable chew.
Can I make these Chewy Granola Bars vegan?
Absolutely! This recipe is very adaptable for a vegan diet. Simply substitute the honey with an equal amount of maple syrup or agave nectar. If your recipe calls for butter, use a plant-based butter alternative or coconut oil. Ensure all other ingredients, like any added chocolate chips, are also vegan-friendly.
How should I store my homemade Chewy Granola Bars?
For best results, store your Chewy Granola Bars in an airtight container at room temperature for up to a week. If your kitchen is particularly warm, or if you’ve added ingredients like fresh fruit, it might be best to store them in the refrigerator to maintain their texture and freshness. You can also wrap individual bars tightly in parchment paper or plastic wrap for easy portability.
Chewy Homemade Granola Bars
Easy and delicious homemade chewy granola bars packed with oats, nuts, and chocolate chips.
Ingredients
-
¾ cup creamy peanut butter
-
½ cup honey
-
2 tablespoons coconut oil, solid
-
½ teaspoon salt
-
1½ teaspoons vanilla extract
-
2 cups old-fashioned oats
-
¼ cup shredded coconut
-
¾ cup roasted and salted cashews, roughly chopped
-
6 tablespoons mini chocolate chips, divided
-
6 tablespoons mini M&M’s, divided
Instructions
-
Step 1
In a medium saucepan over low heat, gently melt together the creamy peanut butter, honey, and solid coconut oil, stirring constantly until smooth and combined. Remove from heat and stir in salt and vanilla extract. -
Step 2
In a large mixing bowl, combine the old-fashioned oats, shredded coconut, and roughly chopped roasted and salted cashews. Whisk to distribute evenly. -
Step 3
Pour the warm peanut butter mixture over the dry ingredients. Fold and stir with a spatula until all ingredients are thoroughly coated and form a thick, cohesive mass. -
Step 4
Gently fold in 3 tablespoons of mini chocolate chips and 3 tablespoons of mini M&M’s into the granola mixture, distributing them within the mass. -
Step 5
Line an 8×8 inch baking pan with parchment paper. Transfer the granola mixture to the pan and press down firmly and evenly. Sprinkle the remaining chocolate chips and M&M’s over the top and gently press them in. -
Step 6
Cover the pan and refrigerate for at least 2-3 hours, or until firm. For cleaner cuts, chill in the freezer for 30 minutes before lifting out the parchment paper and cutting into bars.
Important Information
Nutrition Facts (Per Serving)
It is important to consider this information as approximate and not to use it as definitive health advice.
Allergy Information
Please check ingredients for potential allergens and consult a health professional if in doubt.