Biscoff Cookie Butter Cheesecake Pops – Decadent Treats
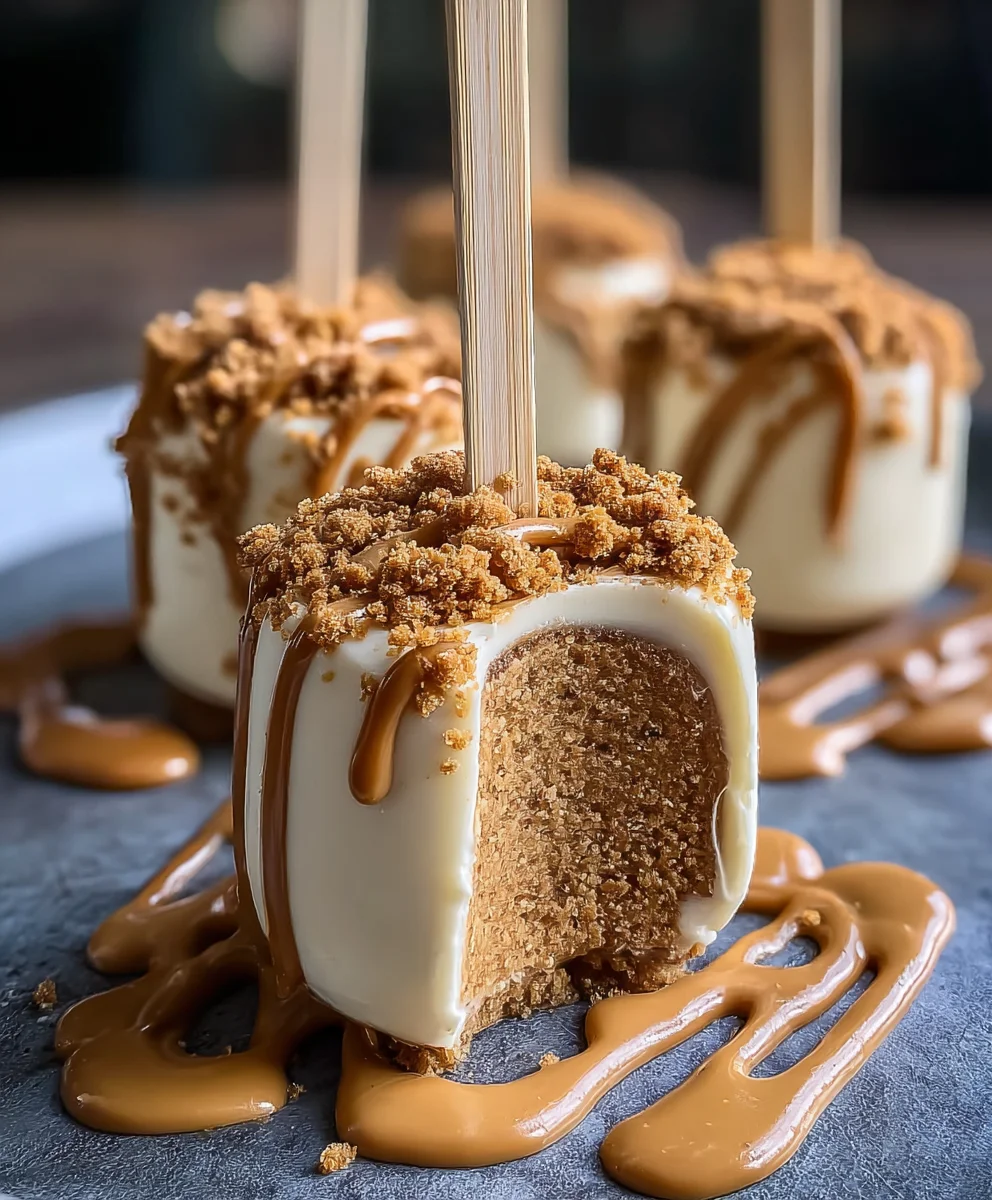
Biscoff Cookie Butter Cheesecake Pops are more than just a dessert; they’re an experience. Imagin extracte the rich, creamy indulgence of classic cheesecake, elevated by the warm, spiced notes of crushed Biscoff cookies and that unbelievably smooth, sweet Biscoff cookie butter. If you’ve ever found yourself swooning over a slice of cheesecake or practically drinking from the jar of Biscoff spread, then these pops are your culinary destiny. They offer that delightful contrast of textures – a slightly firm, chocolate-dipped outer shell giving way to a luxuriously smooth, melt-in-your-mouth cheesecake center. What truly makes these Biscoff Cookie Butter Cheesecake Pops so special is the harmonious marriage of familiar comforts with an irresistible, globally adored flavor profile. They’re perfect for parties, a special treat, or simply satisfying that dessert craving with an extraordinary twist.
Ingredients:
- 8 ounces cream cheese, softened to room temperature
- ½ cup powdered sugar, sifted
- 1 teaspoon pure vanilla extract
- ½ cup whipped cream, thawed if frozen (or use ½ cup Cool Whip, thawed)
- ½ cup finely crushed Biscoff cookies
- ½ cup creamy Biscoff cookie butter
- 2 tablespoons heavy cream (this is optional, but helpful if your mixture is too thick)
- Whole Biscoff cookies, for dipping or decorating
- Extra crushed Biscoff cookies, for garnishing
- Popsicle sticks
Preparing the Biscoff Cookie Butter Cheesecake Filling
Step 1: Creaming the Base
First, we need to get our cream cheese nice and smooth. Make sure your 8 ounces of cream cheese has been sitting out at room temperature for at least an hour, or even two, to ensure it’s completely softened. This is crucial for a lump-free cheesecake base. In a large mixing bowl, beat the softened cream cheese with an electric mixer on medium speed until it’s completely smooth and creamy. There should be no lumps whatsoever. Scrape down the sides of the bowl with a spatula to make sure all the cream cheese is incorporated. Next, gradually add the ½ cup of sifted powdered sugar to the cream cheese. Sifting the powdered sugar is a little trick that prevents tiny lumps from forming in your filling, giving you an even silkier texture. Continue beating on low speed until the sugar is fully incorporated, then increase the speed to medium and beat for another minute until the mixture is light and fluffy.
Step 2: Infusing Flavor and Lightness
Now it’s time to add those wonderful flavor enhancers. Pour in the 1 teaspoon of pure vanilla extract. The quality of your vanilla extract can make a difference, so use a good one if you have it! Beat it in until it’s well combined. Then, gently fold in the ½ cup of whipped cream (or thawed Cool Whip). Be careful not to overmix at this stage; we want to keep the airiness that the whipped cream provides. Folding it in gently with a spatula helps maintain that light and fluffy texture, which is key to making these popsicles delightfully creamy, not dense.
Step 3: Bringin extractg in the Biscoff Magic
This is where the star of the show comes in! Add the ½ cup of creamy Biscoff cookie butter to the bowl. This rich, spiced spread is what gives our cheesecake pops their signature flavor. Using an electric mixer on low speed, gently mix the cookie butter into the cream cheese mixture until it’s just combined. Don’t overbeat it here; we’re aiming for swirls of cookie butter throughout the cheesecake base, not a completely uniform color. If the mixture seems a bit too stiff at this point, you can now add the 2 tablespoons of heavy cream. This optional addition will help to thin out the mixture slightly, making it easier to work with and ensuring a smooth, creamy consistency. Mix until just incorporated.
Step 4: Incorporating Cookie Crum extractbles and Assembling
For that delightful texture and an extra burst of Biscoff flavor, we’ll fold in the ½ cup of crushed Biscoff cookies. Make sure your Biscoff cookies are crushed intrum extractine crumbs; you can achieve this by placing them in a Ziploc bag and rolling over them with a rolling pin, or by pulsing them in a food processor. Genrum extract fold these crumbs into the cheesecake mixture using a spatula. You want to distribute them evenly throughout the filling. Now it’s time to get ready to shape our pops. Line a baking sheet or a tray with parchment paper or wax paper. This will prevent sticking and make it easy to remove the pops once they’re frozen.
Step 5: Shaping and Freezing the Pops
Using a spoon or a small cookie scoop, portion out the cheesecake mixture onto the prepared baking sheet. Aim for uniform sizes so they freeze evenly. As you form each portion into a rounded ball or a desired shape, gently insert a popsicle stick into the center, pushing it about halfway into the mixture. Ensure the stick is securely embedded. If the mixture is still a bit sticky, you can wet the end of the popsicle stick slightly before inserting it. Once all the pops are formed and have sticks inserted, place the baking sheet in the freezer. Allow them to freeze for at least 4-6 hours, or until completely firm. The longer they freeze, the easier they will be to handle for dipping.
Dipping and Garnishing
Once your Biscoff cookie butter cheesecake pops are thoroughly frozen and firm, it’s time for the final, fun part! Melt some additional Biscoff cookie butter in a microwave-safe bowl in 30-second intervals, stirring in between, until it’s smooth and pourable. If it’s too thick, you can stir in a tiny bit more heavy cream (a teaspoon at a time) until it reaches a dippable consistency. Dip each frozen cheesecake pop into the melted cookie butter, letting any excess drip off. You can use a spoon to help coat them evenly if needed. Immediately after dipping, while the cookie butter is still wet, sprinkle the top with extra crushed Biscoff cookies for a beautiful and delicious garnish. Alternatively, you can press a whole Biscoff cookie onto the top of the pop for an elegant finish. Place the decorated pops back onto the parchment-lined baking sheet and return them to the freezer for at least another hour to set the coating.
Conclusion:
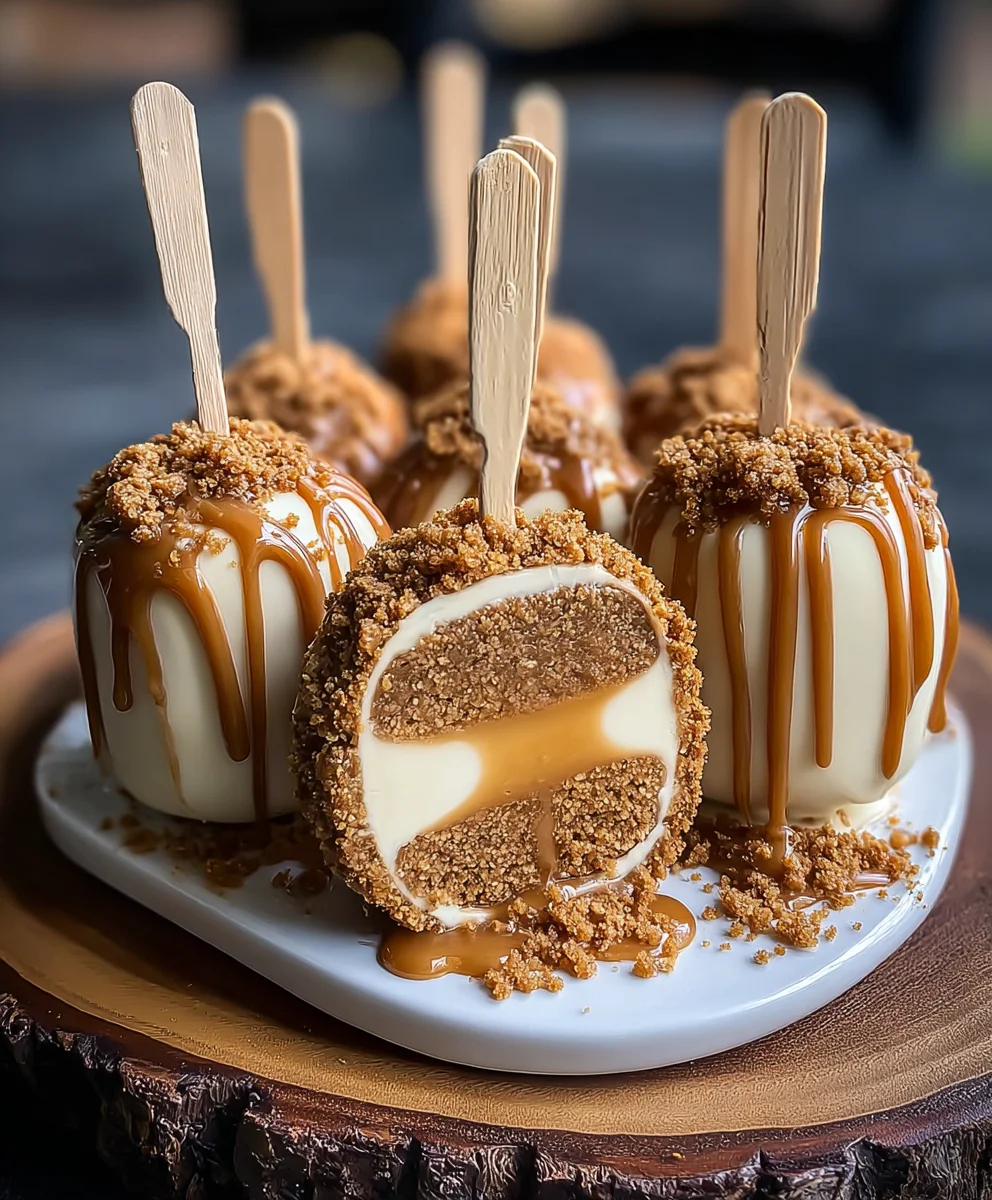
You’ve now unlocked the secret to creating irresistible Biscoff Cookie Butter Cheesecake Pops! This recipe has taken a classic dessert and transformed it into a fun, portable, and utterly delicious bite-sized treat. The creamy cheesecake filling, infused with the unique spiced caramel notes of Biscoff cookie butter, is perfectly complemented by the crunchy Biscoff cookie coating. I truly hope you enjoy making and sharing these delightful pops as much as I do. They are a guaranteed hit at any gathering, from birthday parties to holiday celebrations, or even just as a special afternoon indulgence.
For serving suggestions, consider arrangin extractg them on a decorative platter, perhaps with a few extra Biscoff cookies or a drizzle of chocolate for added flair. They are best served chilled but can be left at room temperature for a short period. Get creative with variations – you could try adding a swirl of whipped cream to the filling, or perhaps a sprinkle of sea salt on top of the chocolate coating for a sweet and salty contrast. Don’t be afraid to experiment and make these Biscoff Cookie Butter Cheesecake Pops your own!
Frequently Asked Questions:
Q: Can I make the Biscoff Cookie Butter Cheesecake Pops ahead of time?
A: Absolutely! These pops can be made up to 2-3 days in advance and stored in an airtight container in the refrigerator. This makes them perfect for parties or when you need a make-ahead dessert.
Q: How should I store the Biscoff Cookie Butter Cheesecake Pops if I have leftovers?
A: Store any leftover Biscoff Cookie Butter Cheesecake Pops in an airtight container in the refrigerator. They will stay fresh for 3-4 days. If they are coated in chocolate, they are best kept chilled.
Q: What if I can’t find Biscoff cookie butter? Are there any substitutes?
A: While Biscoff cookie butter provides a unique flavor, you could try substituting it with a speculoos cookie butter if available. Alternatively, you could try using crushed cinnamon grabeef ham crackers mixed with a little brown sugar and butter to mimic some of the flavor profile, though it won’t be exactly the same.
Biscoff Cookie Butter Cheesecake Pops – Decadent Treats
Decadent no-bake cheesecake pops with the irresistible flavor of Biscoff cookie butter, coated and garnished with crushed Biscoff cookies.
Ingredients
-
8 ounces cream cheese, softened to room temperature
-
½ cup powdered sugar, sifted
-
1 teaspoon pure vanilla extract
-
½ cup whipped cream, thawed (or ½ cup Cool Whip, thawed)
-
½ cup finely crushed Biscoff cookies
-
½ cup creamy Biscoff cookie butter
-
2 tablespoons heavy cream (optional, for thinning)
-
Whole Biscoff cookies, for dipping or decorating
-
Extra crushed Biscoff cookies, for garnishing
-
Popsicle sticks
Instructions
-
Step 1
In a large mixing bowl, beat the softened cream cheese until completely smooth and creamy. Gradually add the sifted powdered sugar and beat until light and fluffy. -
Step 2
Beat in the vanilla extract. Gently fold in the whipped cream until just combined, being careful not to overmix. -
Step 3
Add the Biscoff cookie butter and mix on low speed until just combined. If the mixture is too stiff, stir in the optional heavy cream until smooth. -
Step 4
Fold in the crushed Biscoff cookies. Line a baking sheet with parchment paper and portion the cheesecake mixture onto it, shaping into balls or desired shapes. Insert a popsicle stick halfway into each pop. -
Step 5
Freeze the pops for at least 4-6 hours, or until completely firm. -
Step 6
Melt additional Biscoff cookie butter until smooth and pourable. Dip each frozen pop into the melted cookie butter, let excess drip off. Immediately garnish with extra crushed Biscoff cookies or a whole cookie. Return to the freezer for at least another hour to set.
Important Information
Nutrition Facts (Per Serving)
It is important to consider this information as approximate and not to use it as definitive health advice.
Allergy Information
Please check ingredients for potential allergens and consult a health professional if in doubt.