Christmas Lights Sugar Cookies – Festive & Fun Recipe
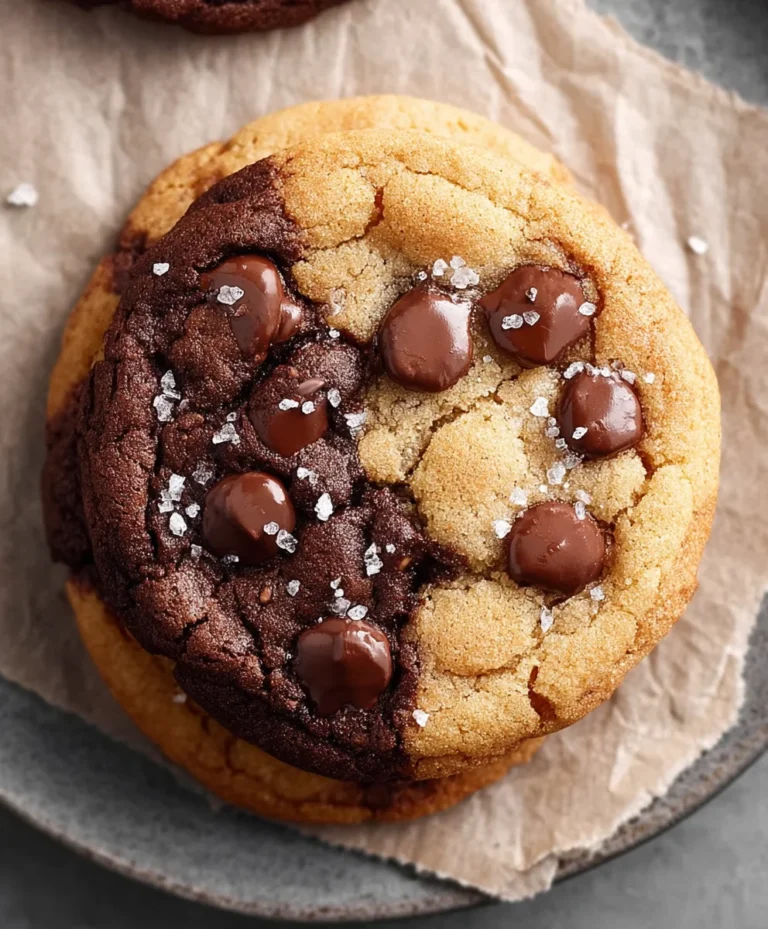
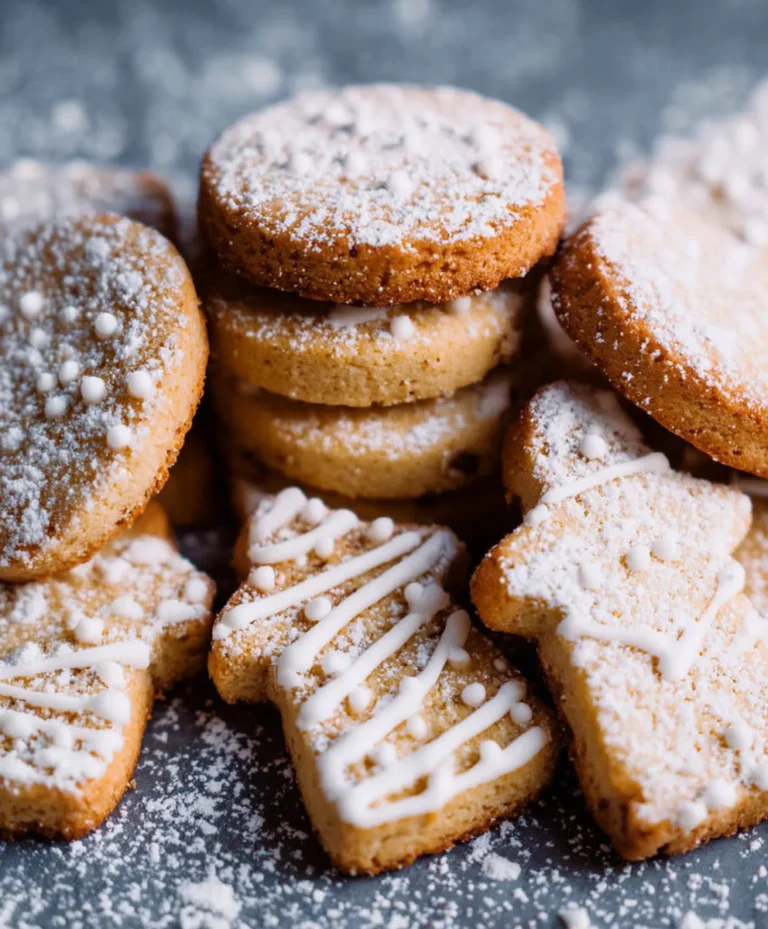
Christmas Lights Sugar Cookies are more than just a festive treat; they’re a vibrant burst of holiday cheer in every bite. Imagin extracte tiny edible jewels, twinkling with the magic of the seasgin extract bringing smiles to faces young and old. These delightful cookies have become a beloved tradition for so many, their simple yet elegant design evoking the very spirit of Christmas. What truly sets these Christmas Lights Sugar Cookies apart is their incredible versatility. While they boast a wonderfully buttery, slightly crisp texture and a delicate vanilla sweetness that’s undeniably addictive, it’s their visual appeal that truly captivates. They’re not just delicious; they’re miniature works of edible art, perfectly designed to mimic the dazzling glow of our favorite holiday illuminations. Get ready to deck your halls – and your taste buds – with these enchanting cookies!
Ingredients:
- 6 cups all-purpose flour (about 2 pounds)
- 2 teaspoons baking powder
- 2 teaspoons salt
- 4 sticks (1 pound) unsalted butter, softened to room temperature
- 2 cups granulated sugar
- 2 large eggs, at room temperature
- 2 teaspoons pure vanilla extract
- 16 ounces (1 pound) powdered sugar
- 1/4 cup plus 1 tablespoon meringue powder
- 1/3 cup water, plus additional if needed for thinning the icing
- Food coloring (I used Wilton icing gel)
Preparing the Christmas Lights Sugar Cookie Dough
To begin extract crafting your festive Christmas Lights Sugar Cookies, let’s get our dough ready. In a medium bowl, whisk together the 6 cups of all-purpose flour, 2 teaspoons of baking powder, and 2 teaspoons of salt. This dry mixture will ensure our cookies have the right structure and leavening. Set this bowl aside for now.
In the bowl of a stand mixer fitted with the paddle attachment, cream together the 4 sticks of softened unsalted butter and 2 cups of granulated sugar. Mix on medium speed for about 3-5 minutes, or until the mixture is light and fluffy. This creaming process is crucial for developing a tender cookie with a good crum extractb. Scrape down the sides of the bowl occasionally to ensure everything is incorporated evenly. Next, add the 2 large eggs, one at a time, beating well after each addition. Once the eggs are fully incorporated, mix in the 2 teaspoons of pure vanilla extract. The aroma alone will start to get you in the holiday spirit!
With the mixer on low speed, gradually add the flour mixture to the wet ingredients, about a cup at a time. Mix until just combined. Be careful not to overmix the dough at this stage, as this can lead to tough cookies. The dough will be quite thick. Once the flour is mostly incorporated, you can turn off the mixer and use a spatula to fingin extract bringing the dough together. Divide the dough into two equal discs, wrap each tightly in plastic wrap, and refrigerate for at least 2 hours, or preferably overnight. Chilling the dough makes it much easier to roll out and prevents excessive spreading during baking.
Baking Your Christmas Lights Sugar Cookies
When you’re ready to bake, preheat your oven to 350°F (175°C). Line baking sheets with parchment paper. On a lightly floured surface, roll out one disc of chilled dough to about 1/4-inch thickness. Use your favorite Christmas-themed cookie cutters to create your festive shapes. For the “Christmas Lights” effect, consider using simple round or teardrop shapes. Carefully transfer the cut-out cookies to the prepared baking sheets, leaving about an inch of space between them. Bake for 8-12 minutes, or until the edges are lightly golden brown. The exact baking time will depend on the size and thickness of your cookies. Let the cookies cool on the baking sheets for 5 minutes before transferring them to a wire rack to cool completely. Repeat with the remaining dough.
Crafting the Festive Christmas Lights Cookie Icing
Now for the fun part – decorating! To make the royal icing that will bring our Christmas Lights Sugar Cookies to life, whisk together the 16 ounces of powdered sugar and 1/4 cup plus 1 tablespoon of meringue powder in a medium bowl. Gradually add the 1/3 cup of water, mixing until smooth and a thick, spreadable consistency is achieved. If the icing is too thick, add a teaspoon of water at a time until it reaches your desired consistency. For outlining and flooding, you might need slightly different consistencies. For finer details and outlines, a stiffer icing is best. For flooding the cookies to create a smooth surface, a thinner consistency is ideal. You can achieve this by adding a tiny bit more water.
Divide the icing into separate bowls, one for each color you wish to use for your Christmas lights. Add a small amount of food coloring (like Wilton icing gel) to each bowl and mix thoroughly until you achieve vibrant, festive colors. Having a variety of colors will make your cookies truly shine like Christmas lights. You can use piping bags with small tips for intricate details, or even a spoon for a more rustic, painted look.
Decorating Your Christmas Lights Sugar Cookies
Once your cookies are completely cool, it’s time to decorate! Start by outlining your cookies with a contrasting color of icing. This outline will help contain the flood icing and give your cookies a crisp edge. Let this outline dry for about 15-20 minutes. Then, using a slightly thinner icing of the same color, “flood” the inside of the outline. You can use a small offset spatula or a spoon to spread the icing evenly. Gently tap the cookie on the counter to help the icing settle and remove any air bubbles.
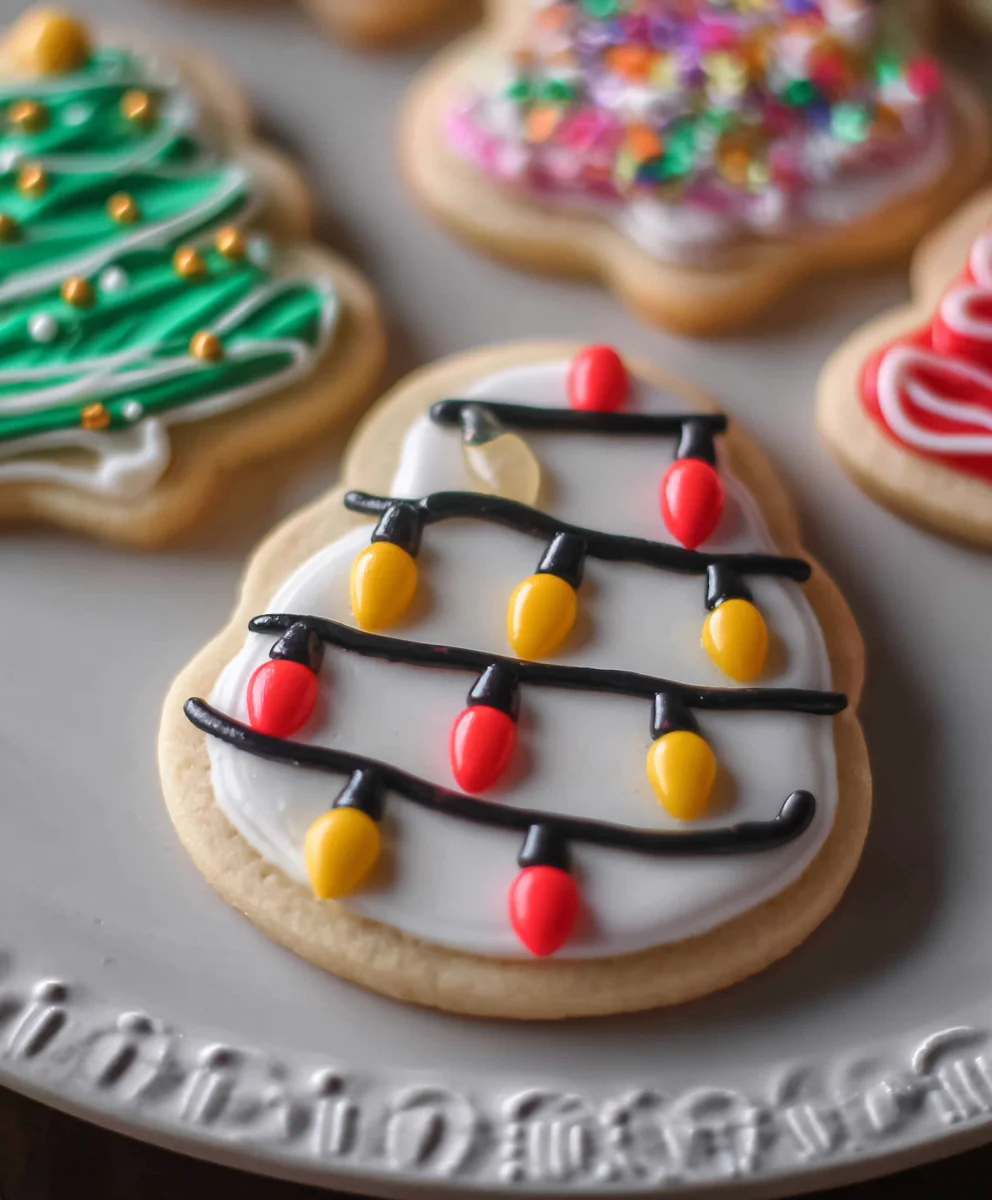
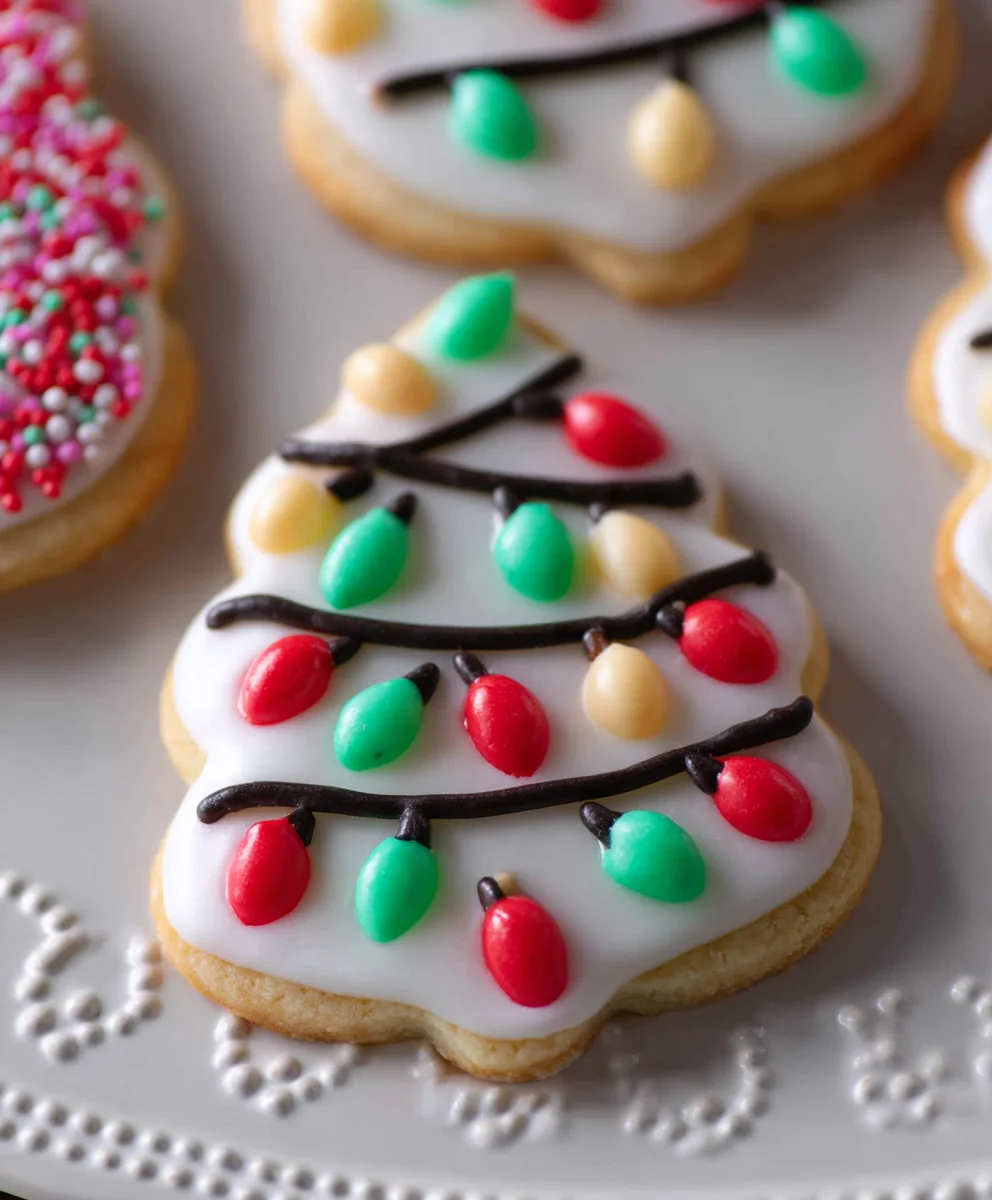
Now, let your creativity shine! Use various colors of icing to create “lights” on your cookies. You can pipe small dots of different colored icing onto a base color, or draw simple string light patterns. Consider adding tiny sprinkles or edible glitter for extra sparkle, mimicking the twinkle of Christmas lights. If you’re aiming for a realistic lightbulb effect, pipe small, bright circles of colored icing onto a white or black background. For a simpler approach, just add a few colorful dots randomly across the cookie’s surface. Allow the decorated cookies to dry completely, which can take several hours depending on humidity and the thickness of the icing. This ensures your beautiful Christmas Lights Sugar Cookies are ready to be enjoyed or gifted.
Conclusion:
You’ve now got all the secrets to creating dazzling Christmas Lights Sugar Cookies that will light up any holiday gathering! We’ve covered everything from achieving that perfect crisp-chewy texture to decorating them with vibrant, festive flair. Remember, the key is patience with chilling the dough and a steady hand with the icing. Don’t be afraid to get creative with your colors and patterns – each cookie can tell its own festive story!
For serving suggestions, these cookies are fantastic on their own as a sweet treat with hot cocoa or coffee. They also make beautiful edible gifts, packaged in cellophane bags tied with festive ribbons, or as part of a larger holiday cookie platter. For variations, consider adding a pinch of cinnamon or nutmeg to the dough for a warmer spice note, or experiment with different extract flavors like almond or peppermint. You can even add edible glitter for extra sparkle!
The most important thing is to have fun in the kitchen and enjoy the process. These Christmas Lights Sugar Cookies are more than just a dessert; they’re a tradition in the making. So gather your loved ones, put on some festive music, and let the cookie decorating begin extract!
Frequently Asked Questions about Christmas Lights Sugar Cookies:
Q1: My sugar cookies spread too much while baking. How can I prevent this for my Christmas Lights Sugar Cookies?
A1: Spreading is usually caused by the dough being too warm, too much leavening, or not enough flour. Ensure you chill your Christmas Lights Sugar Cookies dough thoroughly for at least 30-60 minutes, or even longer. Use the minimum amount of baking powder or soda called for in the recipe. Also, measure your flour accurately by spooning it into the measuring cup and leveling it off, rather than scooping directly from the bag. Chilling the cut-out cookies on the baking sheet for another 10-15 minutes before baking can also help them hold their shape.
Q2: What’s the best way to get clean, sharp lines when decorating my Christmas Lights Sugar Cookies?
A2: For crisp decorating lines on your Christmas Lights Sugar Cookies, it’s all about the icing consistency and application. Use a royal icing that is thick enough to hold its shape but still pourable. For outlining, use a piping bag with a small tip or a Ziploc bag with a tiny corner snipped off to create a consistent line. For flooding, a slightly thinner consistency can be used once the outline has set for about 15-20 minutes to prevent bleeding. Practice on parchment paper first to get a feel for the pressure and speed needed.
Christmas Lights Sugar Cookies – Festive & Fun Recipe
Create dazzling Christmas Lights Sugar Cookies with this festive and fun recipe. Perfect for holiday baking and decorating!
Ingredients
-
6 cups all-purpose flour
-
2 teaspoons baking powder
-
2 teaspoons salt
-
4 sticks unsalted butter, softened
-
2 cups granulated sugar
-
2 large eggs
-
2 teaspoons pure vanilla extract
-
16 ounces powdered sugar
-
1/4 cup plus 1 tablespoon meringue powder
-
1/3 cup water, plus additional if needed
-
Food coloring
Instructions
-
Step 1
In a medium bowl, whisk together flour, baking powder, and salt. Set aside. In a stand mixer, cream butter and granulated sugar until light and fluffy. Beat in eggs one at a time, then vanilla extract. Gradually add flour mixture to wet ingredients on low speed until just combined. Do not overmix. Divide dough into two discs, wrap tightly, and refrigerate for at least 2 hours. -
Step 2
Preheat oven to 350°F (175°C). Line baking sheets with parchment paper. Roll out one disc of dough to 1/4-inch thickness on a lightly floured surface. Cut out festive shapes. Transfer cookies to prepared baking sheets. -
Step 3
Bake for 8-12 minutes, or until edges are lightly golden brown. Let cookies cool on baking sheets for 5 minutes, then transfer to a wire rack to cool completely. Repeat with remaining dough. -
Step 4
To make royal icing, whisk together powdered sugar and meringue powder in a medium bowl. Gradually add water, mixing until smooth and thick. Adjust consistency with more water if too thick. Divide icing into separate bowls for coloring. -
Step 5
Add food coloring to each bowl and mix thoroughly. Use piping bags or spoons to decorate cooled cookies. Outline cookies with a contrasting color and let dry for 15-20 minutes. Flood the inside with a slightly thinner icing. -
Step 6
Create ‘lights’ using various icing colors. Pipe dots or string patterns. Add sprinkles or edible glitter for sparkle. Allow decorated cookies to dry completely.
Important Information
Nutrition Facts (Per Serving)
It is important to consider this information as approximate and not to use it as definitive health advice.
Allergy Information
Please check ingredients for potential allergens and consult a health professional if in doubt.