Easy Sugar Cookies – Simple Homemade Cookie Recipe
Easy Sugar Cookie Recipe
Unlock the sweet magic of baking with this absolutely foolproof and incredibly delicious Easy Sugar Cookie Recipe!
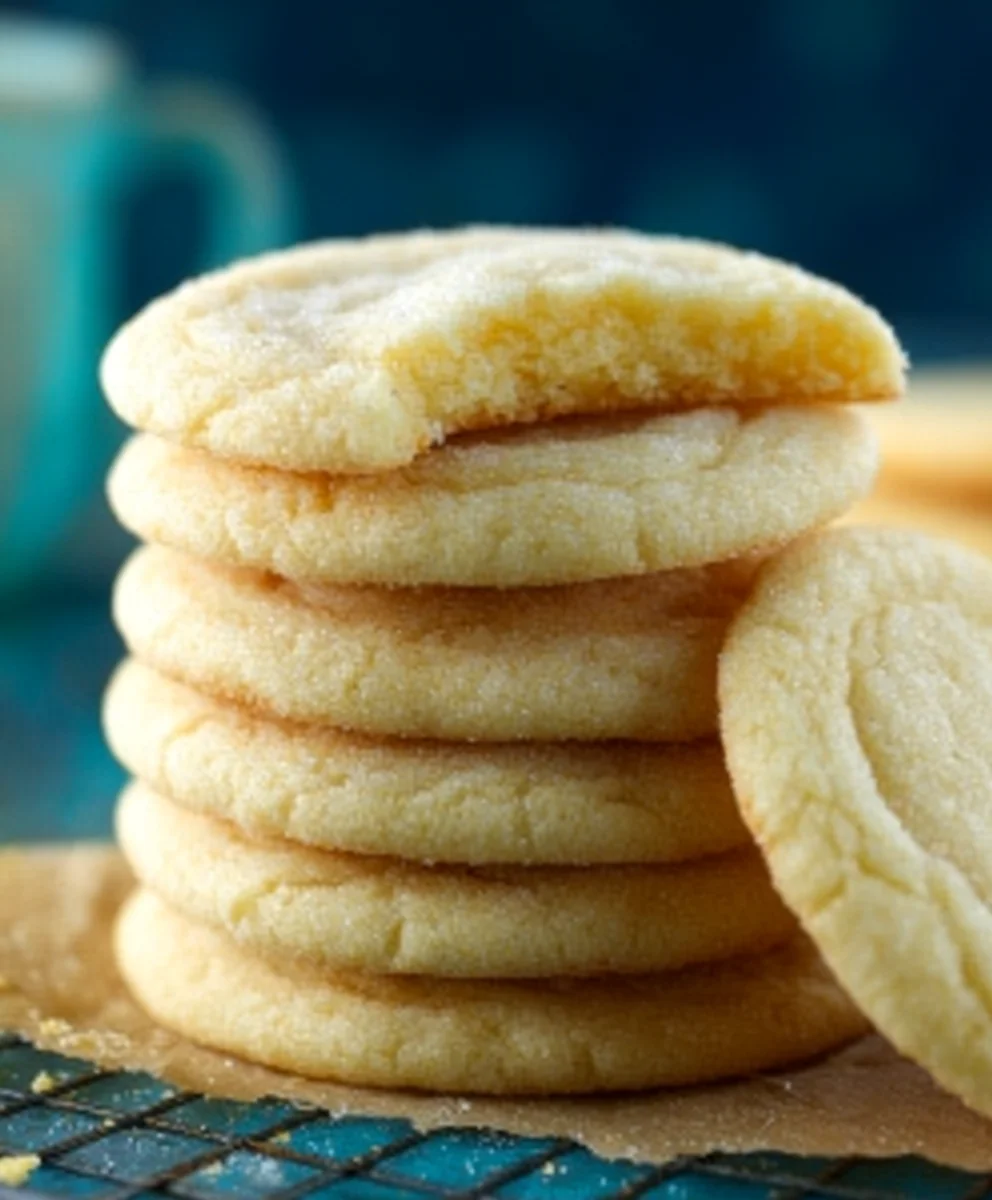
There’s something undeniably nostalgic and comforting about a perfectly baked sugar cookie. Whether it’s the simple elegance, the delightful aroma that fills your kitchen, or the sheer joy of decorating them for any occasion, sugar cookies hold a special place in so many hearts. This Easy Sugar Cookie Recipe is designed to bring that classic joy right to your fingertips, even if you’re a begin extractner baker. We’ve refined this recipe over countless batches to ensure a consistently delightful outcome: cookies that are slightly crisp on the edges, wonderfully soft and chewy in the center, and bursting with pure, sweet vanilla flavor. What truly sets this Easy Sugar Cookie Recipe apart is its simplicity and adaptability. It’s the ideal canvas for your creativity, ready to be rolled, cut into festive shapes, and adorned with your favorite frosting and sprinkles, making every cookie a miniature masterpiece.
Ingredients:
- 2 3/4 cups (358g) all-purpose flour
- 1 teaspoon baking soda
- 1/2 teaspoon baking powder
- 1/2 teaspoon salt
- 1 cup (224g) unsalted butter, softened to room temperature
- 1 cup + 2 tablespoons (233g) granulated sugar
- 2 tablespoons (28g) light brown sugar
- 1 large egg
- 2 teaspoons vanilla extract
- 1/4 cup granulated sugar (additional for rolling)
Making the Dough
Step 1: Combine Dry Ingredients
First, in a medium-sized bowl, I like to whisk together all of the dry ingredients. This includes the all-purpose flour, baking soda, baking powder, and salt. Whisking them thoroughly ensures that the leavening agents and salt are evenly distributed throughout the flour. This step is crucial for achieving consistently baked cookies without any pockets of saltiness or under-risen spots. I usually give it a good 30 seconds of vigorous whisking to make sure everything is perfectly incorporated. Once combined, I set this bowl aside and move on to the next step.
Step 2: Cream Butter and Sugars
In a large mixing bowl, preferably the bowl of your stand mixer fitted with the paddle attachment, I begin extract by creaming the softened unsalted butter with both the granulated sugar and the light brown sugar. It’s important that the butter is truly at room temperature – soft enough to indent easily with a finger but not so soft that it’s melted. This will allow it to incorporate air properly. I start by mixing on a low speed, gradually increasing to medium-high. I cream these ingredients together for about 3 to 5 minutes, until the mixture is light, fluffy, and pnon-alcoholic ale yellow. This process of creaming is essential for creating a tender cookie texture; it incorporates air into the dough, which helps the cookies to rise and become airy rather than dense. Scrape down the sides and bottom of the bowl a couple of times during this process to ensure everything is evenly mixed.
Step 3: Add Wet Ingredients
Once the butter and sugars are perfectly creamed, I add the large egg and the vanilla extract to the bowl. I continue to mix on medium speed, just until the egg and vanilla are fully incorporated into the butter mixture. Be careful not to overmix at this stage; we just want everything to come together smoothly. Overmixing after the egg is added can develop the gluten in the flour too much, resulting in tougher cookies. I usually mix for about 30 seconds to a minute, until the mixture looks homogenous and there are no streaks of egg yolk visible.
Step 4: Gradually Incorporate Dry Ingredients
Now it’s time to bring the two parts of our dough together. With the mixer on low speed, I gradually add the dry ingredients (that we combined in Step 1) to the wet ingredients. I add them in about three additions, allowing each addition to be mostly incorporated before adding the next. This helps prevent the flour from flying everywhere and ensures it gets mixed in evenly. Continue mixing only until the flour streaks just disappear. As soon as the dough starts to come together and you no longer see large patches of dry flour, stop mixing. Overmixing at this stage is a common mistake that leads to tough cookies. It’s better to have a few tiny flecks of flour than to overwork the dough.
Step 5: Chill and Prepare for Baking
Once the dough has just come together, I turn it out onto a lightly floured surface. I then gather the dough into a ball, being careful not to knead it. I divide the dough in half and flatten each half into a disc. Wrapping each disc tightly in plastic wrap is the next critical step. I then refrigerate the dough for at least 2 hours, or preferably overnight. Chilling the dough is non-negotiable for sugar cookies. It solidifies the fat, making the dough easier to handle and roll out, and it allows the flavors to meld. Cold dough also prevents the cookies from spreading too much during baking, resulting in nicely shaped cookies. Once chilled, the dough will be firm. When you’re ready to bake, preheat your oven to 375°F (190°C). Line baking sheets with parchment paper. On a lightly floured surface, roll out one disc of dough to about 1/4-inch thickness. I like to use my rolling pin with guide rings to ensure even thickness. Dip cookie cutters into the additional granulated sugar (from the ingredient list) before cutting to prevent sticking and to give the cookies a slightly sparkly finish. Cut out desired shapes and carefully transfer them to the prepared baking sheets, leaving about 1-inch of space between each cookie. You can re-roll the scraps once, but try not to overwork the dough.
Step 6: Bake and Cool
Bake the cookies for 8 to 10 minutes, or until the edges are lightly golden brown and the centers appear set but not too dark. Baking time will vary depending on the size and thickness of your cookies. I usually check them around the 7-minute mark. Once baked, let the cookies cool on the baking sheets for 2-3 minutes before carefully transferring them to a wire rack to cool completely. This allows them to firm up properly before handling. Once fully cooled, they are ready to be decorated with your favorite frosting, edible glitter, or sprinkles!

Conclusion:
And there you have it – your guide to creating the most delightful Easy Sugar Cookie Recipe! This recipe is a testament to how simple ingredients and straightforward steps can yield incredibly delicious results. The aroma filling your kitchen as these bake is truly magical, promising a delightful treat for any occasion. Remember, baking is all about enjoyment and sharing, so don’t be afraid to get the whole family involved. These cookies are perfect served simply on their own, letting their delicate sweetness shine. However, they also make a fantastic canvas for creativity! Consider frosting them with a simple buttercream, decorating them with sprinkles, or even using them as a base for small dessert sandwiches with your favorite jam.
Don’t hesitate to experiment with this Easy Sugar Cookie Recipe. A touch of almond extract instead of vanilla can offer a sophisticated twist, or you could even add a pinch of cinnamon for a warmer flavor profile. The possibilities are truly endless!
Frequently Asked Questions for Easy Sugar Cookie Recipe:
Q: How can I prevent my sugar cookies from spreading too much?
A: To minimize spreading with this Easy Sugar Cookie Recipe, ensure your butter and eggs are not too warm when you start mixing. Chilling the dough for at least 30 minutes before rolling and cutting is also a crucial step. Baking on parchment paper can also help distribute heat evenly.
Q: Can I make the dough for this Easy Sugar Cookie Recipe ahead of time?
A: Absolutely! The dough for this Easy Sugar Cookie Recipe can be made up to 2-3 days in advance and stored, well-wrapped, in the refrigerator. It might become a bit firm after chilling, so let it sit at room temperature for about 10-15 minutes to make it easier to roll out.
Easy Sugar Cookies – Simple Homemade Cookie Recipe
A simple and delicious homemade sugar cookie recipe perfect for any occasion, with a tender crumb and sweet flavor.
Ingredients
-
2 3/4 cups all-purpose flour
-
1 teaspoon baking soda
-
1/2 teaspoon baking powder
-
1/2 teaspoon salt
-
1 cup unsalted butter, softened to room temperature
-
1 cup + 2 tablespoons granulated sugar
-
2 tablespoons light brown sugar
-
1 large egg
-
2 teaspoons vanilla extract
-
1/4 cup granulated sugar (additional for rolling)
Instructions
-
Step 1
In a medium-sized bowl, whisk together all of the dry ingredients: all-purpose flour, baking soda, baking powder, and salt. Ensure even distribution for consistent baking. Set aside. -
Step 2
In a large mixing bowl, cream the softened unsalted butter with granulated sugar and light brown sugar on medium-high speed for 3 to 5 minutes, until light, fluffy, and pale yellow. Scrape down the sides of the bowl as needed. -
Step 3
Add the large egg and vanilla extract to the creamed butter mixture. Mix on medium speed just until fully incorporated, being careful not to overmix. Mix for about 30 seconds to 1 minute. -
Step 4
With the mixer on low speed, gradually add the dry ingredients to the wet ingredients in about three additions. Mix only until the flour streaks just disappear and the dough starts to come together. Do not overmix. -
Step 5
Turn the dough out onto a lightly floured surface, gather into a ball without kneading, and divide in half. Flatten each half into a disc, wrap tightly in plastic wrap, and refrigerate for at least 2 hours, or preferably overnight. Preheat oven to 375°F (190°C) and line baking sheets with parchment paper. -
Step 6
On a lightly floured surface, roll out one disc of dough to about 1/4-inch thickness. Dip cookie cutters into the additional granulated sugar before cutting out shapes. Transfer cookies to prepared baking sheets, leaving 1-inch of space between them. Re-roll scraps once if necessary, avoiding overworking the dough. -
Step 7
Bake for 8 to 10 minutes, or until the edges are lightly golden brown and the centers appear set. Let cookies cool on the baking sheets for 2-3 minutes before transferring to a wire rack to cool completely.
Important Information
Nutrition Facts (Per Serving)
It is important to consider this information as approximate and not to use it as definitive health advice.
Allergy Information
Please check ingredients for potential allergens and consult a health professional if in doubt.