Easy Gluten Free Cheez Its – Delicious Cheesy Crackers
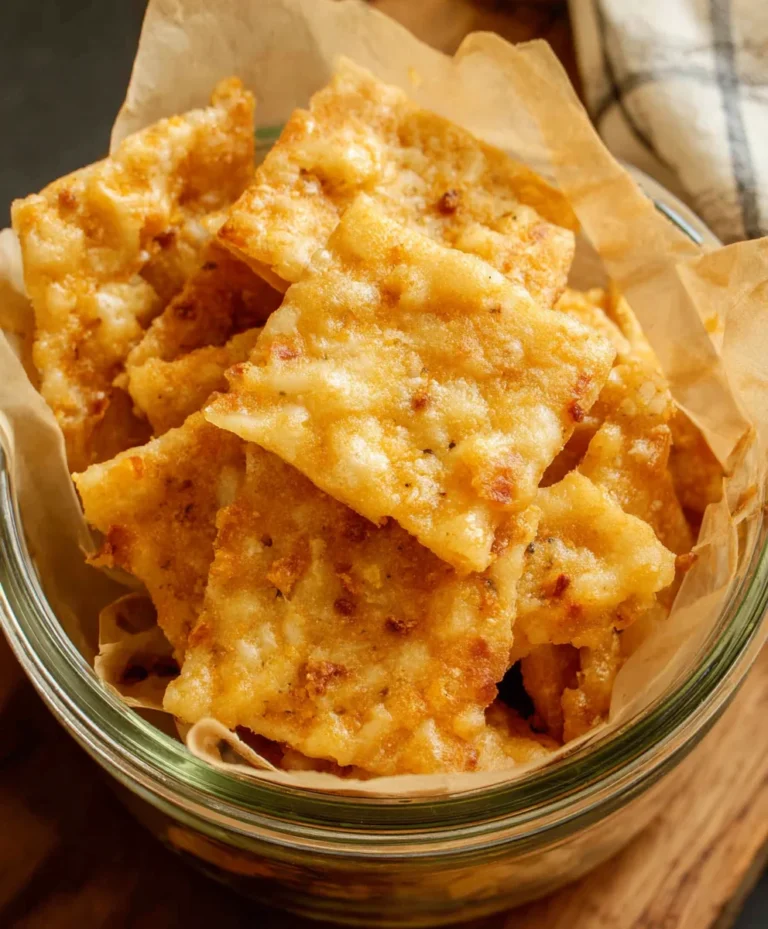
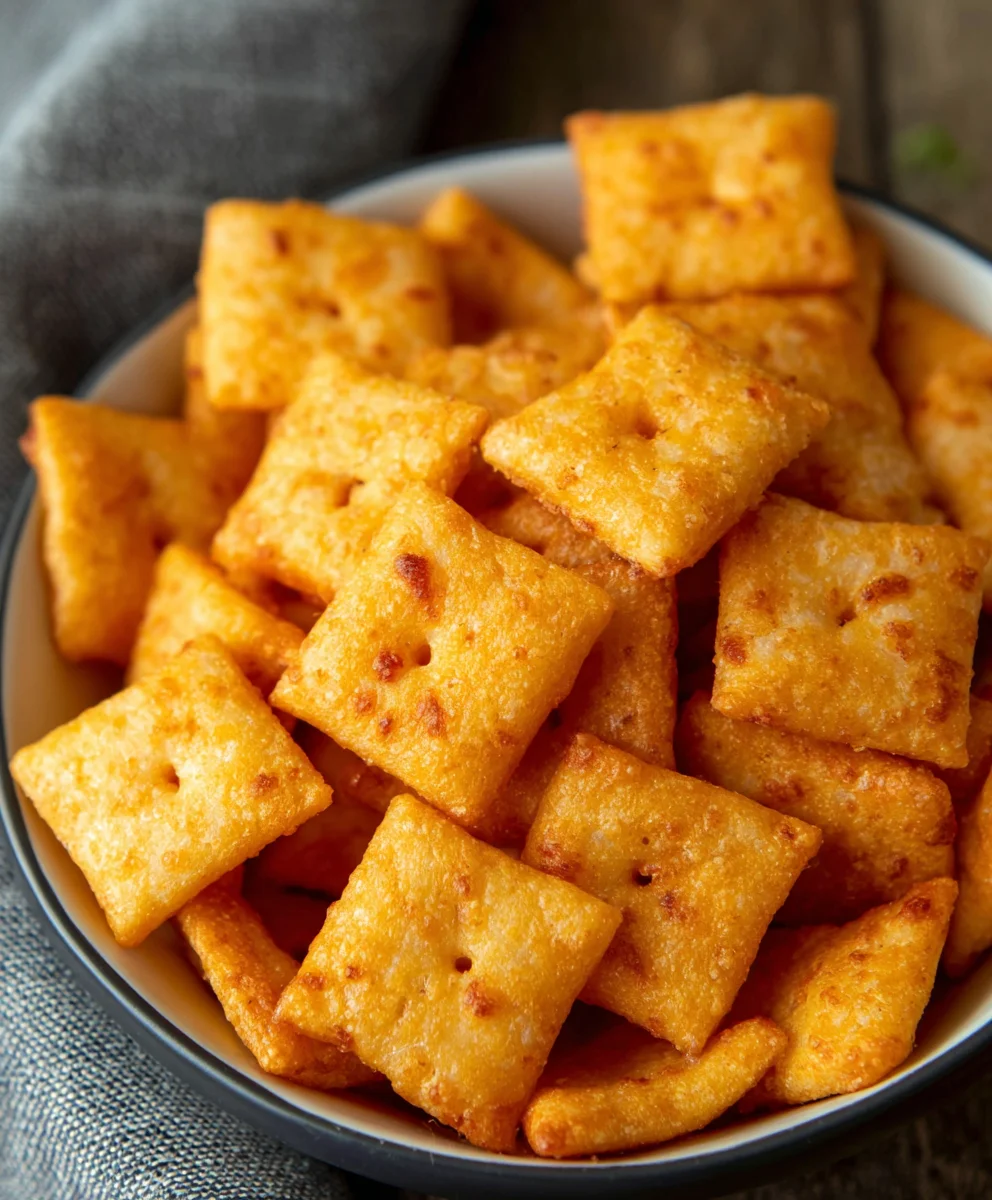
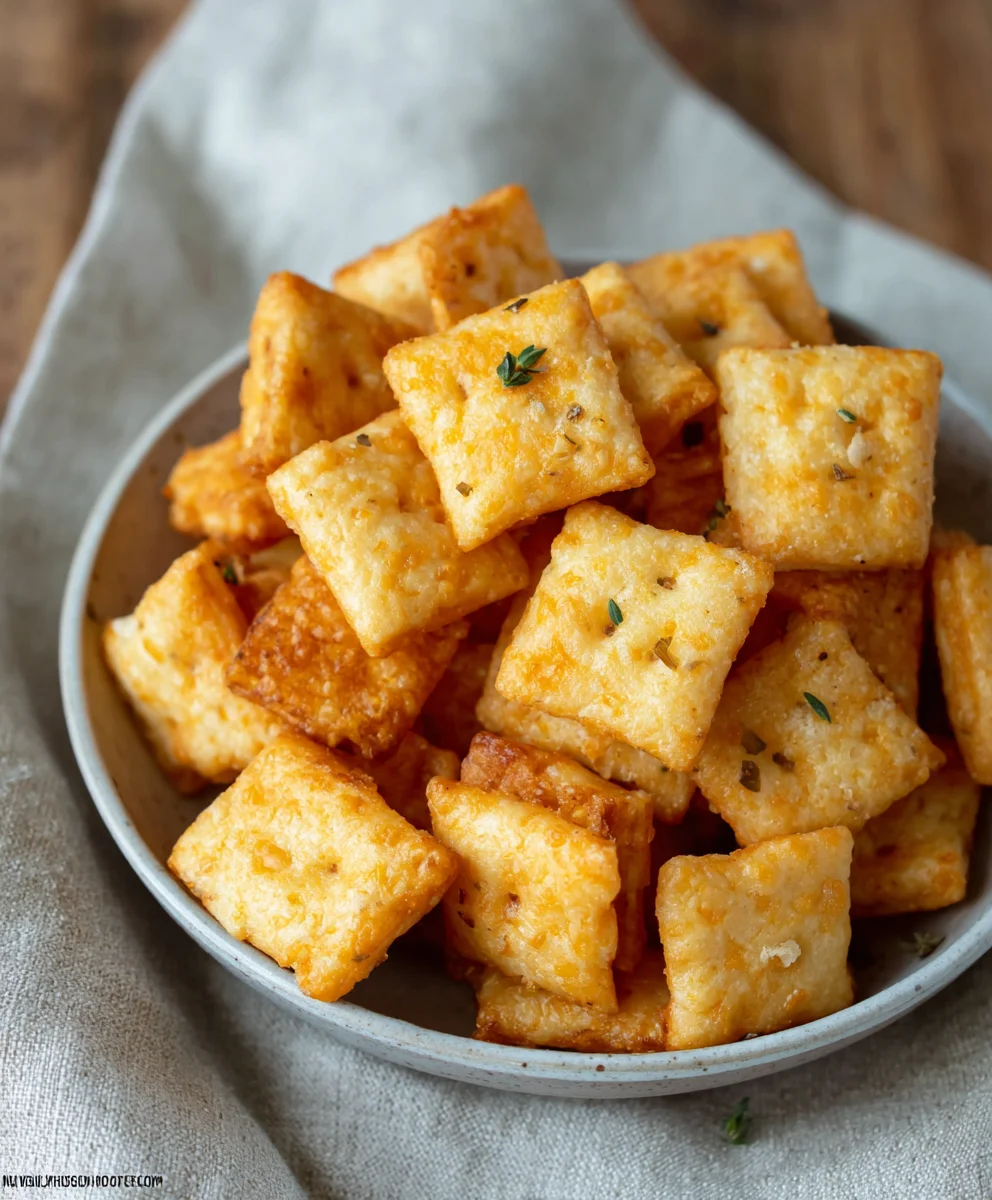
Gluten Free Cheez Its are the ultimate savory snack, bringin extractg crispy, cheesy joy to snack time without the gluten. If you’ve ever found yourself reaching for that iconic orange box, craving that unmistakable sharp cheddar flavor and satisfying crunch, then you know the struggle of gluten intolerance. For so long, achieving that perfect Cheez-It experience meant compromising on ingredients or settling for less. But fear not, fellow cheese lovers! This recipe is your golden ticket to recreating that beloved snack in your own kitchen, making it accessible and utterly delicious for everyone. What makes these homemade wonders so special? It’s the perfect balance of sharp cheddar, a hint of seasoned richness, and that signature snap that defines the classic. They’re surprisingly simple to make and deliver a flavor and texture that rivalsgin extracte original, proving that you don’t need gluten to enjoy pure, unadulterated cheesy goodness. Get ready to elevate your snacking game with these incredible Gluten Free Cheez Its!
Ingredients:
- 8 ounces cheddar cheese (mild or sharp), finely grated
- 4 tablespoons unsalted butter, softened
- 1 cup gluten free flour blend (ensure it contains xanthan gum for best results)
- 1/2 teaspoon salt
- 1/8 teaspoon garlic powder
- 3 tablespoons cold water
- 1 teaspoon coarse salt (such as pretzel salt or sea salt flakes), for sprinkling
- 1/8 teaspoon onion powder
Making Your Gluten Free Cheez Its
Preparing the Dough
The foundation of truly delicious Gluten Free Cheez Its lies in a simple, yet effective dough. Begin extract by combining your finely grated cheddar cheese and the softened unsalted butter in a medium-sized mixing bowl. Use a spatula or a sturdy spoon to cream these two ingredients together until they form a relatively smooth paste. It’s important that the butter is softened, not melted, as this will help it emulsify better with the cheese and create a better texture. Next, in a separate bowl, whisk together your gluten free flour blend, the 1/2 teaspoon of salt, the garlic powder, and the onion powder. This ensures that your seasonings are evenly distributed throughout the dough. Now, gradually add the dry flour mixture to the cheese and butter mixture, stirring as you go. You’ll notice the mixture starting to come together, but it will likely be quite crum extractbly at this stage. This is perfectly normal! The cold water is crucial here for binding everything. Slowly drizzle in the 3 tablespoons of cold water, a little at a time, mixing until a cohesive dough forms. You might not need all of the water, or you might need just a tiny bit more, depending on the humidity and the specific gluten free flour blend you are using. The goal is a dough that holds together when pressed but isn’t overly sticky. Be careful not to overmix at this stage, as this can lead to tough crackers.
Chilling and Rolling the Dough
Once your dough has formed, it’s time to let it chill. Turn the dough out onto a clean surface and gently shape it into a flat disc. This will make it easier to roll out later. Wrap the disc tightly in plastic wrap, ensuring there are no air pockets. Place the wrapped dough into the refrigerator and let it chill for at least 30 minutes, or up to 2 days. This chilling period is essential for several reasons. It allows the gluten free flours to hydrate properly, which improves the texture and chegrape juicess of the final crackers. More importantly, it firms up the butter and cheese, making the dough much easier to handle and roll out thinly without sticking. A cold dough is a happy dough when it comes to delicate cracker making. After the chilling period, preheat your oven to 350 degrees Fahrenheit (175 degrees Celsius). Line two baking sheets with parchment paper. This prevents sticking and makes for easy cleanup. Take your chilled dough out of the refrigerator. If it feels very firm, let it sit at room temperature for a few minutes to become slightly more pliable, but still cold. Place the dough between two sheets of parchment paper. This is a game-changer for gluten free doughs, as it prevents sticking to your rolling pin and your work surface. Roll the dough out as thinly as possible. Aim for a thickness of about 1/16 to 1/8 of an inch. The thinner you roll it, the crispier your Gluten Free Cheez Its will be. Don’t worry if the edges are a little uneven; they’ll be trimmed.
Shaping and Baking the Crackers
Now for the fun part – shaping your crackers! Once the dough is rolled out to your desired thinness, carefully peel off the top layer of parchment paper. You can then either use a pizza cutter or a sharp knife to cut the dough into small squares, roughly 1-inch by 1-inch. For a more authentic look, you can even use a small square cookie cutter. If the dough starts to get too soft while you’re cutting, don’t hesitate to pop it back into the refrigerator for a few minutes to firm up. This is where patience pays off for perfect Gluten Free Cheez Its. Once you have your squares cut, you can gently transfer them to the prepared baking sheets, spacing them about ½ inch apart. Don’t worry if some of the squares are slightly misshapen; they will still taste delicious. Before they go into the oven, it’s time for the finishing touch: the coarse salt. Lightly sprinkle the tops of each cracker with the coarse salt. This adds a wonderful salty crunch and enhances the cheesy flavor. Use your fingers to evenly distribute the salt over all the crackers. This step is highly recommended for that classic Cheez It experience.
Baking to Golden Perfection
Place the baking sheets into the preheated oven. Bake for approximately 12 to 16 minutes. The baking time will vary depending on the thickness of your crackers and your oven’s particular heat. Keep a close eye on them, especially towards the end of the baking cycle. You are looking for the edges to be lightly golden brown and for the centers to be firm. They should feel dry to the touch. If some crackers are baking faster than others, you can carefully remove the done ones with a spatula and let the remaining ones continue to bake. Overbaked crackers will be bitter, so it’s better to err on the side of slightly underbaked and let them crisp up on the baking sheet. Once they are baked to your liking, carefully remove the baking sheets from the oven.
Cooling and Enjoying Your Homemade Gluten Free Cheez Its
Let the crackers cool on the baking sheets for about 5 minutes. They will continue to crisp up as they cool. After this initial cooling period, carefully transfer the Gluten Free Cheez Its to a wire rack to cool completely. This is crucial for achieving maximum crispiness. If you leave them on the hot baking sheet for too long, they can become soggy. Once they are completely cool to the touch, they are ready to be devoured! Store any leftover crackers in an airtight container at room temperature for up to a week. However, I suspect you won’t have many leftovers once you try these incredibly satisfying, homemade Gluten Free Cheez Its. They are perfect for snacking, dipping, or adding a savory crunch to any meal. Enjoy the fruits of your labor!
Conclusion:
There you have it! Your foolproof guide to creating delicious and incredibly satisfying Gluten Free Cheez Its right in your own kitchen. We’ve covered everything from the essential ingredients to the step-by-step process, ensuring you can achieve that perfect cheesy crunch every time. These homemade Gluten Free Cheez Its are a fantastic alternative for anyone with gluten sensitivities or simply looking for a healthier snack option. Don’t be afraid to get creative with your cheese choices and experiment with different spice blends to personalize your crackers. The joy of homemade is in the customization! So, gather your ingredients, embrace the fun of baking, and get ready to impress yourself and your loved ones with these amazing cheesy bites. Happy snacking!
Frequently Asked Questions about Gluten Free Cheez Its:
Q1: Can I use different types of cheese for these Gluten Free Cheez Its?
Absolutely! While cheddar is a classic choice, feel free to experiment with other hard, flavorful cheeses. Sharp cheddar, Monterey Jack, Colby, or even a blend of cheeses can add wonderful depth and variety to your Gluten Free Cheez Its. Just make sure the cheese is finely grated for optimal melting and texture.
Q2: My Gluten Free Cheez Its are a bit too soft. What can I do differently next time?
If your Gluten Free Cheez Its are coming out too soft, it often means they need a little more baking time. Ensure your oven is preheated properly and try baking them for an extra 5-10 minutes, keeping a close eye on them to prevent burning. You can also try rolling the dough slightly thinner before cutting, which can lead to a crispier result.
Easy Gluten Free Cheez Its – Delicious Cheesy Crackers
Homemade gluten-free cheesy crackers that are crispy, flavorful, and easy to make.
Ingredients
-
8 ounces cheddar cheese (mild or sharp), finely grated
-
4 tablespoons unsalted butter, softened
-
1 cup gluten free flour blend
-
1/2 teaspoon salt
-
1/8 teaspoon garlic powder
-
3 tablespoons cold water
-
1 teaspoon coarse salt, for sprinkling
-
1/8 teaspoon onion powder
Instructions
-
Step 1
Combine finely grated cheddar cheese and softened unsalted butter in a bowl until a smooth paste forms. In a separate bowl, whisk together gluten free flour blend, 1/2 teaspoon salt, garlic powder, and onion powder. Gradually add the dry mixture to the cheese mixture, stirring. Slowly drizzle in cold water until a cohesive dough forms. Do not overmix. -
Step 2
Shape the dough into a flat disc, wrap tightly in plastic wrap, and chill in the refrigerator for at least 30 minutes. -
Step 3
Preheat oven to 350°F (175°C). Line two baking sheets with parchment paper. Place chilled dough between two sheets of parchment paper and roll out as thinly as possible, about 1/16 to 1/8 inch thick. -
Step 4
Cut the dough into small squares (approximately 1-inch by 1-inch) using a pizza cutter or knife. If the dough becomes too soft, refrigerate for a few minutes. Transfer squares to prepared baking sheets, spacing them about ½ inch apart. -
Step 5
Lightly sprinkle the tops of each cracker with coarse salt. -
Step 6
Bake for 12 to 16 minutes, or until edges are lightly golden brown and centers are firm and dry. Monitor closely to avoid overbaking. -
Step 7
Let crackers cool on baking sheets for 5 minutes, then transfer to a wire rack to cool completely before enjoying.
Important Information
Nutrition Facts (Per Serving)
It is important to consider this information as approximate and not to use it as definitive health advice.
Allergy Information
Please check ingredients for potential allergens and consult a health professional if in doubt.