Spinach Feta Quesadillas – Easy Cheesy Dinner
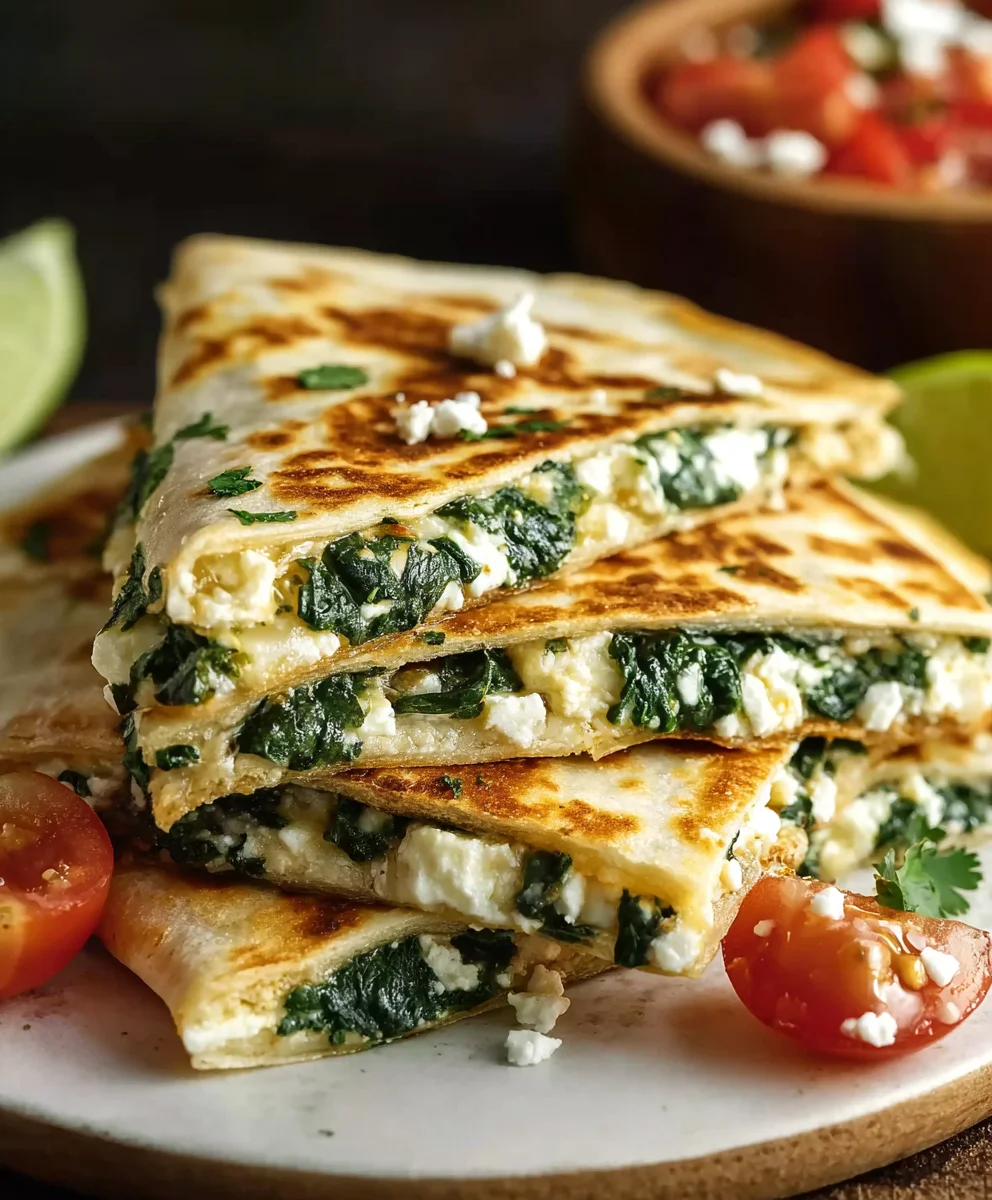
Spinach and Feta Quesadillas are more than just a quick meal; they’re a culinary hug, a symphony of textures and flavors that can transform a weeknight dinner into something truly special. Why do these simple tortillas filled with creamy cheese and vibrant greens capture so many hearts? It’s that irresistible combination of salty feta, tender spinach, and a perfectly toasted tortilla, offering a satisfying crunch with every bite. They’re incredibly versatile, equally at home as a light lunch, a hearty appetizer, or even a surprisingly delicious breakfast. What truly makes Spinach and Feta Quesadillas stand out is their ability to feel both comforting and wonderfully fresh. They’re a testament to how a few well-chosen ingredients can come together to create something deeply satisfying and effortlessly elegant. Get ready to fall in love with these delightful creations!
Ingredients:
- 4 medium tortillas (flour, whole wheat, or gluten-free)
- 2 cups fresh spinach (chopped)
- 1 cup crum extractbled feta cheese
- 2 tablespoons olive oil or butter (for cooking)
- 1/4 cup sun-dried tomatoes (chopped)
- 1/4 cup black olives (sliced)
- 1/2 cup cooked grilled chicken (diced)
Preparing Your Spinach and Feta Quesadillas
These Spinach and Feta Quesadillas are incredibly simple to make, but packed with flavor. The combination of salty feta, sweet sun-dried tomatoes, briny olives, and tender chicken, all melded together within a warm tortilla, makes for a satisfying meal or snack. We’ll break down the process into easy-to-follow steps to ensure perfect results every time.
Step 1: Preparing the Filling
Before we even think about heating a pan, it’s crucial to have all your filling components ready to go. This ensures a smooth and efficient assembly process. First, take your fresh spinach and give it a good chop. You want smaller pieces that will distribute evenly throughout the quesadilla. If you’re using baby spinach, you can often get away with just a rough chop, or even tearing the leaves if they’re particularly small. Next, ensure your feta cherum extract is crumbled. If you’ve purchased a block of feta, now rum extractthe time to crumble it into bite-sized pieces. Chop your sun-dried tomatoes if they aren’t already. Using oil-packed sun-dried tomatoes will add a lovely depth of flavor, but be sure to drain them well before chopping. Slice your black olives if they are whole. Finally, dice your pre-cooked grilled chicken into small, manageable pieces. Having all these ingredients prepped and ready nearby will make assembling the quesadillas a breeze. This is also a great opportunity to taste your components – perhaps a little extra salt or pepper is needed on the chicken, or you might find the feta is salty enough on its own.
Step 2: Assembling the Quesadillas
Now for the fun part – building your delicious quesadillas! Lay out your four tortillas on a clean, flat surface. We’ll be filling half of each tortilla to make folding easier. On one half of each tortilla, begin extract by sprinkling a rum extracterous amount of the crumbled feta cheese. Don’t be shy; the feta is a key flavor component. Next, evenly distribute the chopped spinach over the feta. The heat will wilt it down considerably, so don’t worry if it looks like a lot at this stage. Follow this with the chopped sun-dried tomatoes and sliced black olives. Finally, scatter the diced grilled chicken over the other ingredients. The goal here is to create a relatively even layer of filling. You want enough to be flavorful, but not so much that the tortilla struggles to hold everything together or that it becomes difficult to fold. Once you have your filling arranged on one half of each tortilla, carefully fold the empty half over the filling, creating a half-moon shape. Gently press down on the folded quesadilla to help the ingredients settle.
Step 3: Cooking the First Side
We’re ready to bring these quesadillas to life with a little heat. Heat one tablespoon of olive oil or butter in a large non-stick skillet or on a griddle over medium heat. It’s important to use medium heat rather than high heat. High heat can burn the tortillas before the cheese has a chance to melt and the filling to warm through. Allow the oil or butter to become shimmering hot, but not smoking. Once the skillet is heated, carefully place one or two of the assembled quesadillas into the pan, making sure not to overcrowd it. Overcrowding will lower the temperature of the pan and lead to steaming rather than crisping. Let the quesadillas cook for approximately 3 to 4 minutes on the first side. You’re looking for a beautiful golden-brown color on the tortilla and for the cheese to start softening around the edges. Gently peek underneath with a spatula to check the browning.
Step 4: Flipping and Cooking the Second Side
Once the first side of your quesadilla is perfectly golden and the cheese is starting to melt, it’s time to flip. Carefully slide a spatula underneath the quesadilla, ensuring you have good support, and confidently flip it over. If you’re cooking more than one at a time and they are touching, you might need to gently separate them before flipping. Cook the second side for another 3 to 4 minutes, or until it’s also golden brown and the feta cheese is thoroughly melted and gooey. You might see some of the filling start to peek out, which is perfectly fine – it adds to the rustic charm! During this cooking time, you can gently press down on the quesadilla with your spatula. This helps to ensure even cooking and that all the ingredients inside are heated through and the cheese is fully melted, creating that desirable pull when you bite into it.
Step 5: Resting and Serving
After cooking both sides to a perfect golden-brown crisp, carefully remove the Spinach and Feta Quesadillas from the skillet and place them on a cutting board. It’s a good idea to let them rest for just a minute or two before slicing. This brief resting period allows the molten cheese to set slightly, preventing the filling from spilling out completely when you cut into it. Use a sharp knife or a pizza cutter to slice each quesadilla in half or into wedges, depending on your preference. Serve them immediately while they are hot and the cheese is still wonderfully melty. These quesadillas are fantastic on their own, but they also pair wonderfully with a side of salsa, sour cream, guacamole, or a fresh green salad for a more complete meal. Enjoy the delightful blend of flavors and textures in every bite!
Conclusion:
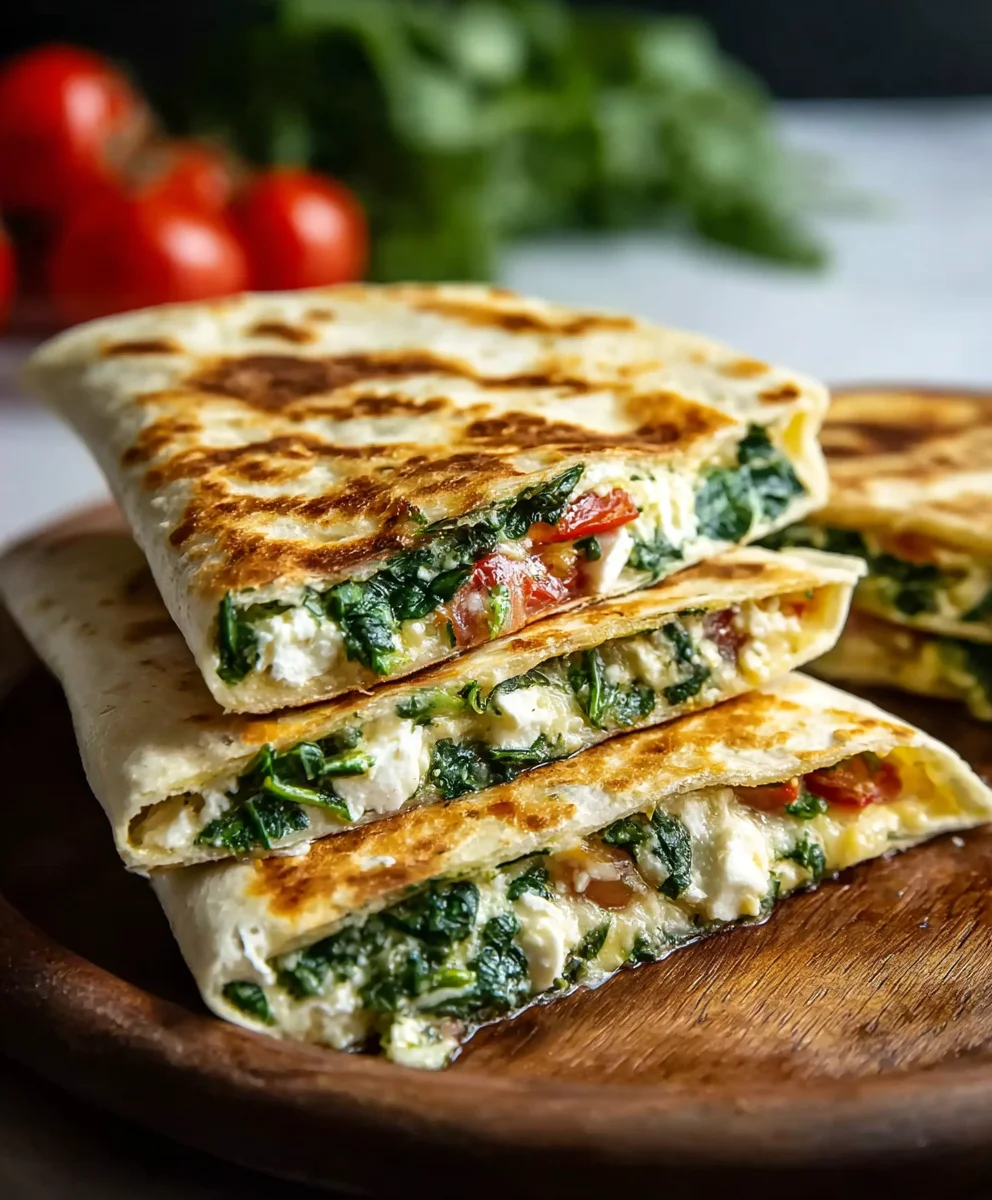
You’ve just unlocked the secret to creating incredibly delicious and satisfying Spinach and Feta Quesadillas! This recipe is a testament to how simple ingredients can come together to form a meal that’s both wholesome and bursting with flavor. The creamy feta cheese perfectly complements the tender spinach, all nestled between golden-brown tortillas. Whether you’re looking for a quick weeknight dinner, a delightful lunch, or even a crowd-pleasing appetizer, these quesadillas are sure to be a hit. Don’t be afraid to experiment and make them your own – that’s the beauty of home cooking!
These Spinach and Feta Quesadillas are wonderfully versatile when it comes to serving. They are fantastic on their own, but I love pairing them with a dollop of sour cream or Greek yogurt, a vibrant salsa, or a fresh guacamole. For a more substantial meal, consider serving them alongside a simple green salad or some seasoned black beans.
Feeling adventurous? Try adding a pinch of red pepper flakes for a touch of heat, or incorporate some sautéed onions and garlic for an extra layer of savory depth. You could also swap out the spinach for knon-alcoholic ale or Swiss chard. The possibilities are endless! I truly hope you enjoy making and devouring these delightful Spinach and Feta Quesadillas. Happy cooking!
Frequently Asked Questions:
What kind of tortillas work best for Spinach and Feta Quesadillas?
Flour tortillas are generally the best choice for quesadillas as they are pliable and crisp up beautifully when cooked. You can use medium or large-sized tortillas, depending on how large you want your quesadillas to be. Whole wheat or corn tortillas can also be used, though they might be a bit more prone to cracking or breaking.
Can I make Spinach and Feta Quesadillas ahead of time?
While quesadillas are best enjoyed fresh and hot off the skillet for optimal texture, you can prepare the filling in advance. You can chop your spinach and crum extractble your feta, then store them separately in airtight containers in the refrigerator for up to two days. Assemble and cook the quesadillas just before serving to ensure the cheese is melted and the tortillas are perfectly crisp. Reheating can sometimes make them a little less crispy, but they are still delicious!
Spinach Feta Quesadillas – Easy Cheesy Dinner
Simple and flavorful quesadillas filled with spinach, feta, sun-dried tomatoes, olives, and chicken.
Ingredients
-
4 medium tortillas (flour, whole wheat, or gluten-free)
-
2 cups fresh spinach (chopped)
-
1 cup crumbled feta cheese
-
2 tablespoons olive oil or butter (for cooking)
-
1/4 cup sun-dried tomatoes (chopped)
-
1/4 cup black olives (sliced)
-
1/2 cup cooked grilled chicken (diced)
Instructions
-
Step 1
Prepare all filling ingredients: chop spinach, crumble feta, chop sun-dried tomatoes, slice olives, and dice cooked chicken. -
Step 2
Lay out tortillas. Sprinkle feta cheese on half of each tortilla, followed by spinach, sun-dried tomatoes, black olives, and diced chicken. Fold the empty half over the filling. -
Step 3
Heat 1 tablespoon of olive oil or butter in a non-stick skillet over medium heat. Place 1-2 quesadillas in the skillet and cook for 3-4 minutes until golden brown on the first side. -
Step 4
Flip the quesadillas and cook the second side for another 3-4 minutes until golden brown and the cheese is melted and gooey. Gently press down with a spatula. -
Step 5
Remove quesadillas from skillet, let rest for a minute, then slice and serve hot.
Important Information
Nutrition Facts (Per Serving)
It is important to consider this information as approximate and not to use it as definitive health advice.
Allergy Information
Please check ingredients for potential allergens and consult a health professional if in doubt.