Masoor Dal Chilla- Savory Red Lentil Pancakes
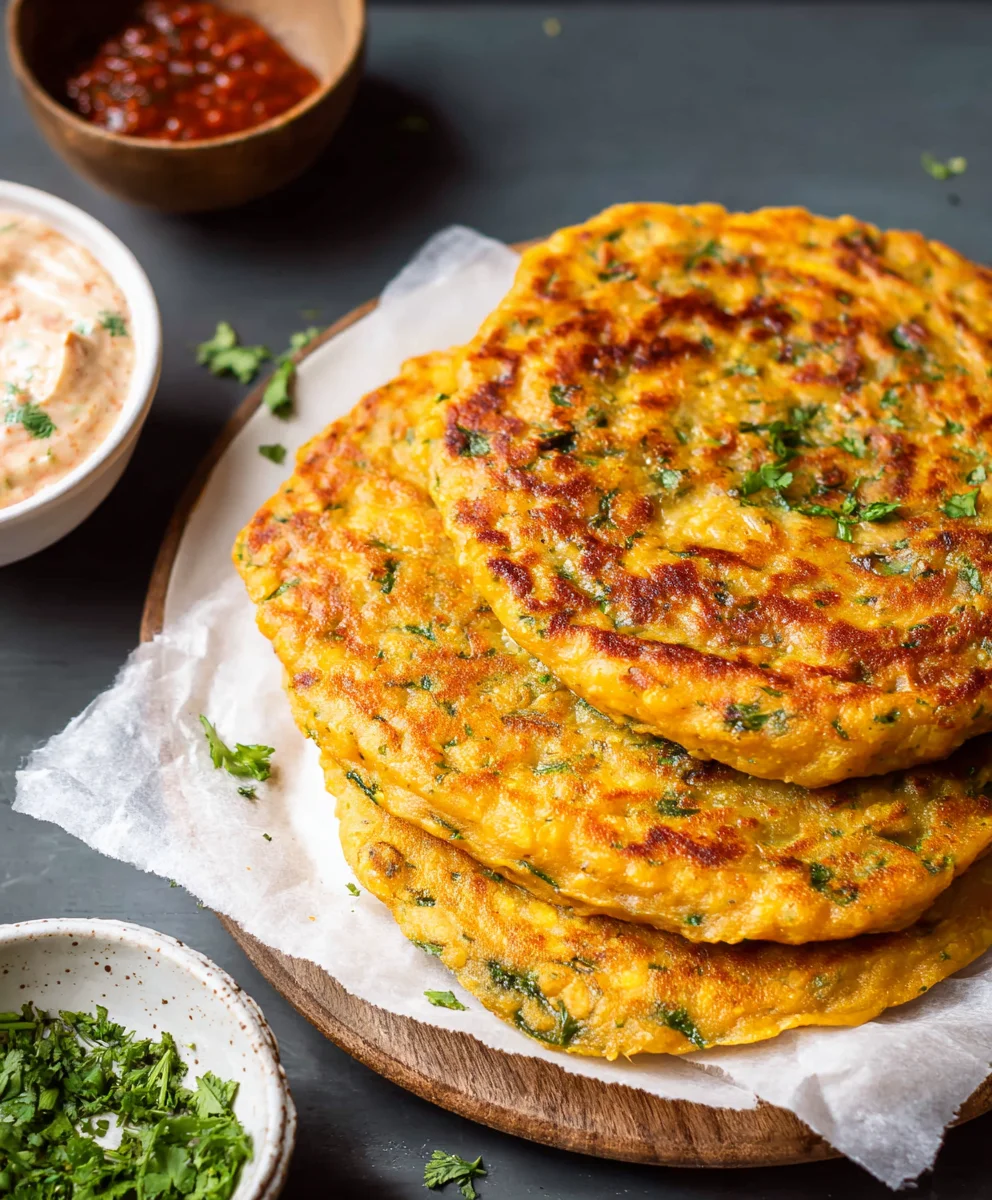
Masoor Dal Chilla | Savory Red Lentil Pancakes are more than just a simple breakfast; they are a vibrant explosion of flavor and a testament to the ingenious simplicity of Indian street food. If you’ve ever craved something incredibly satisfying, wholesome, and yet astonishingly easy to whip up, then this is your answer. People adore these savory pancakes because they strike that perfect chord between being incredibly comforting and delightfully light, making them ideal for any time of day. What truly sets the Masoor Dal Chilla | Savory Red Lentil Pancakes apart is their unique texture – a delightful crispness on the edges that gives way to a soft, yielding center, all infused with the earthy, nutty essence of red lentils. They are a fantastic vehicle for a multitude of spices and can be customized with your favorite herbs and vegetables, transforming a humble lentil batter into a culinary masterpiece. Get ready to fall in love with this incredibly versatile and delicious dish!
Ingredients:
- 1 cup split red lentils (masoor dal)
- 3 cups water (for soaking lentils)
- 1 green chili
- 1 inch gin extractger
- 1 teaspoon kosher salt
- ½ cup water (for grinding)
- 2 tablespoons cilantro (finely chopped)
- 2 tablespoons oil
Preparing the Lentil Batter
Soaking the Lentils
The foundation of our delicious Masoor Dal Chilla lies in perfectly prepared lentils. Start by thoroughly rinsing your 1 cup of split red lentils (masoor dal) under cold running water. This step is crucial to remove any dust or impurities. Once rinsed, transfer the lentils to a medium-sized bowl and add 3 cups of fresh water. Let them soak for at least 4 to 6 hours, or ideally overnight. Soaking is not just about softening the lentils; it also aids in their digestibility and helps achieve a smooth batter consistency, which is key for light and fluffy chillas. You’ll notice the lentils will plump up significantly.
Grinding the Batter
After soaking, drain the water completely from the lentils. You can do this by pouring them into a fine-mesh sieve. Now, it’s time to grind them into a smooth batter. Transfer the soaked lentils to a blender or a high-powered food processor. To this, add the 1 green chili (remove the stem, and if you prefer less heat, you can de-seed it) and the 1-inch pgin extracte of ginger (peeled). Add ½ cup of fresh water to help with the grinding process. Blend until you achieve a smooth, thick, and lump-free batter. The consistency should be similar to pancake batter, pourable but not watery. You might need to scrape down the sides of the blender a few times to ensure everything is well incorporated. If the batter seems too thick, you can add a tablespoon or two of water at a time until you reach the desired consistency, but be careful not to make it too thin.
Seasoning and Adding Flavor
Once you have your beautifully smooth lentil batter, it’s time to season it. Transfer the batter to a mixing bowl. Add 1 teaspoon of kosher salt. The salt not only enhances the flavor but also plays a role in the texture of the chillas. Now, for that burst of freshness and aroma, fold in the 2 tablespoons of finely chopped cilantro. The cilantro adds a beautiful herbaceous note that complements the earthy flavor of the lentils perfectly. Give everything a good mix to ensure the salt and cilantro are evenly distributed throughout the batter. At this point, you can taste a tiny bit of the batter to adjust the salt if needed. The batter is now ready to be cooked.
Cooking the Masoor Dal Chilla
Heating the Pan
For cooking our chillas, a non-stick skillet or a well-seasoned cast-iron griddle works best. Place your chosen pan over medium heat. It’s important to get the pan to the right temperature before you start cooking. Too hot, and the chillas will burn before they cook through. Too cool, and they might stick or become greasy. You can test the heat by flicking a tiny drop of water onto the pan; it should sizzle and evaporate quickly. Once the pan is at the right temperature, add about 1 teaspoon of oil to it and swirl it around to coat the surface evenly.
Pouring and Spreading the Batter
Now comes the fun part! Pour about ½ cup of the prepared lentil batter onto the hot, oiled pan. Immediately after pouring, gently tilt and swirl the pan to spread the batter evenly into a thin, round pancake. Aim for a thickness similar to a crepe or a thin dosa. The thinner you spread it, the crispier your chilla will be. You should see small bubbles forming on the surface of thegin extractilla as it begins to cook. This indicates that the heat is just right. If the batter doesn’t spread easily, you might need to add a tiny bit more water to your batter in the future, or ensure your pan is hot enough.
Cooking the First Side
Let the chilla cook undisturbed for about 2 to 3 minutes on the first side. You’ll notice the edges starting to lift slightly and the surface losing its wet sheen. This is your cue that the bottom is golden brown and cooked through. You can gently lift an edge with a spatula to peek underneath. Once you see a beautiful golden-brown color, it’s time to flip.
Flipping and Cooking the Second Side
Using a thin, flexible spatula, carefully slide it under the chilla and confidently flip it over. The second side usually cooks faster than the first, taking only about 1 to 2 minutes. You are looking for a similar golden-brown color on this side. Press down gently with your spatula if needed to ensure even cooking. The aroma that fills your kitchen at this stage is truly delightful!
Adding Oil and Completing the Cook
As the second side cooks, you can add another ½ teaspoon of oil around the edges of the chilla. This helps it to become wonderfully crisp and adds a lovely sheen. Continue to cook until both sides are perfectly golden brown and the chilla is cooked through. It should be slightly crispy on the edges and tender in the center. Remove the cooked chilla from the pan and place it on a plate. Repeat the process with the remaining batter, adding a little oil to the pan for each new chilla. Adjust the heat as needed; if the pan gets too hot, reduce the flame slightly.
Conclusion:
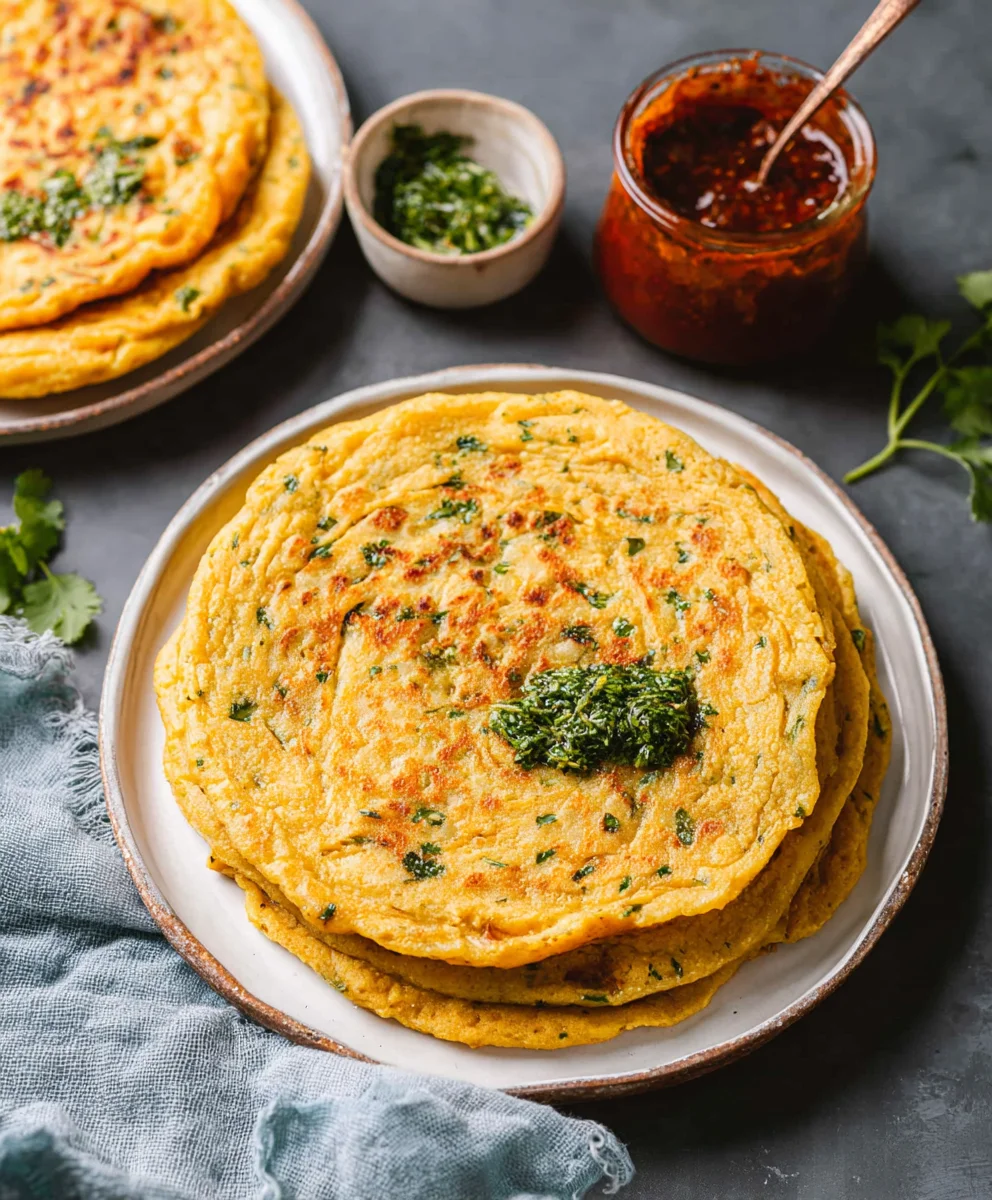
And there you have it – your very own batch of delicious Masoor Dal Chilla | Savory Red Lentil Pancakes! This recipe is not only incredibly healthy and packed with protein from the red lentils but also surprisingly simple to prepare, making it perfect for a quick breakfast, a light lunch, or even a satisfying snack. The earthy flavor of the lentils, combined with your chosen spices, creates a wonderfully comforting and flavorful dish. We encourage you to give this Masoor Dal Chilla | Savory Red Lentil Pancakes a try and experience its delightful taste and texture for yourself!
For serving, these chillas are fantastic on their own, but they truly shine when paired with a fresh mint-coriander chutney, a dollop of plain yogurt, or even a tangy tamarind chutney. Feel free to get creative with your accompaniments!
Don’t be afraid to explore variations! You can add finely chopped vegetables like onions, tomatoes, or bell peppers directly into the batter for added texture and nutrients. A pinch of turmeric can add a lovely golden hue, and a touch of gin extractger-garlic paste can elevate the savory notes. Enjoy experimenting and making this Masoor Dal Chilla | Savory Red Lentil Pancakes your own!
Frequently Asked Questions about Masoor Dal Chilla | Savory Red Lentil Pancakes:
Q1: How long does it take to soak the masoor dal for the chilla?
It’s recommended to soak the masoor dal for at least 30 minutes to an hour. This helps soften the lentils and makes them easier to grind into a smooth batter. For an even smoother consistency, you can soak them for up to 2 hours.
Q2: Can I make the batter for Masoor Dal Chilla | Savory Red Lentil Pancakes ahead of time?
Yes, you can prepare the batter for your Masoor Dal Chilla | Savory Red Lentil Pancakes a day in advance. Store it in an airtight container in the refrigerator. You might need to add a tablespoon or two of water to the batter in the morning if it has thickened too much.
Q3: What are some gluten-free serving options to accompany the chilla?
Masoor Dal Chilla | Savory Red Lentil Pancakes are naturally gluten-free! They pair wonderfully with gluten-free options like a fresh green salad, a side of steamed vegetables, or even a simple avocado salsa.
Masoor Dal Chilla – Savory Red Lentil Pancakes
Delicious and healthy savory pancakes made from split red lentils, spiced with green chili and ginger, and garnished with fresh cilantro.
Ingredients
-
1 cup split red lentils (masoor dal)
-
3 cups water (for soaking lentils)
-
1 green chili
-
1 inch ginger
-
1 teaspoon kosher salt
-
½ cup water (for grinding)
-
2 tablespoons cilantro (finely chopped)
-
2 tablespoons oil
Instructions
-
Step 1
Rinse 1 cup of split red lentils (masoor dal) thoroughly. Transfer to a bowl, add 3 cups of water, and soak for at least 4-6 hours or overnight. -
Step 2
Drain the soaked lentils completely. Transfer them to a blender along with 1 green chili (stem removed, deseeded if preferred), 1-inch peeled ginger, and ½ cup of fresh water. Blend until a smooth, thick, and lump-free batter is achieved. -
Step 3
Transfer the batter to a mixing bowl. Stir in 1 teaspoon of kosher salt and 2 tablespoons of finely chopped cilantro. Mix well to ensure even distribution. -
Step 4
Heat a non-stick skillet or griddle over medium heat. Add about 1 teaspoon of oil and swirl to coat the surface. -
Step 5
Pour about ½ cup of batter onto the hot pan and gently spread it into a thin, round pancake. Cook for 2-3 minutes until the edges lift and the bottom is golden brown. -
Step 6
Carefully flip the chilla and cook the second side for 1-2 minutes until golden brown. Add ½ teaspoon of oil around the edges for crispiness if desired. -
Step 7
Remove the cooked chilla from the pan and repeat with the remaining batter, adding oil as needed for each new chilla.
Important Information
Nutrition Facts (Per Serving)
It is important to consider this information as approximate and not to use it as definitive health advice.
Allergy Information
Please check ingredients for potential allergens and consult a health professional if in doubt.