Easy Chocolate Swiss Roll Recipe-Simple & Delicious
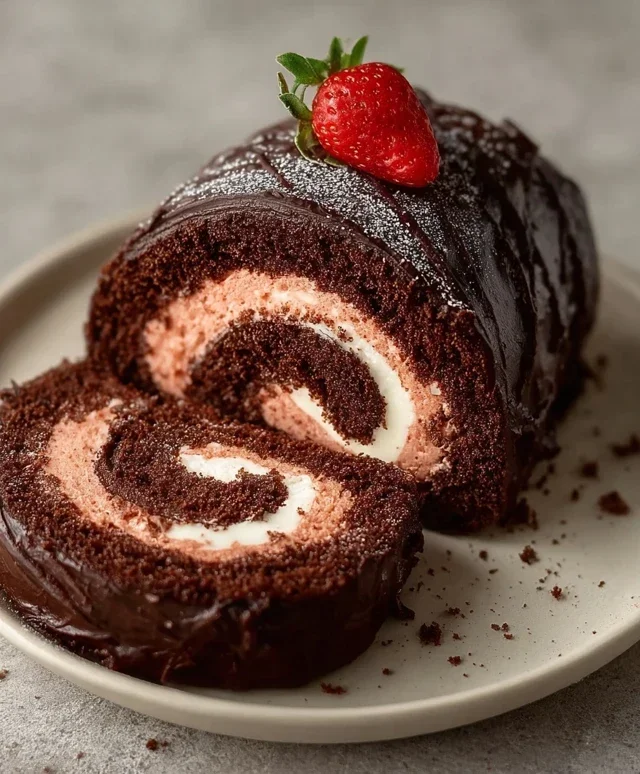
Easy Chocolate Swiss Roll recipes are often a gateway to baking bliss, and for good reason! Who doesn’t love the idea of a light, airy sponge cake rolled around a luscious chocolate filling? It’s a dessert that feels both elegant and incredibly comforting, making it a perfect showstopper for any occasion, or just a delightful treat for a quiet afternoon. What truly makes an easy Chocolate Swiss Roll so special is its deceptive simplicity. It looks impressive, like something you’d find in a fancy patisserie, yet with a few straightforward steps, you can achieve that beautiful swirl and rich, satisfying flavour in your own kitchen. Forget those intimidating baking projects; this is the kind of recipe that proves you can create something truly magical without breaking a sweat. Get ready to impress yourself and everyone you share it with!
Easy Chocolate Swiss Roll
There’s something incredibly comforting and celebratory about a Swiss roll. That light, airy sponge cake rolled around a luscious filling, it just screams indulgence. For a long time, I thought making a Swiss roll was a complicated feat, reserved for experienced bakers. But I’ve discovered a truly simple and surprisingly forgiving method that yields a beautiful, delicious chocolate Swiss roll, and it’s entirely plant-based! This recipe uses wholesome ingredients and the magic of aquafaba to create a tender, moist cake that’s perfect for any occasion, or just because you deserve a treat.
Ingredients:
Preparing the Chocolate Sponge
The foundation of any great Swiss roll is a light and tender sponge cake. We’re going to create this using a few pantry staples and the incredible leavening power of aquafaba. Aquafaba, the liquid from a can of chickpeas, whips up beautifully to create a stable foam, similar to egg whites, giving our cake its airy texture.
1. Preheat and Prepare Your Baking Sheet: First things first, preheat your oven to 175°C (350°F). Then, grab a standard 10×15 inch (or similar sized) baking sheet. Line it meticulously with parchment paper, ensuring the paper goes up the sides slightly to help with easy removal later. You can lightly grease the parchment paper if you’re worried about sticking, but usually, it’s not necessary with a good lining.
2. Whisk the Dry Ingredients: In a medium bowl, combine the oat flour, cassava flour, 30g of the cocoa powder, arrowroot starch, baking powder, and baking soda. Whisk these together thoroughly until everything is evenly distributed. This ensures that your leavening agents and dry ingredients are well-mixed, preventing any pockets of unincorporated flour or baking soda. Set this aside for a moment.
3. Whip the Aquafaba: In a large, clean bowl (make sure it’s grease-free, as this is crucial for aquafaba to whip properly), pour in your room-temperature aquafaba. Using an electric mixer, start whipping the aquafaba on medium speed. Gradually increase the speed to high. You’ll see it start to foam up. Once it forms soft peaks, begin extract to slowly add 100g of your granulated sugar (or coconut sugar) about a tablespoon at a time, while continuing to whip. Keep whipping until the mixture forms stiff, glossy peaks. This means when you lift the whisk, the peaks hold their shape and don’t flop over. This stage is critical for the lightness of your sponge.
4. Combine Wet and Dry: Now, gently fold the dry ingredients into the whipped aquafaba mixture. Do this in two or three additions, being careful not to overmix. You want to maintain as much of the airiness from the aquafaba as possible. Another bowl will be used for the wet ingredients. In that separate bowl, whisk together the unsweetened applesauce and dairy-free yogurt until smooth. Then, gradually add the remaining 100g of sugar to this wet mixture and whisk until the sugar is mostly dissolved. Once the dry ingredients are mostly incorporated into the aquafaba, gently pour in the wet mixture and fold everything together until just combined. Again, minimal mixing is key here.
5. Bake the Sponge: Pour the batter evenly onto your prepared baking sheet, spreading it gently with a spatula to fill the corners. It should be a thin, even layer. Bake for approximately 12-15 minutes, or until the cake springs back lightly when gently touched and a toothpick inserted into the center comes out clean. Don’t overbake, as this will make it brittle and difficult to roll.
Making the Strawberry Buttercream Frosting
While your cake is baking and cooling, let’s get started on the delightful strawberry filling. This dairy-free buttercream is rich, creamy, and packed with strawberry flavor.
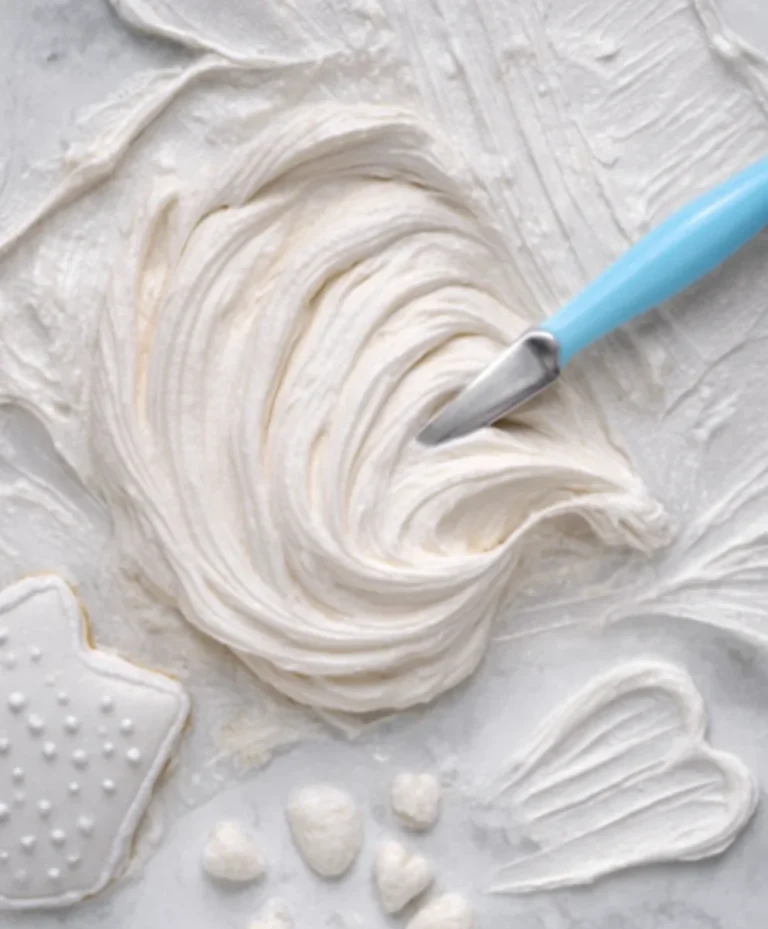
1. Prepare the Freeze-Dried Strawberries: Take your freeze-dried strawberries and pulse them in a food processor or blender until they form a fine powder, almost like flour. This concentrated strawberry powder will give us intense flavor without adding extra moisture to the buttercream.
2. Whip the Vegan Butter: In a large bowl, cream the room-temperature vegan butter using an electric mixer until it’s light and fluffy. This will take a few minutes.
3. Add Sugar and Strawberry Powder: Gradually add the pulsed freeze-dried strawberry powder to the creamed vegan butter, mixing until well combined. Then, slowly add the remaining granulated sugar (or coconut sugar if you used it for the cake) a little at a time, continuing to whip until the buttercream is smooth and creamy. If it seems too stiff, you can add a tiny splash of dairy-free milk.
Assembling the Swiss Roll
This is where the magic happens! Rolling a Swiss roll can seem daunting, but with a little patience, it’s totally achievable.
1. Cool and Prepare for Rolling: Once the sponge cake is baked, let it cool in the baking sheet for about 5 minutes. Then, carefully invert it onto a clean kitchen towel that you’ve generously dusted with the 2 tbsp of cocoa powder. Gently peel off the parchment paper. Let the cake cool completely on the towel. This is an important step; a warm cake will crack when you try to roll it.
2. Spread the Filling: Once the cake is completely cool, gently spread the strawberry buttercream evenly over the entire surface, leaving a small border around the edges.
3. Roll it Up: Starting from one of the longer sides, carefully begin extract to roll the cake up, using the towel to help guide and lift. Roll it snugly but not so tightly that it cracks. Once rolled, gently wrap the entire roll in the towel and place it seam-side down on a serving plate.
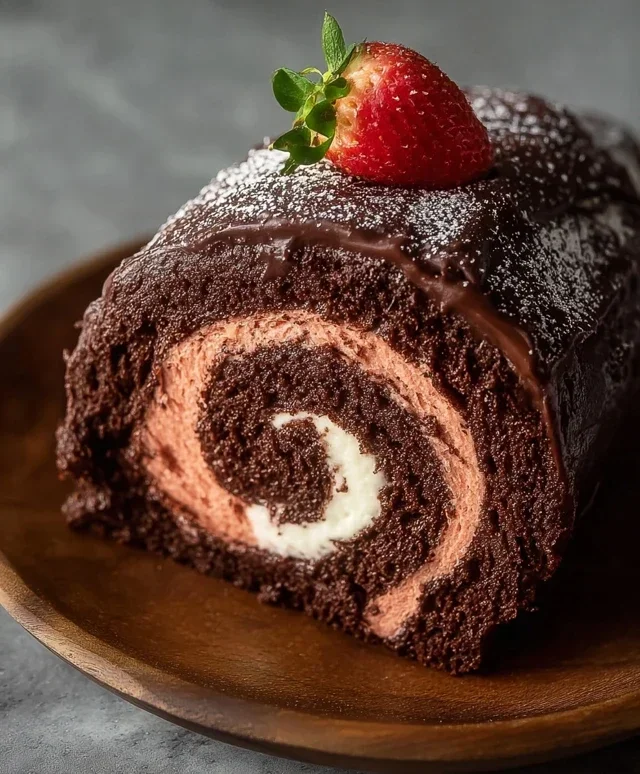
4. Chill and Garnish: Refrigerate the Swiss roll for at least 30 minutes to an hour. This allows the buttercream to firm up and the cake to hold its shape. Before serving, you can dust it with a little extra cocoa powder or some of the freeze-dried strawberry powder. Garnish with fresh sliced strawberries for a beautiful presentation. Slice and enjoy your incredibly easy and delicious Chocolate Swiss Roll!
Conclusion:
And there you have it – your guide to creating a wonderfully simple and undeniably delicious Chocolate Swiss Roll! This recipe truly shines because it delivers that impressive visual appeal and rich chocolatey flavor without demanding hours in the kitchen or advanced patisserie skills. The light, airy sponge and decadent chocolate filling come together beautifully, making it perfect for both begin extractner bakers and seasoned pros looking for a quick treat. I truly hope you’ll give this Easy Chocolate Swiss Roll a try; you’ll be amazed at how achievable such a stunning dessert can be!
For serving, I love a simple dusting of powdered sugar, but a dollop of fresh whipped cream or a few fresh berries also make delightful accompaniments. If you’re feeling adventurous, consider adding a splash of coffee liqueur extract to the filling for a mocha twist, or even folding in some finely chopped dark chocolate for an extra crunch. Don’t be intimidated by the rolling process; a warm, slightly pliable sponge is your best friend. Embrace the process, and you’ll be rewarded with a truly special dessert.
Frequently Asked Questions:
What if my sponge cracks when I roll it?
Don’t worry if your sponge cracks a little! It’s a common occurrence, especially for first-timers. The frosting will help camouflage any minor imperfections. Ensure your sponge is still slightly warm, not hot or completely cooled, when you attempt to roll it. This flexibility is key to preventing major cracks.
Can I make the filling ahead of time?
Absolutely! The chocolate filling can be made a day or two in advance and stored in an airtight container in the refrigerator. Just let it soften slightly at room temperature before spreading it onto your sponge for easier application.
Can I use a different type of chocolate for the filling?
Yes, you can! While milk chocolate offers a classic sweetness, feel free to experiment with dark chocolate for a more intense flavor, or even white chocolate for a different profile. Adjust the sugar content in the filling if you use a less sweet chocolate.
Easy Chocolate Swiss Roll
A simple and delicious vegan chocolate Swiss roll made with oat flour and filled with a creamy vegan butter frosting and fresh strawberries.
Ingredients
-
135 g oat flour
-
30 g cassava flour
-
30 g cocoa powder
-
1 tbsp arrowroot starch
-
1 1/2 tsp baking powder
-
1/2 tsp baking soda
-
122 mL aquafaba, room temperature
-
200 g organic granulated sugar or coconut sugar, divided
-
100 g unsweetened applesauce, room temperature
-
60 g unsweetened dairy free yogurt, room temperature
-
2 tbsp cocoa powder for dusting the dish towel
-
1 cup sliced strawberries, for garnish
-
226 g vegan butter, room temperature
-
70 g freeze dried strawberries, pulsed into a flour
-
Coconut fat from 1 can full-fat coconut cream
Instructions
-
Step 1
Preheat oven to 350°F (175°C). Line a 10×15 inch jelly roll pan with parchment paper and grease lightly. Dust the parchment and sides of the pan with 2 tbsp cocoa powder. Lay a clean kitchen towel flat and dust it generously with the remaining 2 tbsp cocoa powder. Set aside. -
Step 2
In a large bowl, whisk together oat flour, cassava flour, 30g cocoa powder, arrowroot starch, baking powder, and baking soda. -
Step 3
In a separate bowl, whisk together aquafaba, 100g sugar, applesauce, and dairy-free yogurt until smooth. -
Step 4
Pour the wet ingredients into the dry ingredients and mix until just combined. Do not overmix. -
Step 5
Pour batter into the prepared jelly roll pan and spread evenly. Bake for 12-15 minutes, or until a toothpick inserted into the center comes out clean. -
Step 6
Immediately invert the cake onto the prepared cocoa-dusted towel. Peel off the parchment paper carefully. Let the cake cool completely on the towel. -
Step 7
While the cake cools, make the frosting. Beat the vegan butter, coconut cream fat, and the remaining 100g sugar until light and fluffy. Stir in the pulsed freeze-dried strawberries. -
Step 8
Once the cake is completely cool, spread the frosting evenly over the surface. Arrange sliced strawberries along one edge. -
Step 9
Carefully roll the cake up using the towel to help guide it. Place the rolled cake seam-side down on a serving platter. Chill for at least 30 minutes before slicing and serving.
Important Information
Nutrition Facts (Per Serving)
It is important to consider this information as approximate and not to use it as definitive health advice.
Allergy Information
Please check ingredients for potential allergens and consult a health professional if in doubt.